Zum Hauptinhalt wechseln
Gemeinsam reparieren - Jetzt registrieren

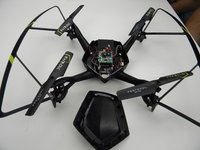
Protocol Dronium III AP Camera Replacement

Was du brauchst

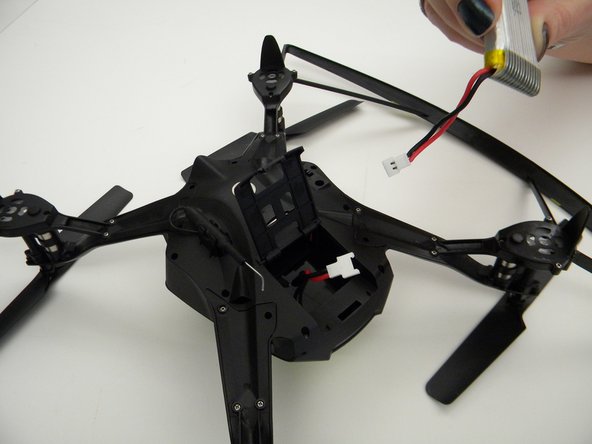
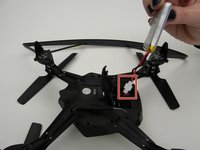
    1. Protocol Dronium III AP Camera Replacement, Drone Battery Pack: Schritt 1, Bild 1 von 2 Protocol Dronium III AP Camera Replacement, Drone Battery Pack: Schritt 1, Bild 2 von 2
      • Ensure the drone is powered off.

      • Press in and lift battery compartment cover.

      • A soft pry tool may be used for easier access.

      Frag FixBot

      Kommentar hinzufügen

    2. Protocol Dronium III AP Camera Replacement: Schritt 2, Bild 1 von 1
      • Remove battery pack from body of drone.

      Frag FixBot

      Kommentar hinzufügen

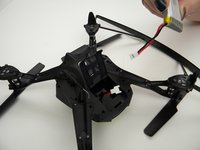
    3. Protocol Dronium III AP Camera Replacement: Schritt 3, Bild 1 von 2 Protocol Dronium III AP Camera Replacement: Schritt 3, Bild 2 von 2
      • Disconnect white connectors between the battery pack and drone.

      Frag FixBot

      Kommentar hinzufügen

    1. Protocol Dronium III AP Camera Replacement, Camera: Schritt 4, Bild 1 von 1
      • Remove the eight (8) 5mm screws attaching the motor arms to the body using a JIS #00 screwdriver.

      Frag FixBot

      Kommentar hinzufügen

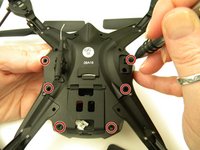
    2. Protocol Dronium III AP Camera Replacement: Schritt 5, Bild 1 von 2 Protocol Dronium III AP Camera Replacement: Schritt 5, Bild 2 von 2
      • Remove the six (6) 5mm screws attaching the Body Cover to the Body of the drone using a JIS #00 screwdriver.

      • Remove the Body Cover.

      Frag FixBot

      Kommentar hinzufügen

    3. Protocol Dronium III AP Camera Replacement: Schritt 6, Bild 1 von 2 Protocol Dronium III AP Camera Replacement: Schritt 6, Bild 2 von 2
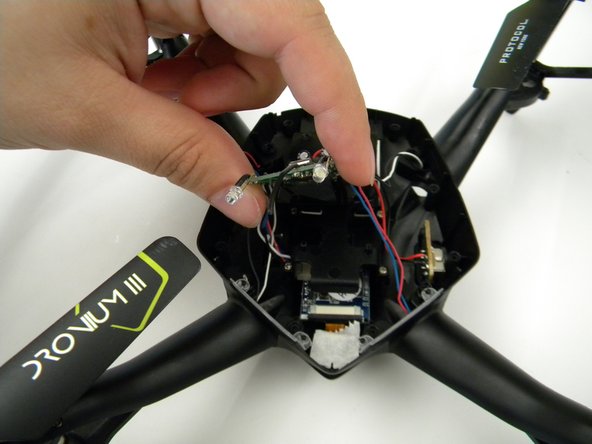
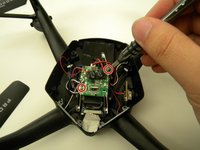
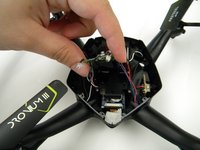
      • Remove the two (2) 5mm screws attaching the Motherboard to the body of the drone using a JIS #00 screwdriver.

      • Lift the Motherboard off the mounting position.

      • Do not pull hard on the Motherboard as solder connections are fragile.

      Frag FixBot

      Kommentar hinzufügen

    4. Protocol Dronium III AP Camera Replacement: Schritt 7, Bild 1 von 1
      In diesem Schritt verwendetes Werkzeug:
      Tweezers
      $4.99
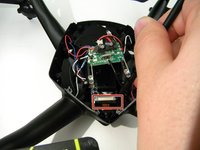
      • Remove the tape covering the camera with the tweezers.

      Frag FixBot

      Kommentar hinzufügen

    5. Protocol Dronium III AP Camera Replacement: Schritt 8, Bild 1 von 2 Protocol Dronium III AP Camera Replacement: Schritt 8, Bild 2 von 2
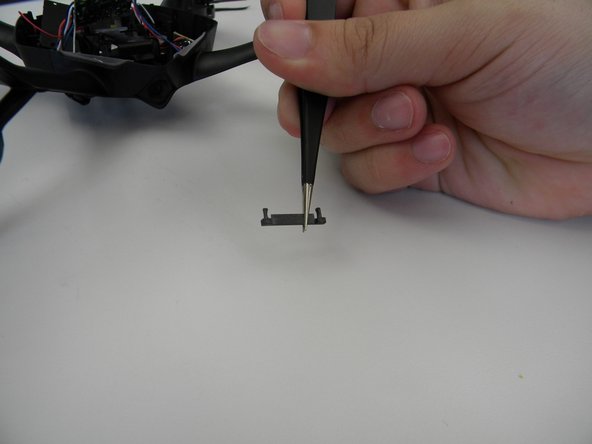
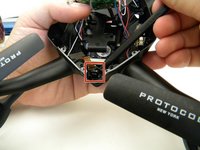
      • Remove the plastic holding the ribbon cable connector with the tweezers.

      • Be careful with the ribbon cable, it is easy to damage.

      Frag FixBot

      Kommentar hinzufügen

    6. Protocol Dronium III AP Camera Replacement: Schritt 9, Bild 1 von 1
      • Move the ribbon cable out of the way with the Spuger.

      Frag FixBot

      Kommentar hinzufügen

    7. Protocol Dronium III AP Camera Replacement: Schritt 10, Bild 1 von 2 Protocol Dronium III AP Camera Replacement: Schritt 10, Bild 2 von 2
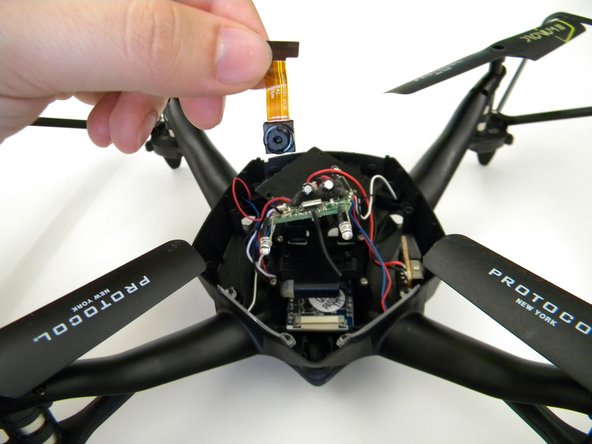
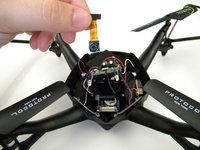
      • Remove the camera by gently prying it out of the bracket with the spudger.

      Frag FixBot

      Kommentar hinzufügen

Abschluss

To reassemble your device, follow these instructions in reverse order.

Rückgängig: Ich habe diese Anleitung nicht absolviert.

Team

UW Tacoma, Team S1-G1, Rose Fall 2017 Mitglied von UW Tacoma, Team S1-G1, Rose Fall 2017

UWT-ROSE-F17S1G1

4 Mitglieder

24 Anleitungen geschrieben

0 Kommentare zur Anleitung

Kommentar hinzufügen

Seitenaufrufe:

Letzte 24 Stunden: 0

Letzte 7 Tage: 3

Letzte 30 Tage: 14

Insgesamt: 490