Diese Version enthält möglicherweise inkorrekte Änderungen. Wechsle zur letzten geprüften Version.
Was du brauchst
-
Dieser Schritt ist noch nicht übersetzt. Hilf mit, ihn zu übersetzen!
-
Remove the two 5mm screws from the bottom of the device using a Phillips #000 screwdriver.
-
-
-
Dieser Schritt ist noch nicht übersetzt. Hilf mit, ihn zu übersetzen!
-
Place the plastic opening tool between the case and the screen.
-
Slide the tool clockwise around the case until all the clips are removed.
-
-
Dieser Schritt ist noch nicht übersetzt. Hilf mit, ihn zu übersetzen!
-
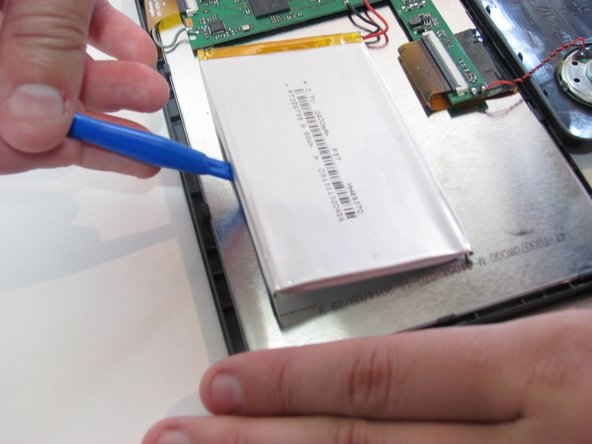
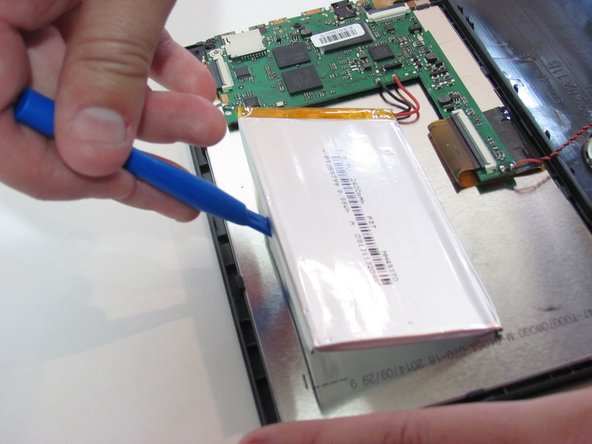
Desolder the two wires that connect the battery to the motherboard.
-
Using the blue plastic opening tool, lift the battery away from the device.
-


Rückgängig: Ich habe diese Anleitung nicht absolviert.
2 weitere Nutzer:innen haben diese Anleitung absolviert.


Ein Kommentar
Umm, which battery do you need for it? Seems that’s a part that is kind of important.