Einleitung
Over time, laptop batteries degrade and sometimes swell, leading to shorter usage times between charges and safety risks. Fortunately, swapping to a new battery can always fix the issue. You will need a Philips #1 screwdriver, a Torx #5 screwdriver, an opening pick, and one new Razer Blade Pro 17 Battery for model 2019.
After completing this replacement, your laptop will have increased battery life.
Was du brauchst
-
-
Unplug the laptop.
-
Press and hold the power button to shut down the laptop.
-
-
-
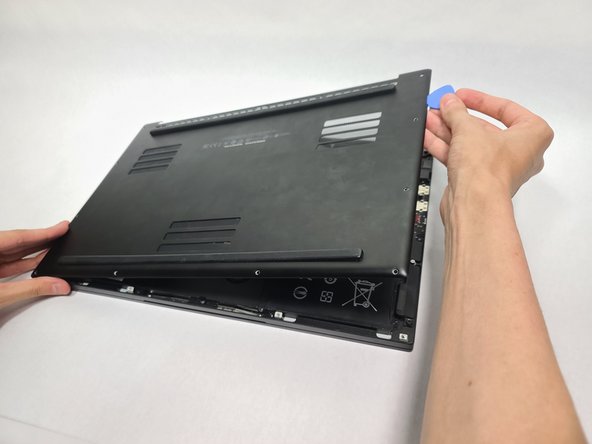
Insert the opening picks into the gap between the back plate and the body of the laptop and pry around the perimeter until the lower case releases.
-
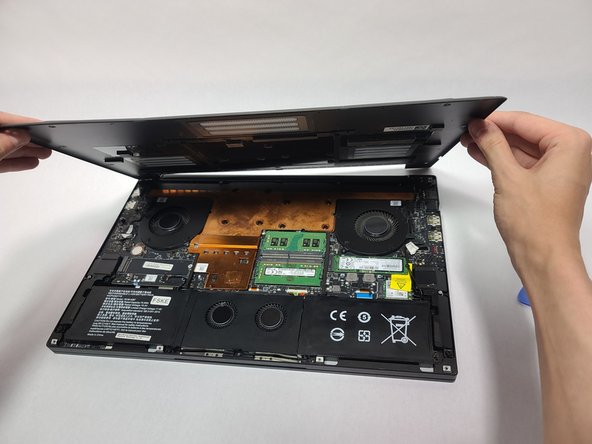
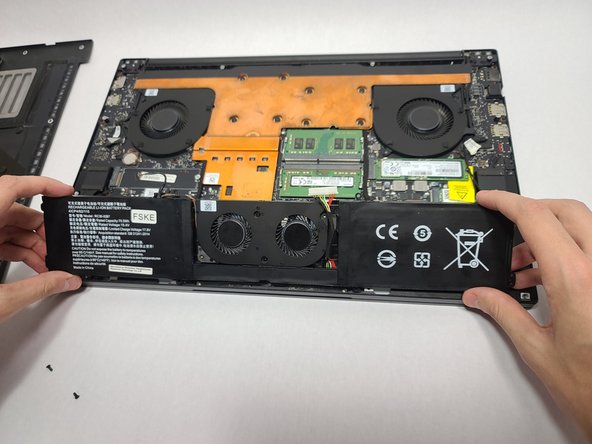
Lift up and remove the lower case.
-
-
-
-
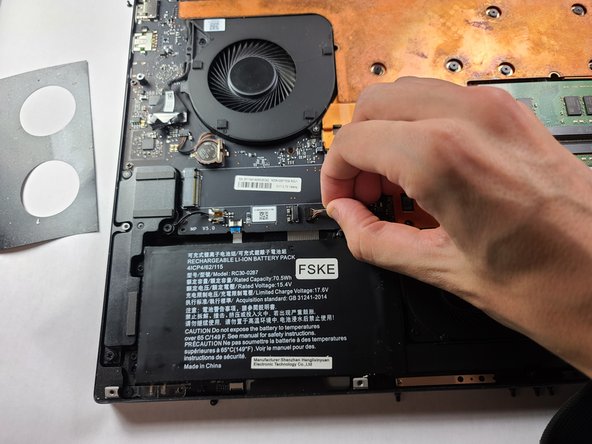
Use your fingernails to gently "walk" the battery connector directly out of its port.
-
-
-
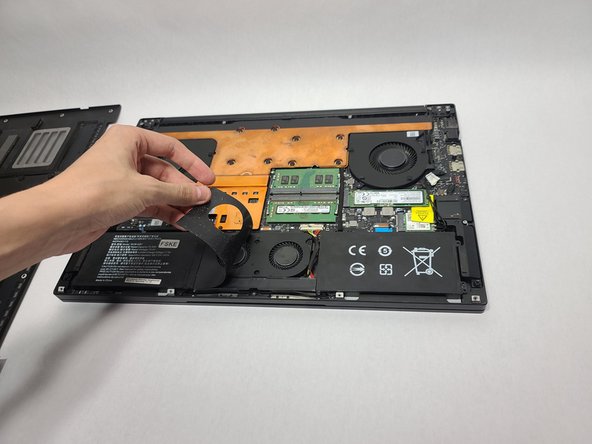
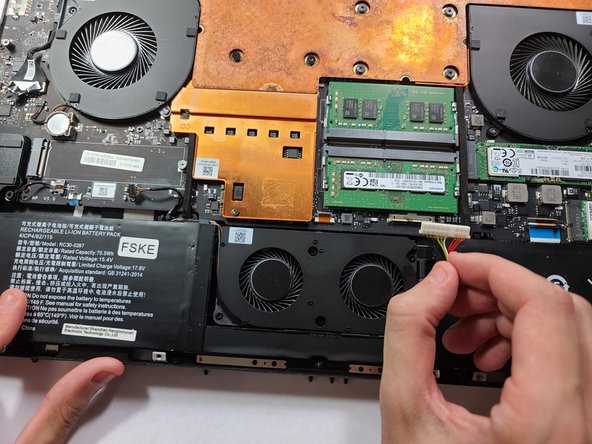
Use your fingernails or a spudger to gently lever the fan connector directly out of its socket.
-
-
-
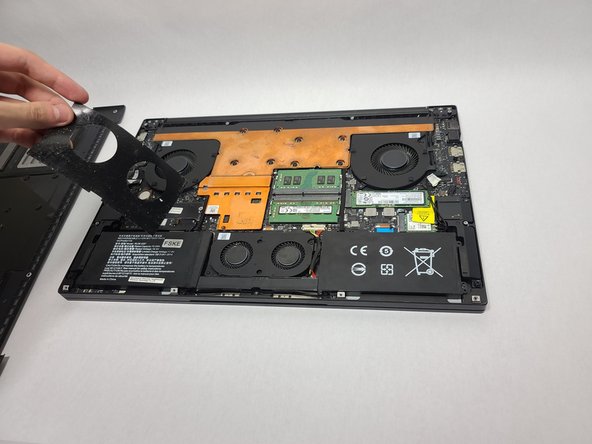
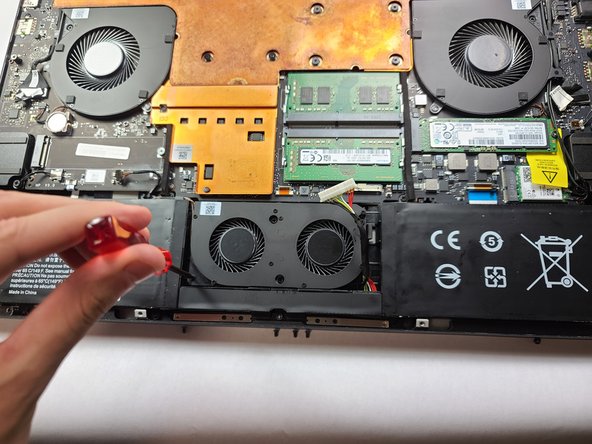
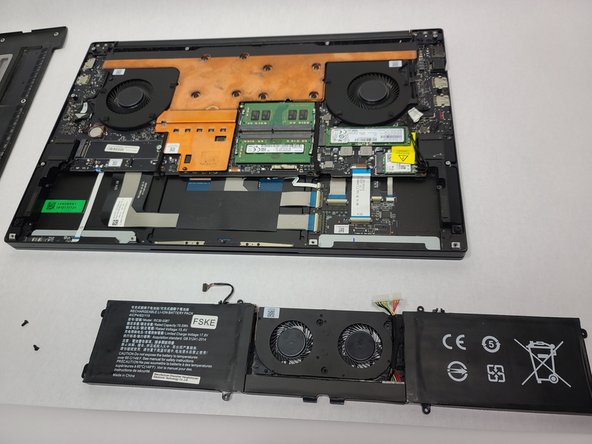
Use a Phillips #1 screwdriver to remove the 10 screws that secure the battery and fan assembly.
-


For optimal performance, calibrate your newly installed battery after completing this guide.
Compare your new replacement part to the original part—you may need to transfer remaining components or remove adhesive backings from the new part before installing.
To reassemble your device, follow the above steps in reverse order.
Take your e-waste to an R2 or e-Stewards certified recycler.

Team

UC Davis, Team 2-3, Morris Spring 2024 Mitglied von UC Davis, Team 2-3, Morris Spring 2024
UCD-MORRIS-S24S2G3
3 Mitglieder
1 Anleitung geschrieben