Zum Hauptinhalt wechseln
Gemeinsam reparieren - Jetzt registrieren
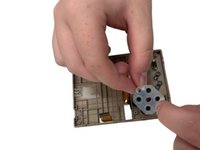
RetroMini Miyoo Mini Plus Screen Replacement

Was du brauchst

  1. RetroMini Miyoo Mini Plus Screen Replacement, Battery: Schritt 1, Bild 1 von 2 RetroMini Miyoo Mini Plus Screen Replacement, Battery: Schritt 1, Bild 2 von 2
    • Lay the device face down on a flat surface.

    • You may want to lay the device on a towel or other soft surface to avoid scratching the screen.

    Frag FixBot

    Kommentar hinzufügen

  2. RetroMini Miyoo Mini Plus Screen Replacement: Schritt 2, Bild 1 von 2 RetroMini Miyoo Mini Plus Screen Replacement: Schritt 2, Bild 2 von 2
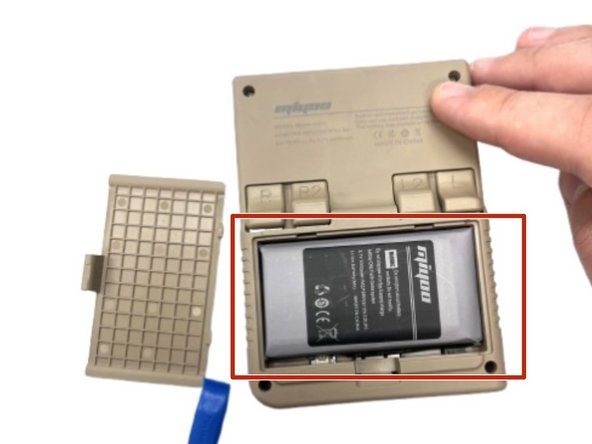
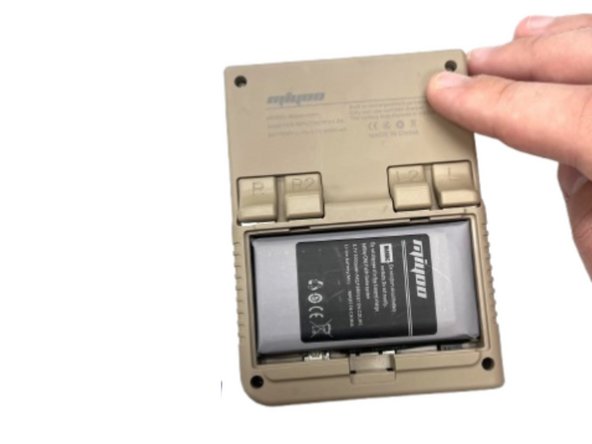
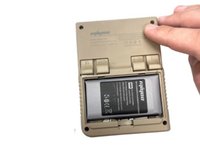
    • Use your fingernail to push in the battery compartment tab.

    • Lift the cover up to expose the battery.

    Frag FixBot

    Kommentar hinzufügen

  3. RetroMini Miyoo Mini Plus Screen Replacement: Schritt 3, Bild 1 von 1
    • Use an opening tool to gently lift the the battery from its compartment.

    • Gently pull the battery out and set the battery next to the system, with care not to strain the attached wire.

    Frag FixBot

    Kommentar hinzufügen

  4. RetroMini Miyoo Mini Plus Screen Replacement: Schritt 4, Bild 1 von 2 RetroMini Miyoo Mini Plus Screen Replacement: Schritt 4, Bild 2 von 2
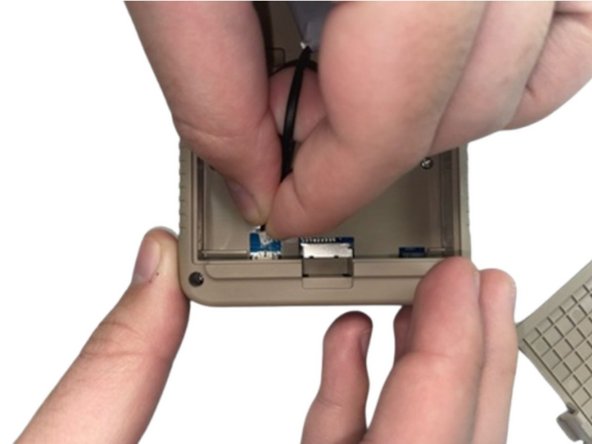
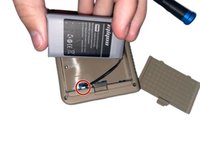
    • Pinch the white battery connector and pull it directly out of its socket.

    • Completely remove the battery.

    Frag FixBot

    Kommentar hinzufügen

  5. RetroMini Miyoo Mini Plus Screen Replacement: Schritt 5, Bild 1 von 2 RetroMini Miyoo Mini Plus Screen Replacement: Schritt 5, Bild 2 von 2
    • When you have the new battery, put the new battery wire into the connecter.

    • Place the battery back into the empty space with the wire at the bottom of the battery.

    Frag FixBot

    Kommentar hinzufügen

  6. RetroMini Miyoo Mini Plus Screen Replacement, Button: Schritt 6, Bild 1 von 2 RetroMini Miyoo Mini Plus Screen Replacement, Button: Schritt 6, Bild 2 von 2
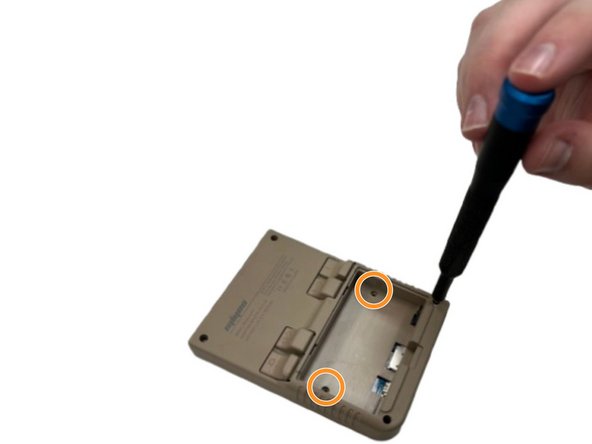
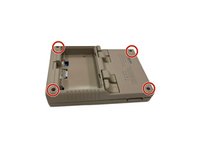
    • Remove the four screws securing the rear case with a Phillips screwdriver.

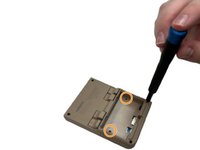
    • Remove the two Phillips screws inside the battery compartment.

    Frag FixBot

    Kommentar hinzufügen

  7. RetroMini Miyoo Mini Plus Screen Replacement: Schritt 7, Bild 1 von 2 RetroMini Miyoo Mini Plus Screen Replacement: Schritt 7, Bild 2 von 2
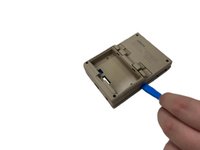
    • Insert an opening tool into the seam between the front and rear case.

    • Pry the front and rear case apart.

    Frag FixBot

    Kommentar hinzufügen

  8. RetroMini Miyoo Mini Plus Screen Replacement: Schritt 8, Bild 1 von 2 RetroMini Miyoo Mini Plus Screen Replacement: Schritt 8, Bild 2 von 2
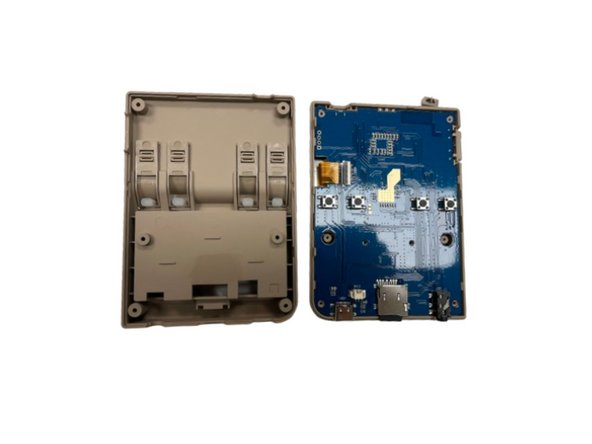
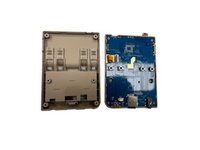
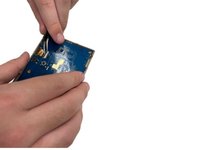
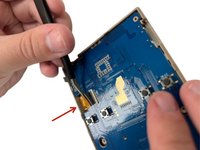
    • Gently set the rear case aside.

    • Make sure you lift the black tab on the left side of the motherboard and gently remove the ribbon cable as to not damage it when removing the motherboard from the case.

    Frag FixBot

    Kommentar hinzufügen

  9. RetroMini Miyoo Mini Plus Screen Replacement: Schritt 9, Bild 1 von 2 RetroMini Miyoo Mini Plus Screen Replacement: Schritt 9, Bild 2 von 2
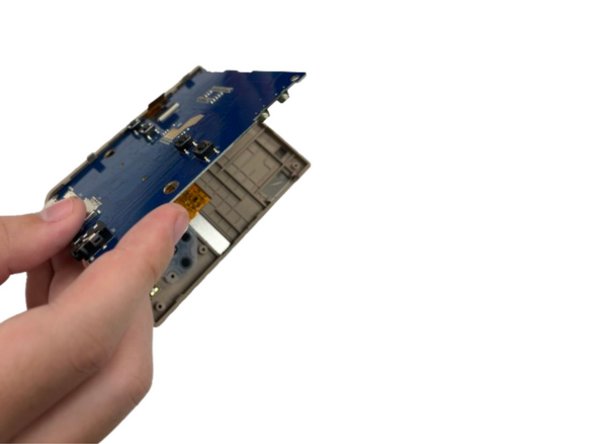
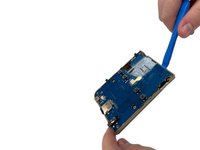
    • Use an opening tool to lift the motherboard from the chassis.

    Frag FixBot

    Kommentar hinzufügen

  10. RetroMini Miyoo Mini Plus Screen Replacement: Schritt 10, Bild 1 von 3 RetroMini Miyoo Mini Plus Screen Replacement: Schritt 10, Bild 2 von 3 RetroMini Miyoo Mini Plus Screen Replacement: Schritt 10, Bild 3 von 3
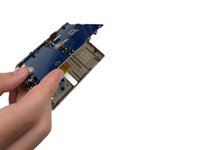
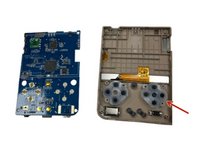
    • Gently set the motherboard to the side.

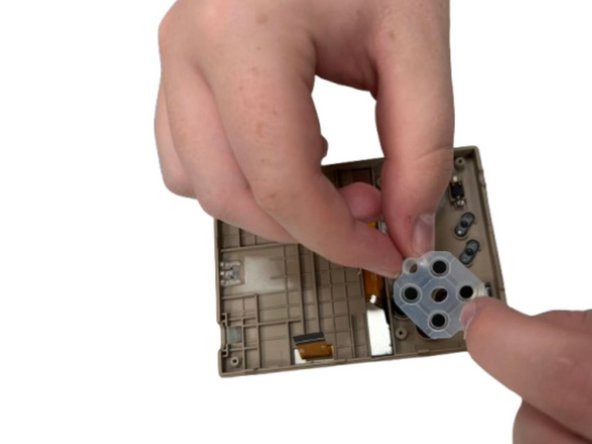
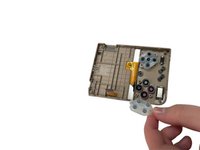
    • Remove the rubber button gasket.

    Frag FixBot

    Kommentar hinzufügen

  11. RetroMini Miyoo Mini Plus Screen Replacement: Schritt 11, Bild 1 von 1
    • Remove the button(s) you want to replace.

    Frag FixBot

    Kommentar hinzufügen

  12. RetroMini Miyoo Mini Plus Screen Replacement, Screen: Schritt 12, Bild 1 von 1
    • Heat an iOpener according to the instructions here.

    • Rest the iOpener Gel Bag on the screen for a minute.

    • Alternatively, use a hair dryer to gently heat the screen to loosen the adhesive that secures it.

    Frag FixBot

    Kommentar hinzufügen

  13. RetroMini Miyoo Mini Plus Screen Replacement: Schritt 13, Bild 1 von 2 RetroMini Miyoo Mini Plus Screen Replacement: Schritt 13, Bild 2 von 2
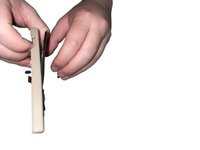
    • Gently apply pressure to the highlighted area on the front cover of the device.

    • While applying the pressure gently peel the screen off of the device.

    • Take care not to flex the screen. If the screen feels stubborn, apply more heat.

    Frag FixBot

    Kommentar hinzufügen

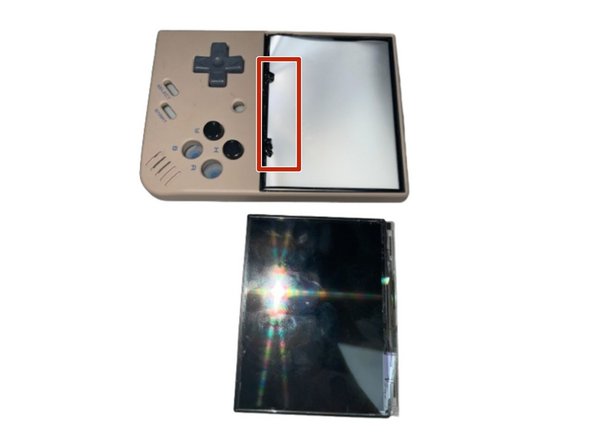
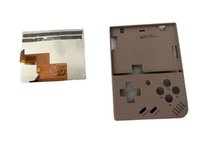
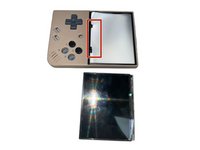
  14. RetroMini Miyoo Mini Plus Screen Replacement: Schritt 14, Bild 1 von 3 RetroMini Miyoo Mini Plus Screen Replacement: Schritt 14, Bild 2 von 3 RetroMini Miyoo Mini Plus Screen Replacement: Schritt 14, Bild 3 von 3
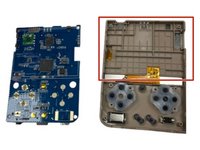
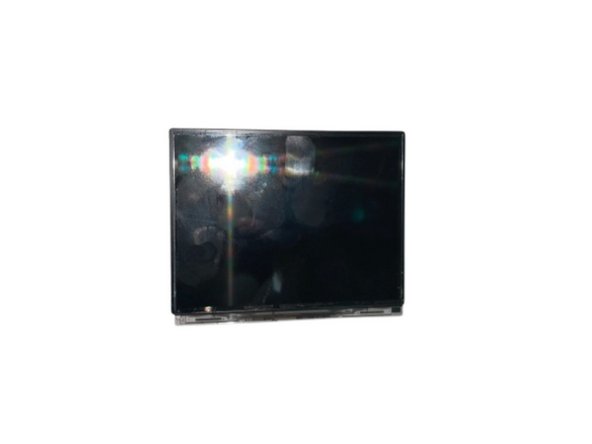
    • Set the new screen gently into the ridges (boxed in red) on the front of the backlit screen

    Frag FixBot

    Kommentar hinzufügen

Abschluss

To reassemble your device, follow the above steps in reverse order.

Take your e-waste to an R2 or e-Stewards certified recycler.

Repair didn’t go as planned? Try some basic troubleshooting.

Rückgängig: Ich habe diese Anleitung nicht absolviert.

2 weitere Personen haben diese Anleitung absolviert.

Kaden

Mitglied seit: 08/28/24

599 Reputation

4 Anleitungen geschrieben

Team

0 Kommentare zur Anleitung

Kommentar hinzufügen

Seitenaufrufe:

Letzte 24 Stunden: 3

Letzte 7 Tage: 47

Letzte 30 Tage: 209

Insgesamt: 2,418