Zum Hauptinhalt wechseln
Gemeinsam reparieren - Jetzt registrieren

Rexing V1P Plus Front Camera Replacement

Was du brauchst

    1. Rexing V1P Plus Front Camera Replacement, Front Camera: Schritt 1, Bild 1 von 3 Rexing V1P Plus Front Camera Replacement, Front Camera: Schritt 1, Bild 2 von 3 Rexing V1P Plus Front Camera Replacement, Front Camera: Schritt 1, Bild 3 von 3
      • Begin by orienting the device with the LCD screen facing down.

      • Remove the four 6 mm screws, located on the backside of the device, using the Phillips #00 screwdriver.

      Frag FixBot

      Kommentar hinzufügen

    2. Rexing V1P Plus Front Camera Replacement: Schritt 2, Bild 1 von 3 Rexing V1P Plus Front Camera Replacement: Schritt 2, Bild 2 von 3 Rexing V1P Plus Front Camera Replacement: Schritt 2, Bild 3 von 3
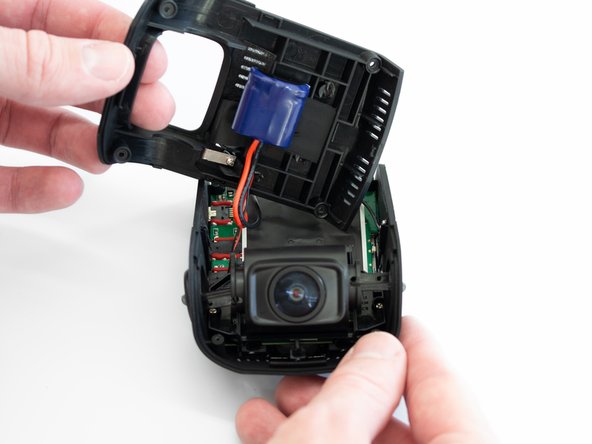
      • Remove the back cover of the device and place it to the side.

      • Rotate the device 180 degrees to where the camera is facing you.

      Frag FixBot

      Kommentar hinzufügen

    3. Rexing V1P Plus Front Camera Replacement: Schritt 3, Bild 1 von 3 Rexing V1P Plus Front Camera Replacement: Schritt 3, Bild 2 von 3 Rexing V1P Plus Front Camera Replacement: Schritt 3, Bild 3 von 3
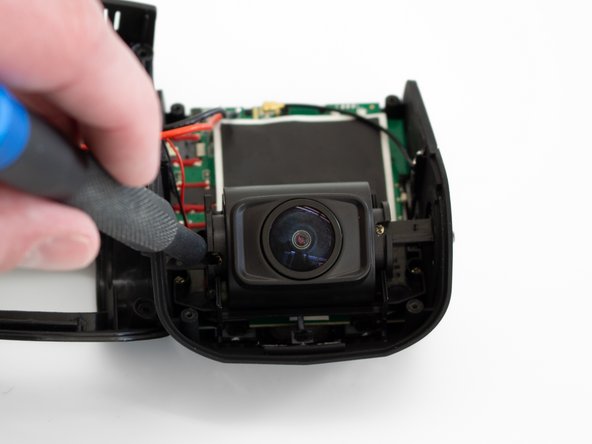
      • Remove the two 5 mm screws next to the lens using the Phillips #00 screwdriver.

      Frag FixBot

      Kommentar hinzufügen

    4. Rexing V1P Plus Front Camera Replacement: Schritt 4, Bild 1 von 3 Rexing V1P Plus Front Camera Replacement: Schritt 4, Bild 2 von 3 Rexing V1P Plus Front Camera Replacement: Schritt 4, Bild 3 von 3
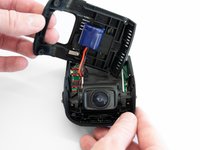
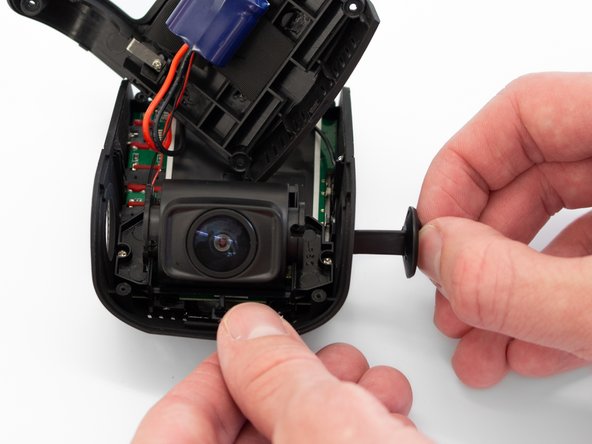
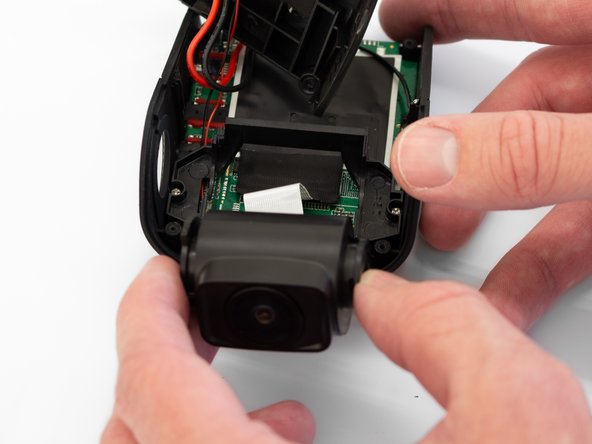
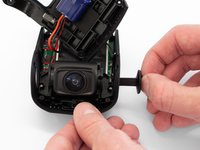
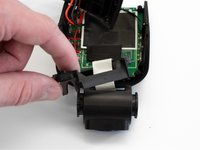
      • Remove the two camera angle adjusters from the side of the device and carefully pull out the lens.

      Frag FixBot

      Kommentar hinzufügen

    5. Rexing V1P Plus Front Camera Replacement: Schritt 5, Bild 1 von 3 Rexing V1P Plus Front Camera Replacement: Schritt 5, Bild 2 von 3 Rexing V1P Plus Front Camera Replacement: Schritt 5, Bild 3 von 3
      • Remove the two 5mm screws securing the camera support bracket using the Phillips #00 screwdriver.

      Frag FixBot

      Kommentar hinzufügen

    6. Rexing V1P Plus Front Camera Replacement: Schritt 6, Bild 1 von 3 Rexing V1P Plus Front Camera Replacement: Schritt 6, Bild 2 von 3 Rexing V1P Plus Front Camera Replacement: Schritt 6, Bild 3 von 3
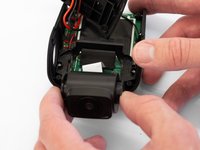
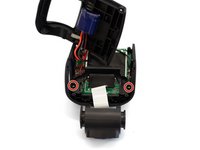
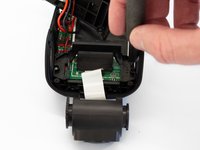
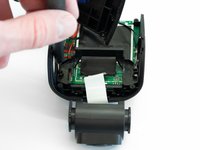
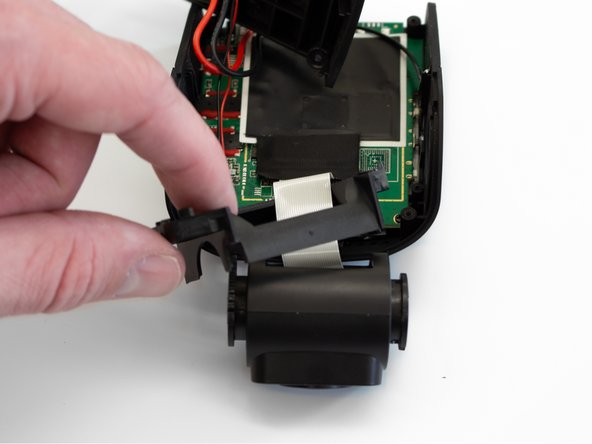
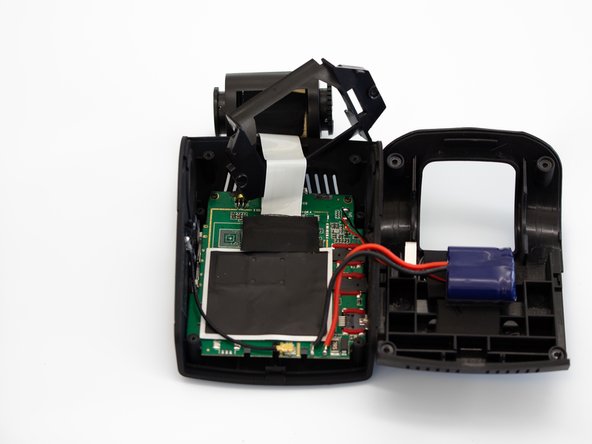
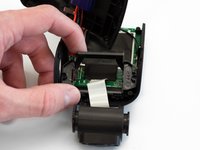
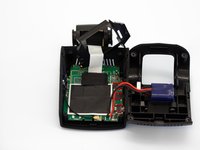
      • Carefully remove the plastic frame piece from its previously secured position on the motherboard.

      • It will rest loosely around the white camera ribbon.

      • Rotate the device 180 degrees to where the camera is facing away from you.

      Frag FixBot

      Kommentar hinzufügen

    7. Rexing V1P Plus Front Camera Replacement: Schritt 7, Bild 1 von 3 Rexing V1P Plus Front Camera Replacement: Schritt 7, Bild 2 von 3 Rexing V1P Plus Front Camera Replacement: Schritt 7, Bild 3 von 3
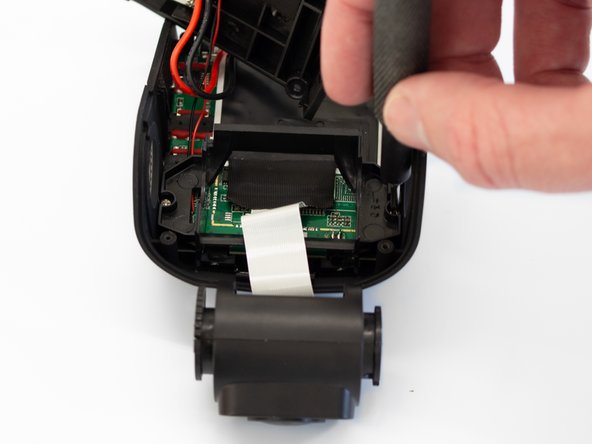
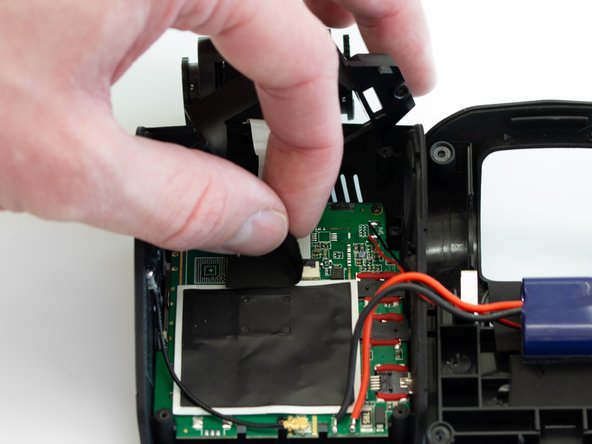
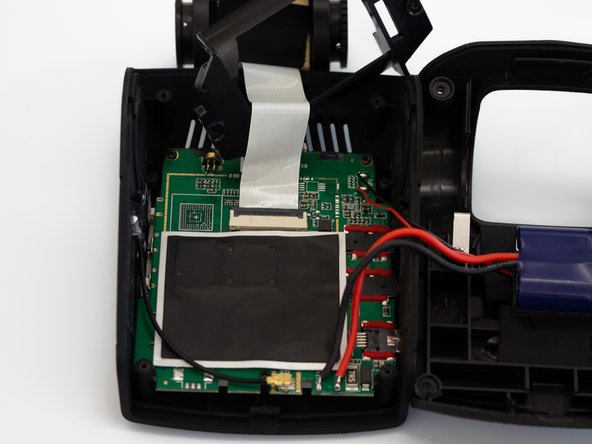
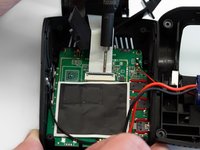
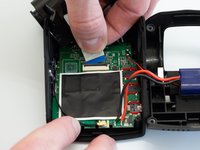
      • Carefully peel back the adhesive material covering the ribbon cable connection.

      Frag FixBot

      Kommentar hinzufügen

    8. Rexing V1P Plus Front Camera Replacement: Schritt 8, Bild 1 von 3 Rexing V1P Plus Front Camera Replacement: Schritt 8, Bild 2 von 3 Rexing V1P Plus Front Camera Replacement: Schritt 8, Bild 3 von 3
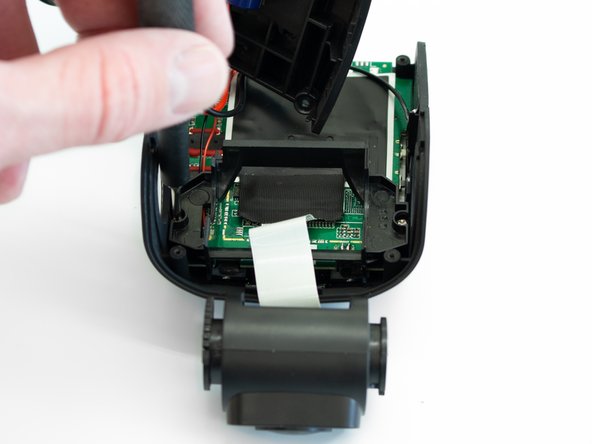
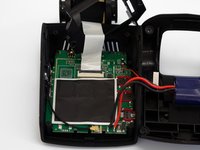
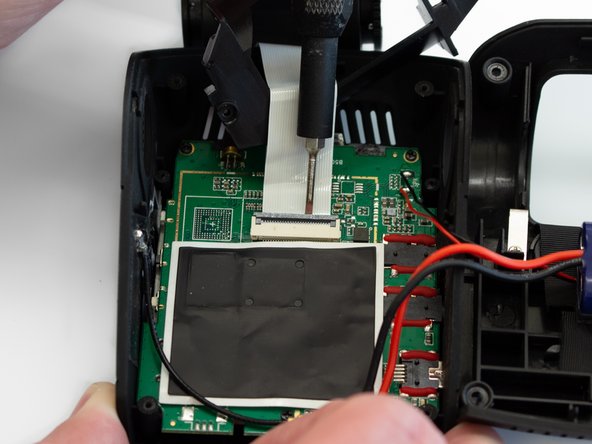
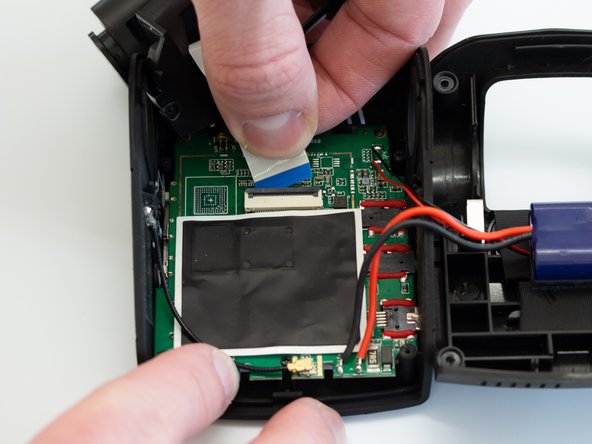
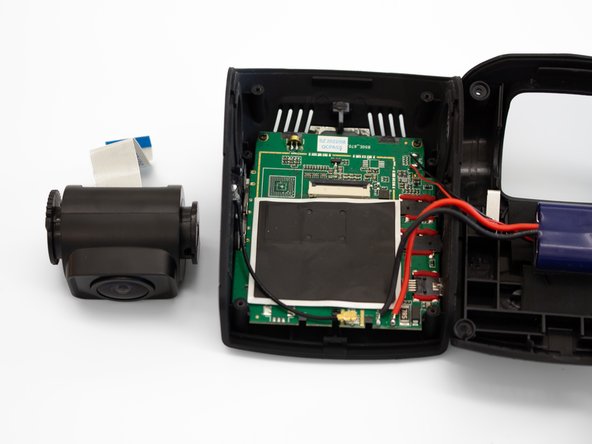
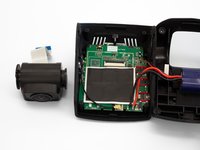
      • Using the Flathead 1.5mm screwdriver, or another pry tool, gently flip up the black ZIF connector locking flap to free the ribbon cable.

      • Once the connector is open, slide the ribbon cable out to remove it.

      Frag FixBot

      Kommentar hinzufügen

Abschluss

To reassemble your device, follow these instructions in reverse order.

Rückgängig: Ich habe diese Anleitung nicht absolviert.

Eine weitere Person hat diese Anleitung absolviert.

0 Kommentare zur Anleitung

Kommentar hinzufügen

Seitenaufrufe:

Letzte 24 Stunden: 0

Letzte 7 Tage: 4

Letzte 30 Tage: 9

Insgesamt: 376