Einleitung
In this guide, you will be shown how to take apart and replace the camera of the Ring Video Doorbell step-by-step. You will need a Phillips screwdriver size PH00 and a Plastic Tool Opener.
Was du brauchst
-
-
-
Start by using the PH00 Phillips Screwdriver to take out the 6 1 mm screw's on the bottom of the device.
-
Pry open the aluminum plate using the Plastic Opening Tool(s).
-
Remove the 2 1. mm screws using the PH00 Phillips Screwdriver.
 Frag FixBot
-
-
-
Pry open the back case as shown using the Plastic Opening Tool.
-
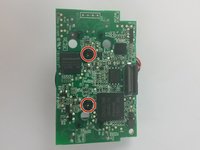
Disconnect the battery from motherboard by carefully pulling up on the connector.
-
-
-
-
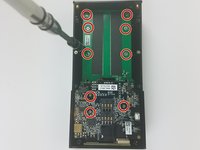
Unscrew the 9 1 mm screwdrivers using a PH00 Phillips Screwdriver.
-
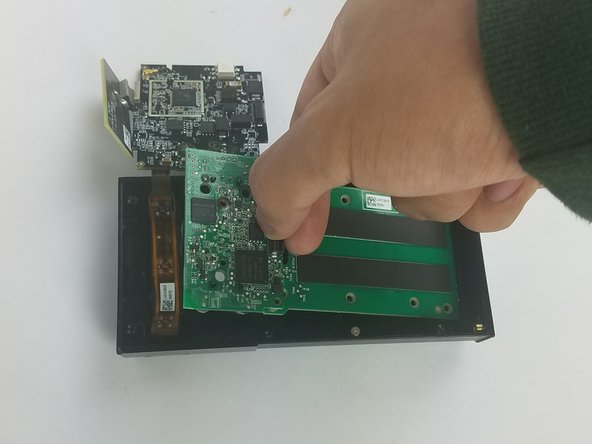
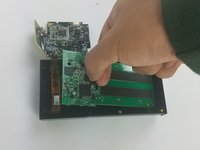
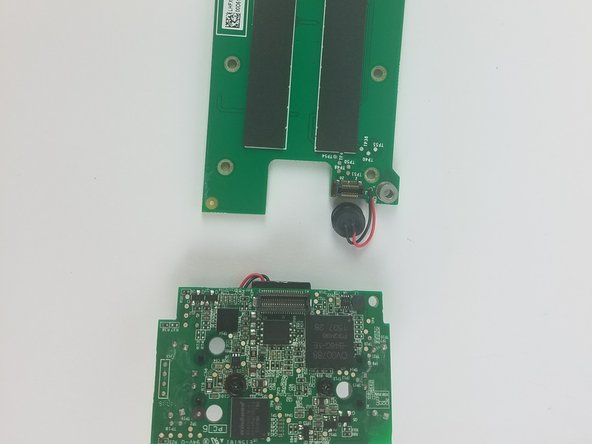
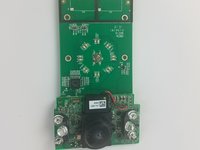
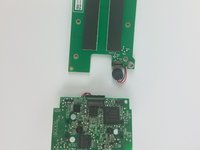
Carefully detach the motherboard, from the housing unit using your hands.
-
-
-
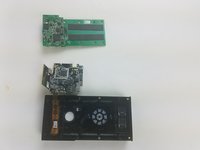
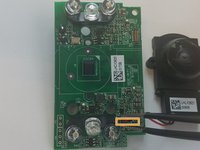
Using the Plating Tool Opener, arefully disconnect the ribbon cable that attaches the camera to the housing.
-
Replace camera, and follow the steps in reverse order to reassemble
-
-
In diesem Schritt verwendetes Werkzeug:Tweezers$4.99
-
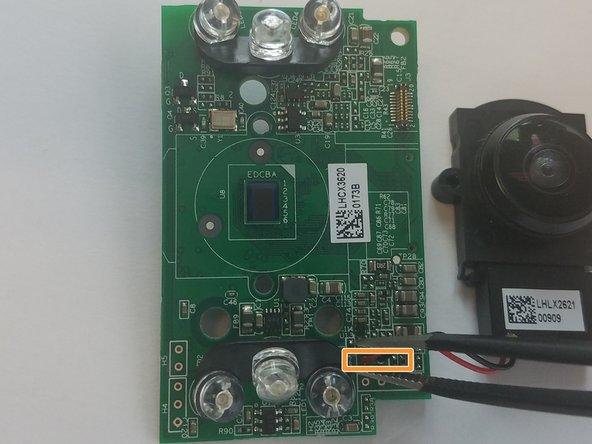
Unscrew the two 1 mm screws using the PH00 Philips Screwdriver.
-
Detach the black and red wire connected to the motherboard, using the tweezers, to remove the camera.
-
-






To reassemble your device, follow these instructions in reverse order.
Rückgängig: Ich habe diese Anleitung nicht absolviert.
3 weitere Personen haben diese Anleitung absolviert.

Team

USF Tampa, Team S11-G5, Cheng Spring 2018 Mitglied von USF Tampa, Team S11-G5, Cheng Spring 2018
USFT-CHENG-S18S11G5
3 Mitglieder
15 Anleitungen geschrieben
11 Kommentare zur Anleitung
What camera should I use to replace a malfunctioning camera in the ring video doorbell? And where do I buy it?
Bump. What camera should I use to replace? (Scratched Lens.) Is the lens you can touch, a lens, or is it just a cover? Mine fell at there is chip right in the center that make the image unusable.
I have a scratch dead center of mine too. Have no clue how it got there as I’m super careful when I take it off to charge. Ugh. did you find out where to buy a replacement?
What camera should I use to replace? (Scratched Lens.) I have the right 1st generation with a 740p camera
Has anyone found a replacement camera online?
