Einleitung
Replacement guide for a ThinkPad Edge E31 LCD screen (04W0471 [anti-glare] or 93P5657)
Was du brauchst
-
-
There are two two locks for the battery, one on the left and one on the right.
-
Slide the left lock to the left.
-
-
-
Slide and hold the right battery lock to the right.
-
While holding the right battery lock, slide the battery up to remove it from the laptop.
-
-
In diesem Schritt verwendetes Werkzeug:Tweezers$4.99
-
Remove the 4 rubber tabs on the corners of the screen. This can be easily done by twisting them off with the tweezers. The tabs have adhesive on the backs so they can be re-applied later.
-
-
-
-
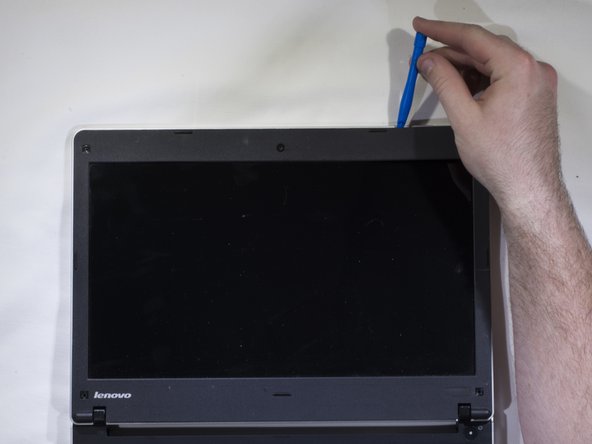
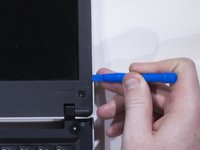
There are plastic tabs every couple of inches that hold the bezel on. Wedge the plastic opening tool in the seam between the screen bezel and the edge of the laptop. This will pop the tabs and allow you to remove the bezel.
-
Continue popping the bezel tabs around the edge of the screen until all of them are free and the bezel can be removed.
-
-
-
Under the bezel, there are 4, 3mm long M2 screws holding the screen to the hinge. Remove the screws.
-
-
-
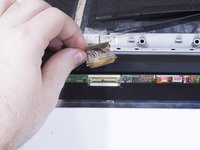
Place the screen face down on the keyboard. The only connection the screen has to the laptop is now its connection cable.There is a piece of tape covering the screen's connection cable. Using the tweezers, remove this tape.
-
-
-
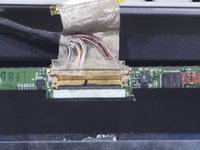
Underneath the tape there is an exposed connection. The connection cable that plugs into the screen has a securing wire lock that locks the connection in place. The locking wire has a piece of tape that secures it in place to the back of the screen. With the tweezers, carefully peel off this tape.
-
-
-
Now that the lock is no longer taped down, it can be lifted up so that the cable can be disconnected.
-
Now, unplug the connection cable, and the screen is completely disconnected.
-


To reassemble your device, follow these instructions in reverse order.
Team

UMass Dartmouth, Team S6-G5, Isaacson Spring 2017 Mitglied von UMass Dartmouth, Team S6-G5, Isaacson Spring 2017
UMASSD-ISAACSON-S17S6G5
4 Mitglieder
6 Anleitungen geschrieben