Zum Hauptinhalt wechseln
Gemeinsam reparieren - Jetzt registrieren

VTech Baby's Learning Laptop Volume Switch Replacement

Was du brauchst

    1. VTech Baby's Learning Laptop Volume Switch  Replacement, Battery and Rear Panel: Schritt 1, Bild 1 von 1
      • To remove the battery door, loosen the screw shown using a Phillips #2 screwdriver.

      • A coin can also be used to loosen the screw.

      Frag FixBot

      Kommentar hinzufügen

    2. VTech Baby's Learning Laptop Volume Switch  Replacement: Schritt 2, Bild 1 von 1
      • Remove the battery door.

      • Take out the batteries.

      Frag FixBot

      Kommentar hinzufügen

    3. VTech Baby's Learning Laptop Volume Switch  Replacement: Schritt 3, Bild 1 von 1
      • Remove the rear panel screws using a Phillips #2 screwdriver.

      • Two 21.6mm (Long)

      • One 9.8mm (Short)

      • Five 13.8mm (Medium)

      Frag FixBot

      Kommentar hinzufügen

    4. VTech Baby's Learning Laptop Volume Switch  Replacement: Schritt 4, Bild 1 von 2 VTech Baby's Learning Laptop Volume Switch  Replacement: Schritt 4, Bild 2 von 2
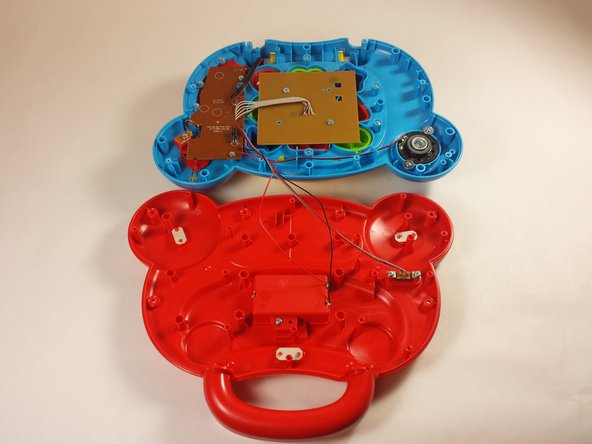
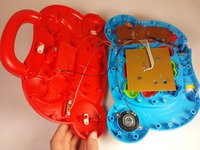
      • Gently pull up on the rear panel.

      • Be careful not to pull on the wire connections.

      • Rest the laptop open on the table.

      Frag FixBot

      Kommentar hinzufügen

    1. VTech Baby's Learning Laptop Volume Switch  Replacement, Volume Switch: Schritt 5, Bild 1 von 1
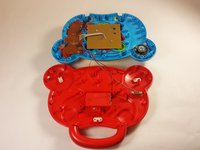
      • Flip your device so the bottom panel is facing up.

      Frag FixBot

      Kommentar hinzufügen

    2. VTech Baby's Learning Laptop Volume Switch  Replacement: Schritt 6, Bild 1 von 2 VTech Baby's Learning Laptop Volume Switch  Replacement: Schritt 6, Bild 2 von 2
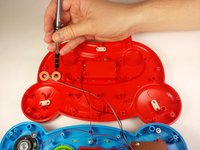
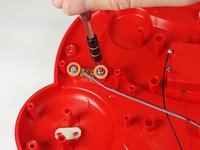
      • Use a Phillips #2 screwdriver to remove the two 7.7mm screws on the volume switch.

      Frag FixBot

      Kommentar hinzufügen

    3. VTech Baby's Learning Laptop Volume Switch  Replacement: Schritt 7, Bild 1 von 2 VTech Baby's Learning Laptop Volume Switch  Replacement: Schritt 7, Bild 2 von 2
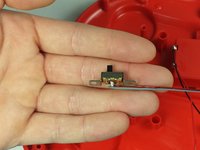
      • Remove the volume switch.

      • Be careful not damage the wiring.

      Frag FixBot

      Kommentar hinzufügen

Abschluss

To reassemble your device, follow these instructions in reverse order.

Rückgängig: Ich habe diese Anleitung nicht absolviert.

Team

USF Tampa, Team 12-2, Blackwell Fall 2015 Mitglied von USF Tampa, Team 12-2, Blackwell Fall 2015

USFT-BLACKWELL-F15S12G2

4 Mitglieder

14 Anleitungen geschrieben

0 Kommentare zur Anleitung

Kommentar hinzufügen

Seitenaufrufe:

Letzte 24 Stunden: 1

Letzte 7 Tage: 8

Letzte 30 Tage: 42

Insgesamt: 1,222