Zum Hauptinhalt wechseln
Gemeinsam reparieren - Jetzt registrieren

VTech InnoTab 2 Camera Replacement

Was du brauchst

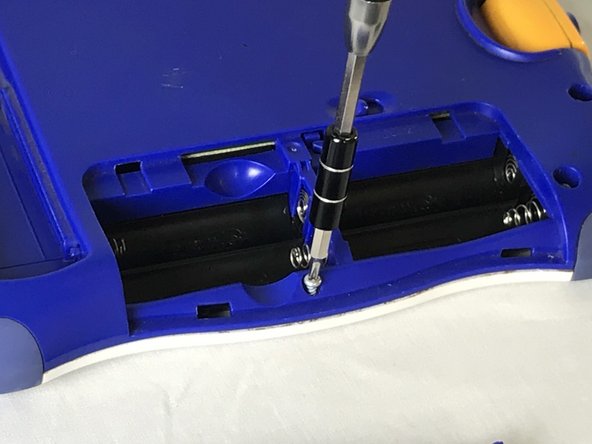
    1. VTech InnoTab 2 Camera Replacement, Battery: Schritt 1, Bild 1 von 3 VTech InnoTab 2 Camera Replacement, Battery: Schritt 1, Bild 2 von 3 VTech InnoTab 2 Camera Replacement, Battery: Schritt 1, Bild 3 von 3
      • Apply slight pressure and slide the button above the battery cabinet to the right to open.

      • Remove battery cabinet cover by sliding away from the center of device.

      • This device requires 4AA batteries to function without the AC adaptor.

      Frag FixBot

      Kommentar hinzufügen

    1. VTech InnoTab 2 Camera Replacement, Back Panel: Schritt 2, Bild 1 von 3 VTech InnoTab 2 Camera Replacement, Back Panel: Schritt 2, Bild 2 von 3 VTech InnoTab 2 Camera Replacement, Back Panel: Schritt 2, Bild 3 von 3
      • Remove all nine plastic caps from the back of the device using the plastic opening tool.

      • These covers are made of hard plastic so they may be difficult to remove.

      Frag FixBot

      Kommentar hinzufügen

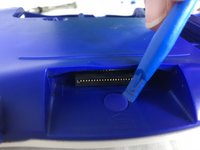
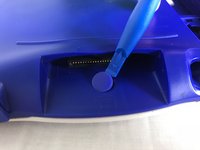
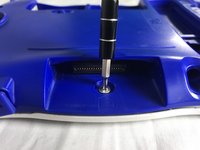
    2. VTech InnoTab 2 Camera Replacement: Schritt 3, Bild 1 von 3 VTech InnoTab 2 Camera Replacement: Schritt 3, Bild 2 von 3 VTech InnoTab 2 Camera Replacement: Schritt 3, Bild 3 von 3
      • Remove the hard rubber tab located by the cartridge slot using the plastic opening tool.

      • Be careful not to apply excessive force.

      • Once the rubber tab is removed unscrew the single 7 mm screw using a J0 screwdriver.

      Frag FixBot

      Kommentar hinzufügen

    3. VTech InnoTab 2 Camera Replacement: Schritt 4, Bild 1 von 2 VTech InnoTab 2 Camera Replacement: Schritt 4, Bild 2 von 2
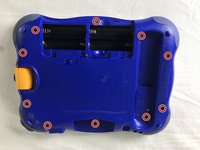
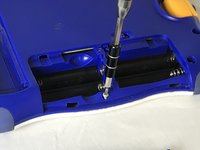
      • Remove all ten 7mm screws from the back panel of the device using a JO bit screwdriver.

      • Do not use excessive force while removing the screws to prevent damaging the plastic case.

      Frag FixBot

      Kommentar hinzufügen

    4. VTech InnoTab 2 Camera Replacement: Schritt 5, Bild 1 von 2 VTech InnoTab 2 Camera Replacement: Schritt 5, Bild 2 von 2
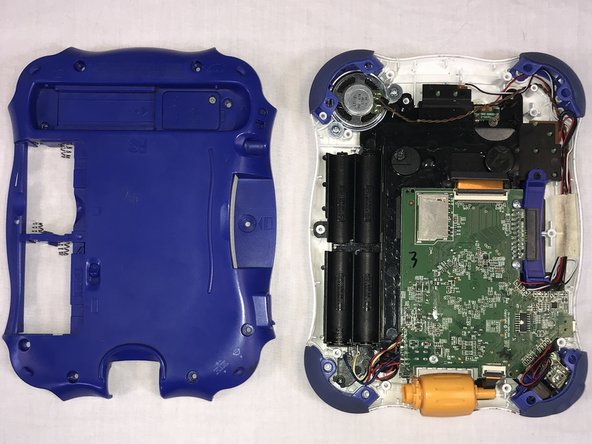
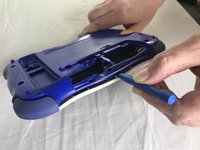
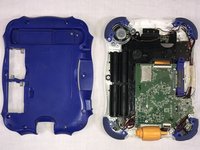
      • Using the plastic opening tool, detach the back plate from the front piece.

      • Do not use excessive force. If the back plate does not gently come on double check that all screws were removed.

      • Once the back panel is removed, you will be able to see the motherboard and other components within the device.

      Frag FixBot

      Kommentar hinzufügen

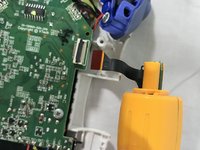
    1. VTech InnoTab 2 Camera Replacement, Camera: Schritt 6, Bild 1 von 3 VTech InnoTab 2 Camera Replacement, Camera: Schritt 6, Bild 2 von 3 VTech InnoTab 2 Camera Replacement, Camera: Schritt 6, Bild 3 von 3
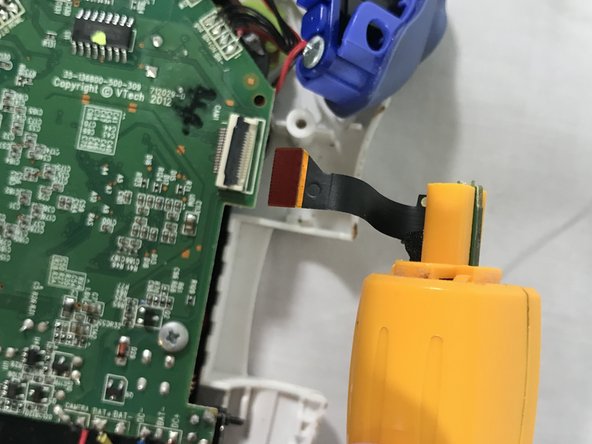
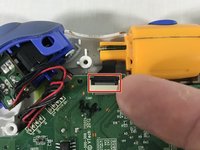
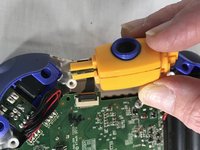
      • Using the tip of your finger, carefully pull the clip upwards to release the camera connection from the motherboard.

      • The connection to the camera is located on top side of the devices motherboard.

      • Pulling the camera while the connection to the motherboard is still intact can cause damage to the circuit board.

      • Attach the replacement camera and lower the latch until a click sound can be heard.

      Frag FixBot

      Kommentar hinzufügen

Abschluss

To reassemble your device, follow these instructions in reverse order.

Rückgängig: Ich habe diese Anleitung nicht absolviert.

Team

USF Tampa, Team S1-G85, Cagle Fall 2017 Mitglied von USF Tampa, Team S1-G85, Cagle Fall 2017

USFT-CAGLE-F17S1G85

2 Mitglieder

10 Anleitungen geschrieben

0 Kommentare zur Anleitung

Kommentar hinzufügen

Seitenaufrufe:

Letzte 24 Stunden: 1

Letzte 7 Tage: 5

Letzte 30 Tage: 21

Insgesamt: 669