Zum Hauptinhalt wechseln
Gemeinsam reparieren - Jetzt registrieren

iHome iPL8 Buttons Replacement

Was du brauchst

    1. iHome iPL8  Buttons Replacement, Battery: Schritt 1, Bild 1 von 1
      • Turn the device over to access the bottom panel.

      • Locate the 6mm Phillips #2 screw under the label "unscrew to open door."

      Frag FixBot

      Kommentar hinzufügen

    2. iHome iPL8  Buttons Replacement: Schritt 2, Bild 1 von 1
      • Using a Phillips #2 screwdriver, unscrew the captive screw.

      • Keep turning until the screw and the door are loose.

      Frag FixBot

      Kommentar hinzufügen

    3. iHome iPL8  Buttons Replacement: Schritt 3, Bild 1 von 1
      • Lift and remove the battery access panel.

      • The captive screw will remain attached to the panel.

      Frag FixBot

      Kommentar hinzufügen

    4. iHome iPL8  Buttons Replacement: Schritt 4, Bild 1 von 2 iHome iPL8  Buttons Replacement: Schritt 4, Bild 2 von 2
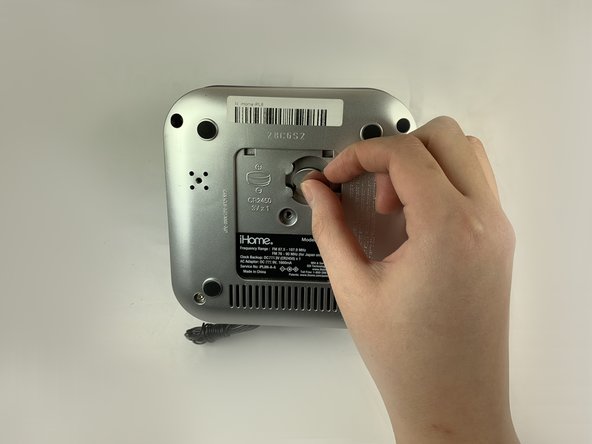
      • Gently press on the rim of the 3V battery.

      • Remove the 3V battery.

      Frag FixBot

      Kommentar hinzufügen

    1. iHome iPL8  Buttons Replacement, Lightning Connector: Schritt 5, Bild 1 von 1
      • Keeping your device upside-down, locate the four 6mm Phillips #2 screws near each corner.

      • Remove the four 6mm Phillips #2 screws.

      Frag FixBot

      Kommentar hinzufügen

    2. iHome iPL8  Buttons Replacement: Schritt 6, Bild 1 von 1
      • Remove the four round pads from the bottom of the device.

      • There are two additional 6mm Phillips #2 screws under the pads.

      • Using a Phillips #2 screwdriver, remove the two remaining screws.

      • Put your hand on the silver bottom case and gently pull it outward.

      Frag FixBot

      Kommentar hinzufügen

    3. iHome iPL8  Buttons Replacement: Schritt 7, Bild 1 von 2 iHome iPL8  Buttons Replacement: Schritt 7, Bild 2 von 2
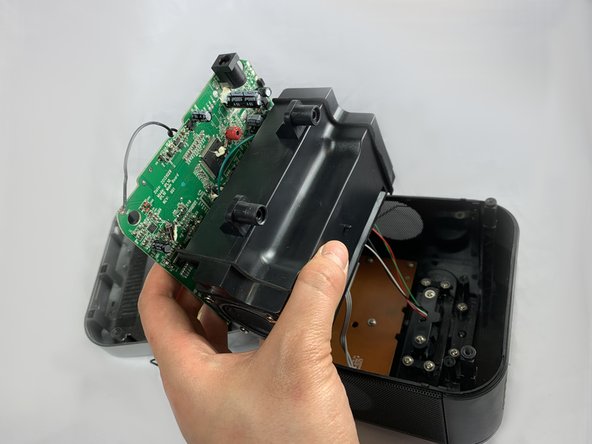
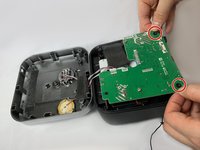
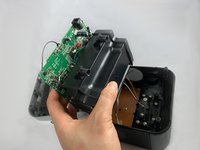
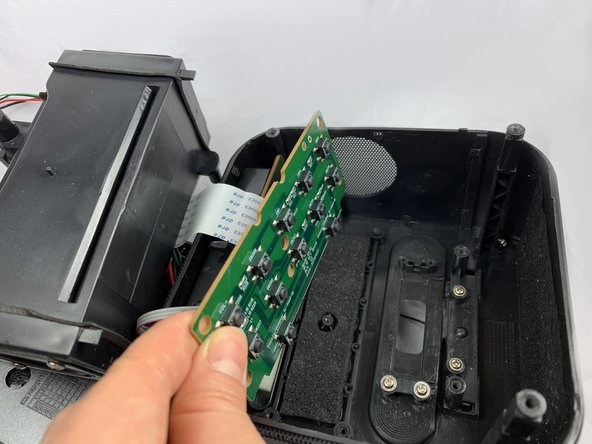
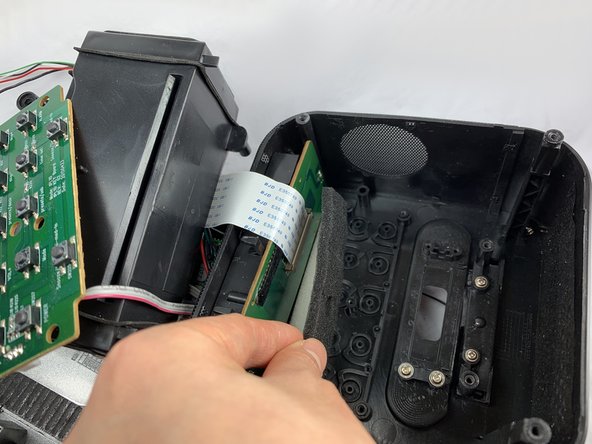
      • Locate the green circuit board. This panel is clipped onto two black, circular-shaped columns at two corners.

      • Pull out the green circuit board on the two corners.

      • The green circuit board is attached to a black box at the bottom. Flip the panel and the black box together to open the device.

      Frag FixBot

      Kommentar hinzufügen

    4. iHome iPL8  Buttons Replacement: Schritt 8, Bild 1 von 2 iHome iPL8  Buttons Replacement: Schritt 8, Bild 2 von 2
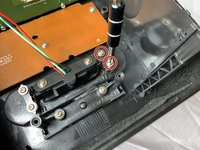
      • Remove the two 2.5 mm Phillips #1 screws securing the lightning dock assembly to the device.

      • Remove the two screws and the black cover.

      • Gently remove the lightning dock assembly.

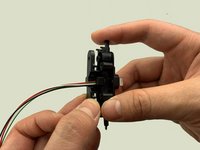
      • The lightning dock assembly is connected to wires.

      Frag FixBot

      Kommentar hinzufügen

    5. iHome iPL8  Buttons Replacement: Schritt 9, Bild 1 von 3 iHome iPL8  Buttons Replacement: Schritt 9, Bild 2 von 3 iHome iPL8  Buttons Replacement: Schritt 9, Bild 3 von 3
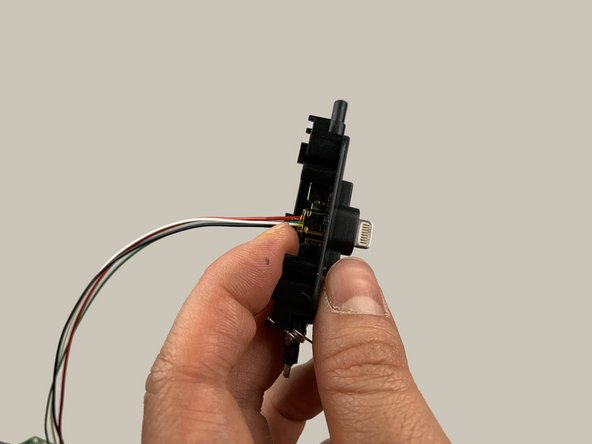
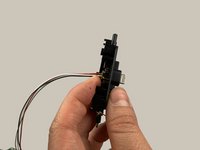
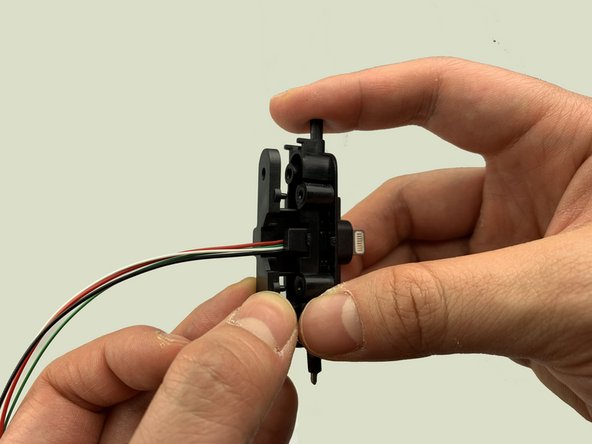
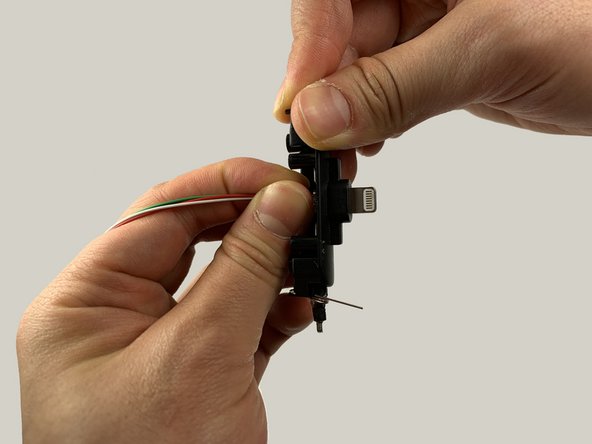
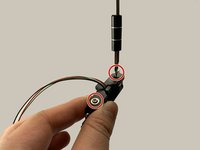
      • Remove the two 2.5mm screws using a Phillips #1 screwdriver.

      • Remove the back cover.

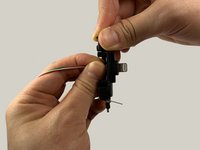
      • Use your fingers to reposition the lightning connector.

      • Make sure ALL of the lightning connector is exposed.

      Frag FixBot

      Kommentar hinzufügen

    1. iHome iPL8  Buttons Replacement, Buttons: Schritt 10, Bild 1 von 3 iHome iPL8  Buttons Replacement, Buttons: Schritt 10, Bild 2 von 3 iHome iPL8  Buttons Replacement, Buttons: Schritt 10, Bild 3 von 3
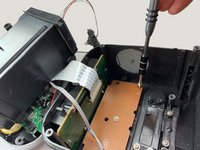
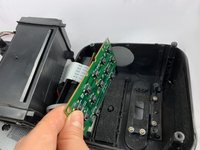
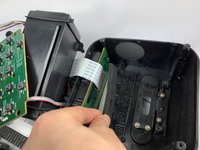
      • Locate the light brown, rectangular button board. Remove the five 2.5 mm Phillips #1 screws, four along the perimeter and one in the center.

      • Remove the brown button board.

      • There is a foam sheet underneath the button board. Use your hand to take it off and put it aside.

      Frag FixBot

      Kommentar hinzufügen

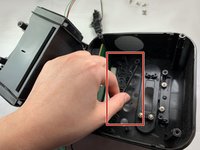
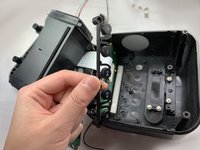
    2. iHome iPL8  Buttons Replacement: Schritt 11, Bild 1 von 2 iHome iPL8  Buttons Replacement: Schritt 11, Bild 2 von 2
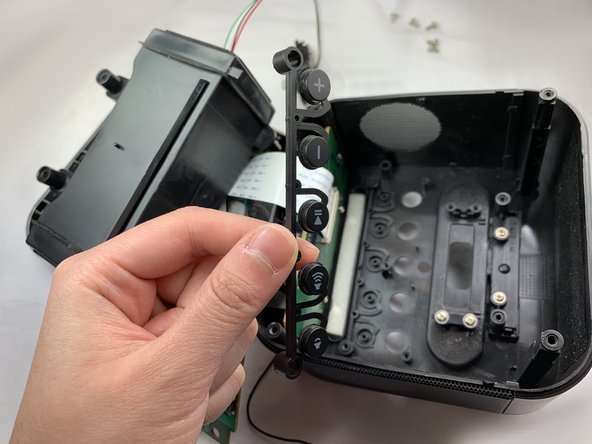
      • There are two rows of buttons clipped on to the small, circular, black columns.

      • Gently unclip the two rows of buttons and remove them.

      Frag FixBot

      Kommentar hinzufügen

Abschluss

To reassemble your device, follow these instructions in reverse order.

Rückgängig: Ich habe diese Anleitung nicht absolviert.

Eine weitere Person hat diese Anleitung absolviert.

Team

UC Davis, Team S18-G5, Lore Winter 2019 Mitglied von UC Davis, Team S18-G5, Lore Winter 2019

UCD-LORE-W19S18G5

3 Mitglieder

12 Anleitungen geschrieben

0 Kommentare zur Anleitung

Kommentar hinzufügen

Seitenaufrufe:

Letzte 24 Stunden: 1

Letzte 7 Tage: 4

Letzte 30 Tage: 12

Insgesamt: 524