Was du brauchst
-
-
Make sure you iPod is powered off before starting the repair
-
Hold the Sleep/Wake Button (Power Button) for about 3-5 seconds.
-
-
-
The bottom of the screen is held in place with adhesive.
-
Use the iOpener or Heat gun to soften the adhesive
-
-
-
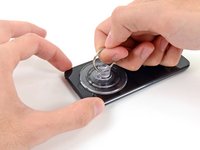
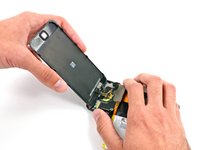
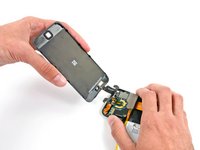
Place a suction cup just above the home button, towards the lower section of the glass.
-
Press it firmly to ensure the cup has a strong seal.
-
Hold iPod firmly on a hard surface
-
Start to Lift the suction cup, and start to firmly pull constantly until the adhesive breaks, and the display comes up from the rear case.
-
When lifting the screen apart if adhesive is still sticking to the display you may get a razor blade to cut the adhesive.
-
-
-
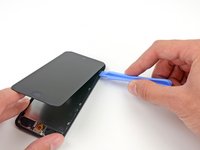
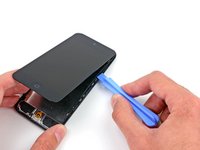
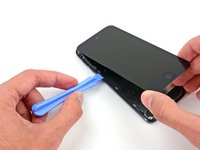
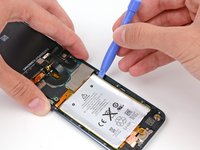
Start at the top of the Bezel, Using a plastic opening tool, insert it into the gap between the plastic frame and the rear case.
-
Slid to tool down the Bezel to loosen it from the case.
-
-
-
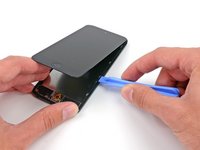
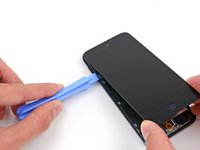
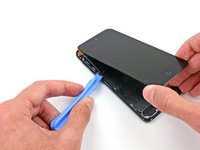
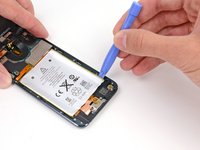
Insert the plastic opening tool between the frame and the rear case behind the first clip.
-
Rock the tool sideways, to spread the gap behind the clip and separate it from the rear case.
-
Repeat the procedure with the next two clips on that side
-
-
-
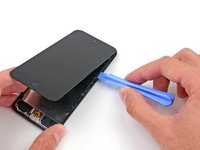
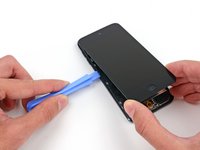
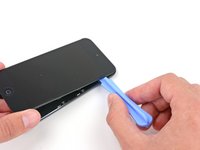
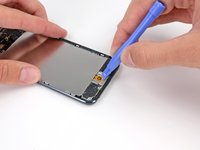
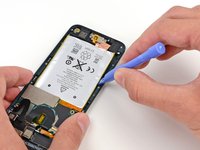
Moving onto the left side of the bezel, insert the plastic opening tool into the gap between the frame and the rear case near the top.
-
Now slide the tool down, loosening the frame from the case.
-
-
-
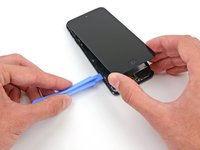
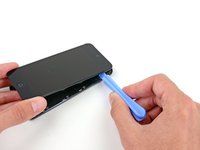
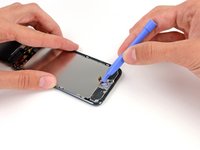
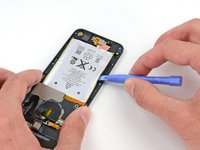
Insert the plastic opening tool between the frame and the rear case behind the first clip.
-
Rock the tool sideways, to spread the gap behind the clip and separate it from the rear case.
-
Repeat the procedure with the next two clips on that side
-
-
-
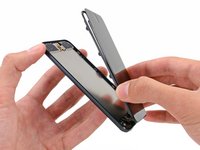
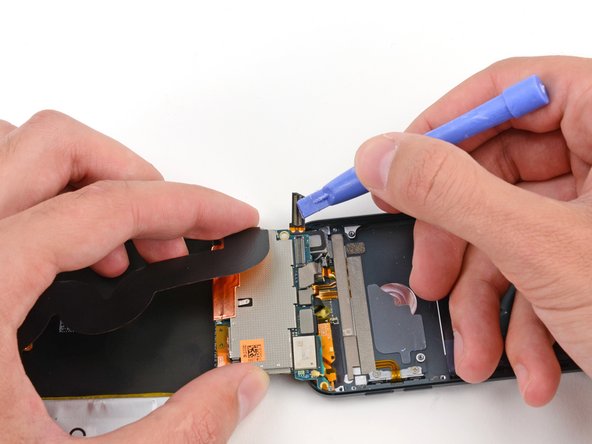
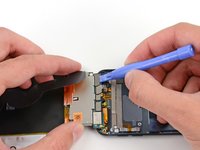
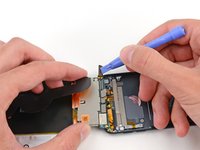
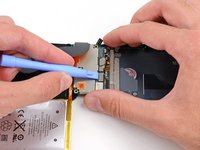
Insert the plastic opening tool between the display assembly and the rear case near the top of the iPod.
-
Barley twist the opening tool to lift the front panel up from the rear case.
-
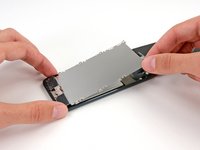
Separate the display assembly from the iPod.
-
-
-
-
Carefully fold the display over away from the rest of the iPod, watching out not to disconnect or break any of the ribbon cables. Set the two halves flat on a flat surface
-
Use a plastic opening tool to pry the home button switch up from the LCD Plate
-
Do not try to remove the home button switch, because it is connected to components below the LCD plate.
-
-
-
Remove the following screws securing the LCD plate to the rear case:
-
Two 1.2 mm #00 Phillips screws
-
Nine 1.6 mm #00 Phillips screws
-
One 2.3 mm #00 Phillips screw
-
-
-
Remove three 1.6 mm #00 Phillips screws that are securing the logic board onto the rear case.
-
-
-
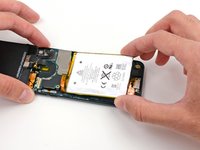
Turn the iPod to the back were you can see the Apple logo and apply heat there to soften adhesive
There are adhesive tabs under the battery. At the bottom of the battery you will see a black strip.. That strip is your starting point to pull gently towards you allowing for the adhesive to be stretched and eventually come out from under the battery.
-
-
-
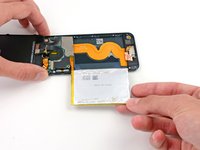
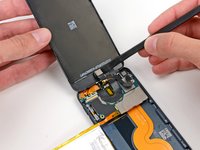
Insert a plastic opening tool into the top right notch and gently pry up on the battery.
-
Continue with the lower right notch. Insert a plastic opening tool into the notch, and gently lift up on the side of the battery.
-
-
-
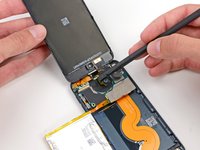
Once all of the adhesive is loose, lift the battery up from the bottom and sway it out over the left side of the rear case.
-
Once battery is out of case turn the battery over to straighten its cable and set it down.
-
-
-
Get a spudger and use the flat end of it to take out facing camera out of its socket in the display assembly.
-
-
-
Use the tip of a spudger to peel back a piece of tape covering a screw on the side of the headphone jack.
-
-
-
Remove the following screws securing the headphone jack, Lightning connector, and speaker.
-
Three 2.6 mm #00 Phillips screws
-
Two 2.0 mm #00 Phillips screws
-
-
-
Gripping the large ribbon cable, gently pull the Lightning connector assembly out of the bottom of the case.
-
-
-
Flip the entire assembly over, showing the back of the logic board.
-
Use a plastic opening tool to disconnect the digitizer cable from the logic board.
-
-
-
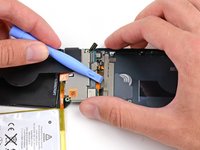
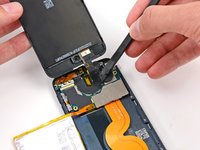
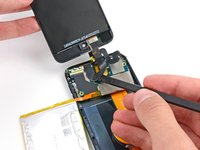
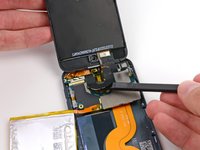
Flip the Lightning connector/logic board assembly back over to expose the top of the logic board.
-
The display cable is lightly adhered to the top of the logic board.
-
Use the flat end of a spudger to peel the display cable up from the logic board.
-


To reassemble your device, follow these instructions in reverse order.
To reassemble your device, follow these instructions in reverse order.
Rückgängig: Ich habe diese Anleitung nicht absolviert.
16 weitere Personen haben diese Anleitung absolviert.

Team

Aiden's Tech Repairs Mitglied von Aiden's Tech Repairs
Business
1 Mitglied
6 Anleitungen geschrieben
2 Kommentare
This is a very comprehensive guide, but it is way beyond me.
I’d rather live with erratic behaviour in my current iPod, or ditch it and rely on my Android cell-phone for the same functions.