KIT COMPONENTS
Part Number 9A227001/002 003-0813-00
Description
Qty.
Seat Rails.......................................1
Installation / Operation Instructions 1
REQUIRED TOOLS
Phillips screwdriver with 7"-8" (17.8-20.3 cm) shaft and magnetic tip.
5/32" and 7/32" Allen wrench
9/16" Open end wrench and socket
Torque wrench for up to 50 ft-lbs. (67.8 N•M) Hammer
INTRODUCTION
To provide a secure support for attachment of Midmark accessories to seat section.
WARNING
Do not use simultaneously with a 9A20500X Base Rail Assembly.
Installation/Operation Instructions
9A227001/002 SEAT RAILS
NOTE
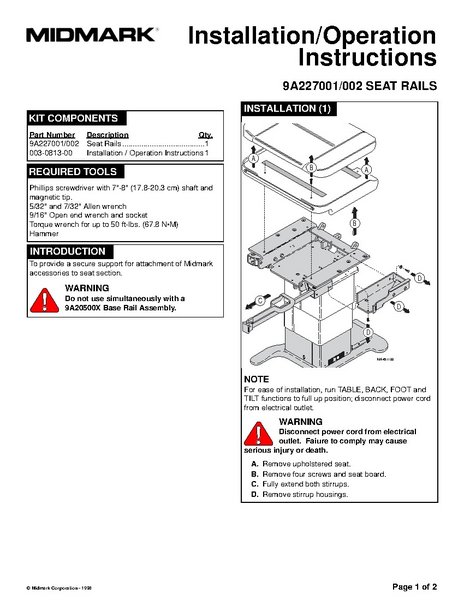
For ease of installation, run TABLE, BACK, FOOT and TILT functions to full up position; disconnect power cord from electrical outlet.
WARNING
Disconnect power cord from electrical outlet. Faiure to comply may cause serious injury or death.
- A. Remove upholstered seat.
- B. Remove four screws and seat board.
- C. Fully extend both stirrups.
- D. Remove stirrup housings.
INSTALLATION (2)
EQUIPMENT ALERT
Use care not to bend or distort spring pins. Position spring pins at bottom of rail.
- A. Install one spring pin in each rail.
- B. Install two spacers and rail on each bracket with 3/8'-16 x 3' screws and locknuts and torque locknuts to 31-35 ft-lbs. ( 42-47.5 N·M ).
INSTALLATION (3)
CAUTION
Bracket and rail must not extend past head end of seat. If necessary, relocate to next set of mounting holes or turn rail end-for-end or exchange it with rail on opposite side.
- A. Install assembled bracket on each side of seat using three 3/8"-16 x 1" screws and locknuts, torque locknuts to 31-35 ft-lbs. ( 42-47.5 N·M).
INSTALLATION (4)
- A. Re-install stirrup housings with three screws and washers.
- B. Push stirrups in.
- C. Re-install seat board using four screws.
- D. Re-install upholstered seat.
FAX (937) 526-5542 (937) 526-3662 Midmark Corporation, Versailles, Ohio 45380 U.S.A.
