Diese Übersetzung wurde maschinell erstellt und noch nicht von einem Menschen überprüft. Sprichst du diese Sprache? Schau es dir an.
Einleitung
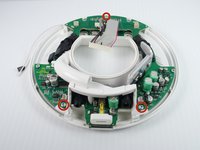
Diese Anleitung beschreibt die notwendigen Schritte, um die Leiterplatte vom unteren Kunststoffgehäuse zu trennen. Außerdem wird erklärt, wie der Kühlkörper und das Basisrohr entfernt werden, um an die Zusatzbuchse und den Stromanschluss zu gelangen.
Was du brauchst
-
-
-
Drehe das Gerät um, so dass die drei Gummipads nach oben zeigen.
 Frag FixBot
-
-
-
Erhitze eines der Gummipads mit einer Heißluftpistole (niedrige Stufe), bis es sich leicht entfernen lässt. Dieser Schritt dauert etwa 5–7 Minuten.
-
-
-
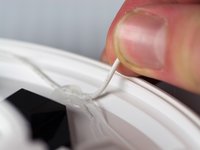
Entferne das erhitzte Gummipolster mit einem Öffnungswerkzeug aus Kunststoff.
-
Wiederhole die Schritte 2 und 3 für die beiden verbleibenden Gummipads.
-
-
-
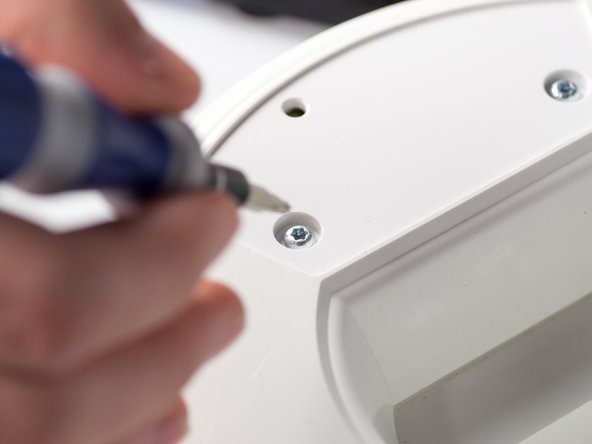
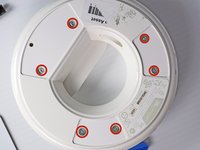
Entferne die sechs 1 cm langen T10-Torxschrauben an der Unterseite des Geräts (unter den Gummipolstern) mit einem T10-Torxschraubendreher.
-
-
-
-
Ziehe den Flachbandkabelstecker nach außen und parallel zu den Anschlussstiften und trenne ihn vom oberen Gehäuseteil ab.
-
-
-
Suche die beiden Molex-Stecker auf beiden Seiten des Flachbandkabels in der unteren Hälfte des Geräts und trenne sie ab.
-
-
-
-
-
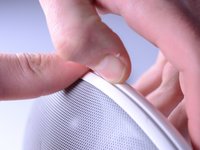
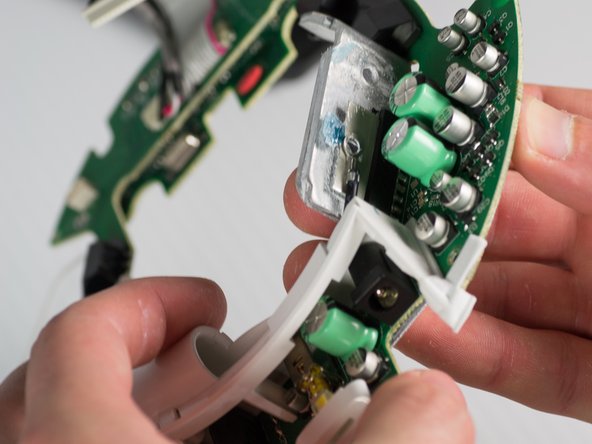
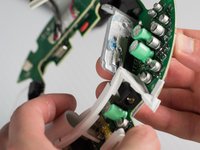
Drücke vorsichtig die weiße Basisröhre heraus und schiebe die Leiterplatte nach oben.
-
-
-
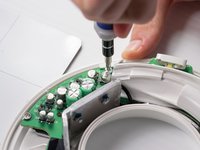
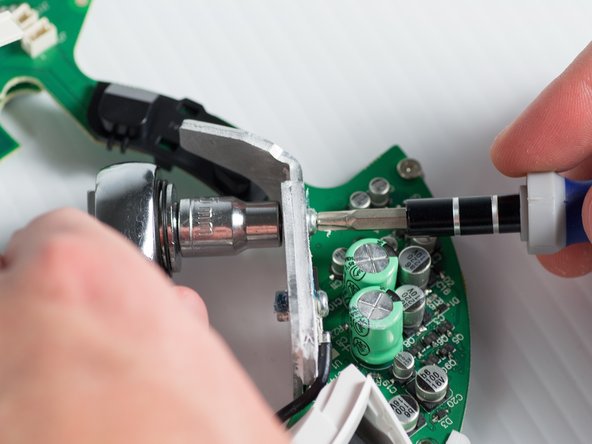
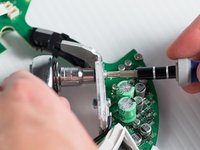
Schraube den Kühlkörper mit einem 5,5-mm-Anschluss und einem Kreuzschlitz-Schraubendreher (PH1) ab.
-
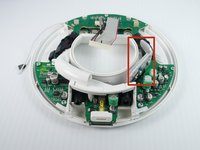
Entferne den Kühlkörper; er sollte sich von der Unterseite des Geräts lösen.
-
-
-
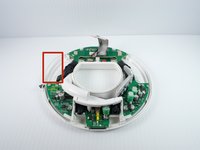
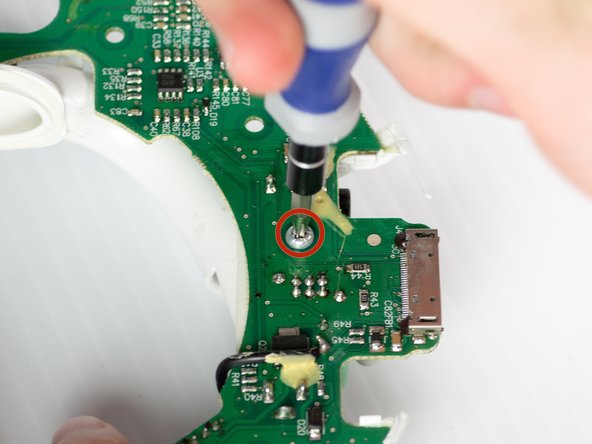
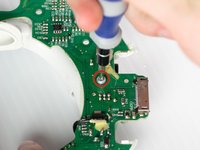
Entferne die T-10-Torx-Schraube an der Unterseite des Geräts, welche das Basisrohr an der Leiterplatte befestigt.
-
Drehe das Gerät so, dass das Basisrohr oben liegt.
-
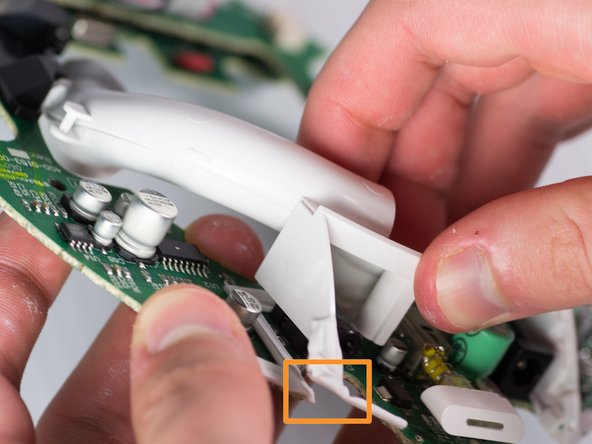
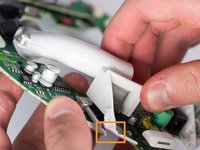
Entferne das Basisrohr, indem du es nach oben abziehst.
-
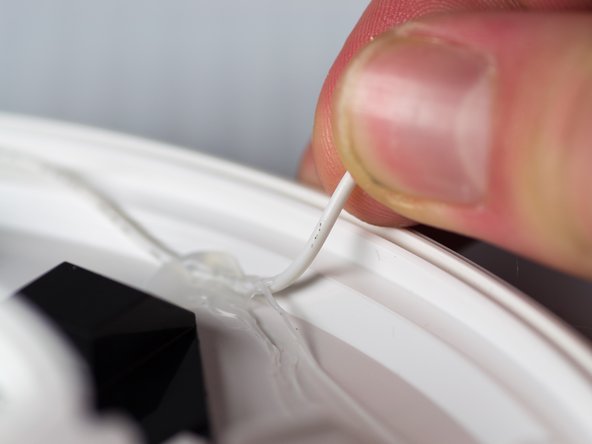
Möglicherweise musst du den Gummikleber zwischen dem Basisrohr und der Leiterplatte durchschneiden.
-




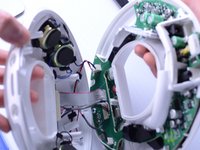
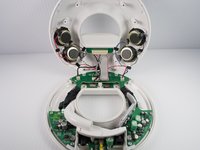


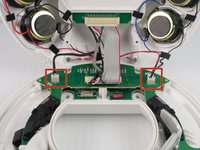
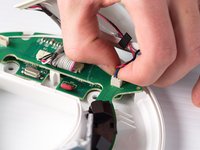






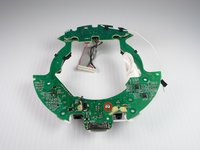
Befolge diese Schritte in umgekehrter Reihenfolge, um dein Gerät wieder zusammenzubauen.
Rückgängig: Ich habe diese Anleitung nicht absolviert.
2 weitere Personen haben diese Anleitung absolviert.

Team

Cal Poly, Team 9-28, Maness Winter 2014 Mitglied von Cal Poly, Team 9-28, Maness Winter 2014
CPSU-MANESS-W14S9G28
4 Mitglieder
84 Anleitungen geschrieben
