Einleitung
Hier ist eine Zusammenfassung zur Identifizierung der Chips im Apple HomePod 2023.
Schau dir unseren HomePod 2 Teardown für weitere Details an.
Besonderer Dank geht an das Community-Mitglied CChin für den Beitrag!
Einführungsvideo
-
-
-
Apple APL1W86 / 339S01037 S7 64-Bit Dual-Core Prozessor unter einem SK hynix H9HA28A12MNLTR-4KJ, wahrscheinlich 1,5 GB LPDDR4 SDRAM & 32 GB NAND-Flash-Speicher
-
Apple 338S00325 Spannungsregler
-
Wahrscheinlich STMicroelectronics serieller EEPROM-Speicher
-
Texas Instruments TPS62821 1 A synchroner Abwärtswandler
-
Texas Instruments TPS56637 6 A Abwärtswandler
-
onsemi NCP160AMX330TBG 250 mA / 3,3 V LDO (oder Low-Drop-Spannungsregler)
-
Nexperia 74AVC1T45 Spannungspegelwandler/-transceiver
 Frag FixBot
-
-
-
Texas Instruments SN74AXC2T45 2-Bit-Transceiver mit Pegelwandlung
-
Nexperia 74LVC2G125 Dual-Bus-Puffer/Leitungstreiber
-
Nexperia 74LVC1G08 einzelnes 2-Eingangs-UND-Gatter
-
-
-
USI 339M00243 WLAN-/Bluetooth-Modul
-
USI UWB-Modul
-
Möglicherweise Qorvo QPC8019Q SPDT-HF-Schalter
-
Nordic Semiconductor nRF52820 Bluetooth-5.3-SoC
-
Skyworks SKY66404-11 2,4-GHz-Frontend-Modul
-
-
-
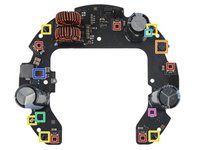
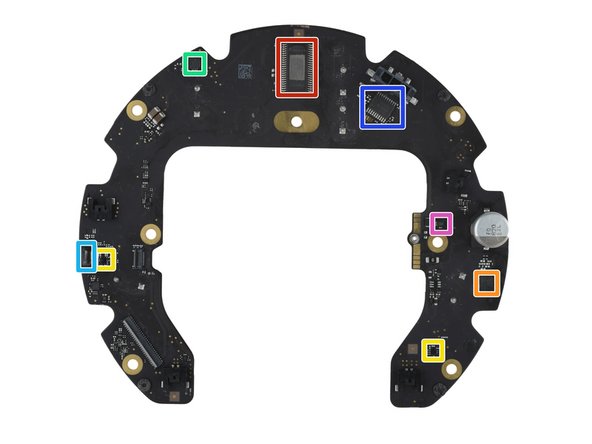
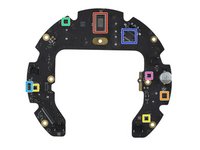
Bosch Sensortec BMA282 3-axis Beschleunigungsmesser
-
-
-
Synaptics S3808B Touch-Controller
-
Texas Instruments TLC5955 48-Kanal-LED-Schraubendreher
-
Knowles MEMS-Mikrofon
-
-
-
-
Analog Devices SSM3515B Audioverstärker
-
Texas Instruments PCM5242 Stereo-D/A-Wandler
-
MEMS-Mikrofone
-
Texas Instruments TLV320ADC3100 Stereo-A/D-Wandler
-
Analog Devices ADAU7002 Stereo-PDM-zu-I2S- oder -TDM-Wandler
-
Texas Instruments TPS54560B 5-A-Abwärts-DC-DC-Wandler
-
Texas Instruments INA210A ? Strommessverstärker
-
-
-
Texas Instruments TPS7A2401 200 mA / einstellbarer LDO
-
Nexperia 74LVC2G125 Dual-Bus-Puffer/Leitungstreiber
-
Texas Instruments SN74LVC1G17 einzelner Schmitt-Trigger-Puffer
-
Texas Instruments 74AUP1G126 einzelner Puffer
-
Texas Instruments SN74LVC1G04 einzelner Inverter
-
-
-
Texas Instruments TPA3255C Audio-Verstärker
-
Texas Instruments TLV320ADC3100 Stereo-Audio-A/D-Wandler
-
Analog Devices ADAU7002 Stereo-PDM-zu-I2S- oder TDM-Wandler
-
Texas Instruments TLA2528 8-Kanal, 12-Bit-A/D-Wandler
-
MEMS-Mikrofon
-
Texas Instruments INA253A1 Strommessverstärker
-
Texas Instruments INA210A ? Strommessverstärker
-
-
-
Renesas Mixed-Signal-Array
-
onsemi NCP160AMX180TBG 250 mA / 1,8 V LDO
-
Texas Instruments TLV70733P 200 mA / 3,3 V LDO
-
Texas Instruments TLV70736P 200 mA / 3,6 V LDO
-
Texas Instruments SN74AUP1G74 einzelnes D-Flip-Flop
-
Nexperia 74LVC2G125 dualer Bus-Puffer/Leitungstreiber
-
Nexperia 74LVC1G07 einzelner Puffer
-
-
-
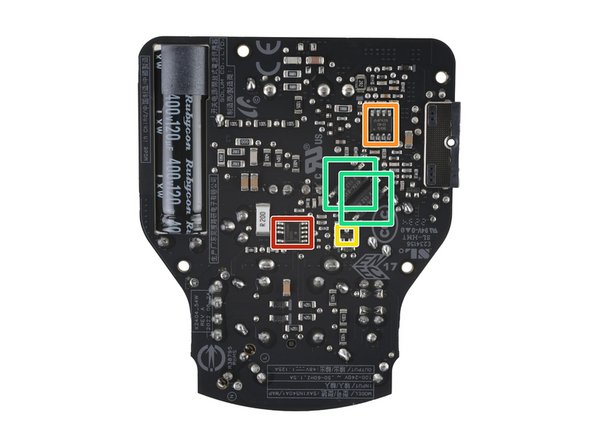
KEC KIA75S358F Einzel-Operationsverstärker
-
Vishay VOL617A-8 Optokoppler
-
-
-
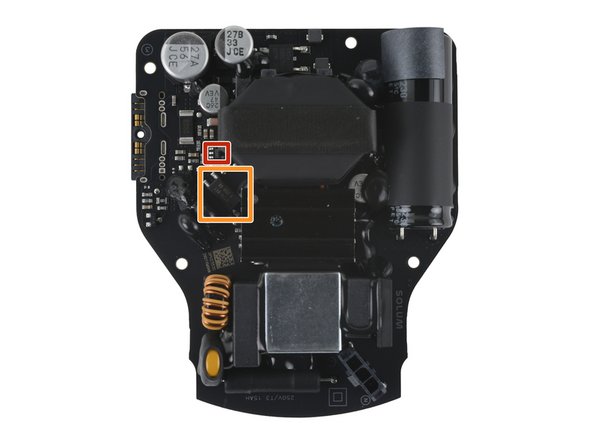
onsemi NCP1342DADBD Quasi-Resonant-Flyback-Controller
-
Diodes Incorporated AP4310EMTR-G1 Dual-Operationsverstärker mit 2,5-V-Spannungsreferenz
-
Diodes Incorporated AP431SHANTR-G1 einstellbarer Spannungsregler
-
Vishay VOL617A-8 Optokoppler
-
-
-
Texas Instruments HDC2010 Feuchtigkeits- und Temperatursensor
-
-










Besonderer Dank geht an diese Übersetzer:innen:
100%

carlotremolada hilft uns, die Welt in Ordnung zu bringen! Wie kann ich mithelfen?
Hier starten ›
