Einleitung
The Teardown is pretty much the same as other Samsung Slider phones
Was du brauchst
-
-
Remove the 8 screw that hold the back cover down.
-
Carefully pry back piece off
-
Start at the bottom and work toward the top.
-
-
-
-
Carefully remove the main board
-
Make sure to not tear the microphone cable, pry it from the phone carefully
-
-
-
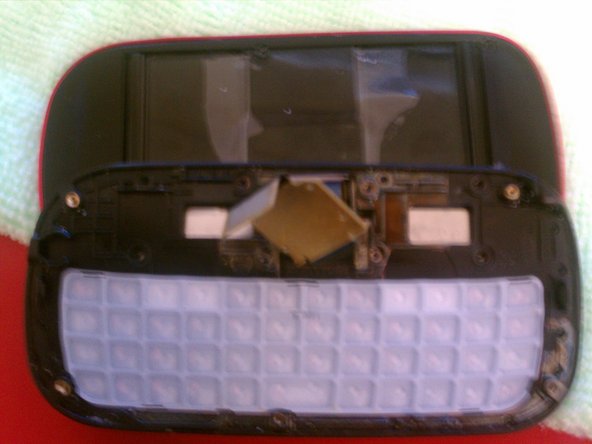
Remove the 6 screws
-
Pry to ribbon cable assembly loose from the slider
-
Its glued on the left and right side
-
-
-
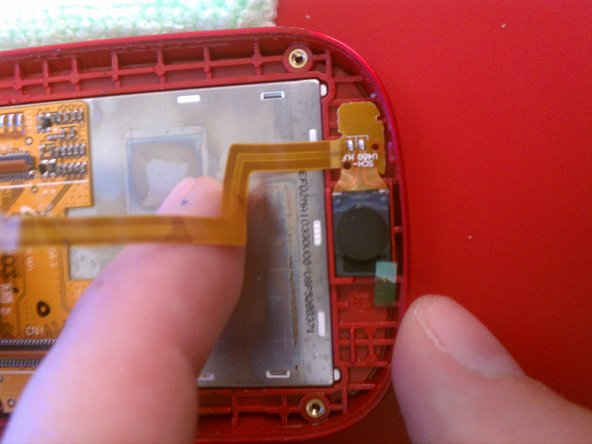
Remove the 4 screw the holds the slider to the phone assembly
-
one of the screws will be behind the hinge
-
Carefully pry slider assembly loose from display assembly
-
-
-
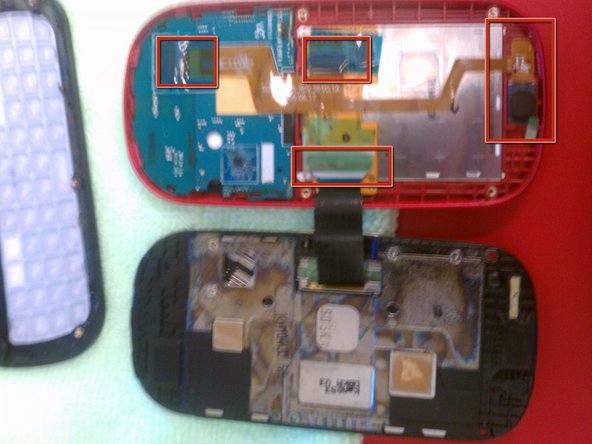
Remove the tape and pop the connectors and pull all the ribbon cables loose
-
Carefully pry the speaker loose from the case.
-
-
-
Carefully work the keyboard loose from the display assembly
-
There are a couple fragile clips that hold it in place
-
-
-
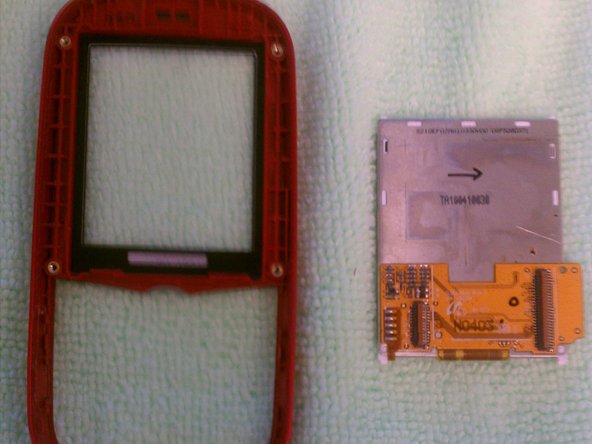
LCD comes out pretty easily
-
Pry it from the bottom and work up the sides to release it if stuck
-
The glass can be removed with a little heat from a heat gun or blow dryer
-
Pry it out from the outside edges working around carefully
-


Team

West Georgia Technology Mitglied von West Georgia Technology
Business
1 Mitglied
1 Anleitung geschrieben
Ein Kommentar
This was so helpful! How can I show my gratitude to you for these helpful instructions?