Schritt 13 übersetzen
Schritt 13

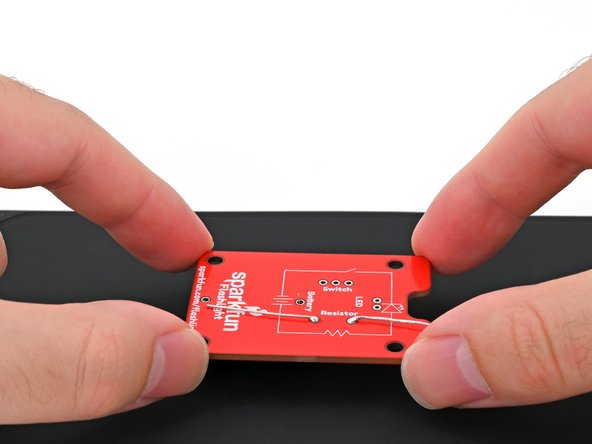


Flip the board over
-
Hold the battery connector flush against the front of the circuit board.
-
Flip the board over and set it down so the battery connector is resting on your work mat or surface.
-
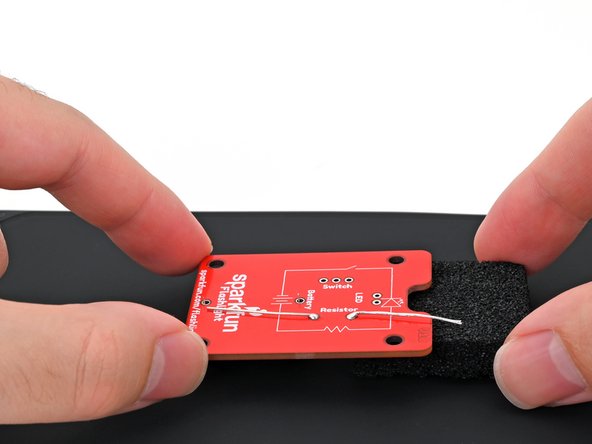
Place the foam block underneath the top edge of the board (the edge with the notch) to keep it level while you solder.
Deine Beiträge sind lizenziert unter der Open-Source Creative Commons Lizenz.