Zum Hauptinhalt wechseln

ASUS ROG Strix G15 G513 Battery Replacement

Was du brauchst

  1. ASUS ROG Strix G15 G513 Battery Replacement, Battery: Schritt 1, Bild 1 von 2 ASUS ROG Strix G15 G513 Battery Replacement, Battery: Schritt 1, Bild 2 von 2
    • Flip the laptop over.

    • Use a Phillips #0 screwdriver to remove:

    • Four 3 mm-long PH0 screws

    • Three 6 mm-long PH0 screws

    • Two 5.5 mm-long PH0 screws

  2. ASUS ROG Strix G15 G513 Battery Replacement: Schritt 2, Bild 1 von 1
    • Use an opening too to gently pry the back case from the laptop.

    • Take care not to force it and open it very slowly. Do not remove the panel from the main chassis completely as it is connected to the motherboard by two ribbon cables.

    • Start from the middle and work around the perimeter to release the clips securing the back case.

  3. ASUS ROG Strix G15 G513 Battery Replacement: Schritt 3, Bild 1 von 3 ASUS ROG Strix G15 G513 Battery Replacement: Schritt 3, Bild 2 von 3 ASUS ROG Strix G15 G513 Battery Replacement: Schritt 3, Bild 3 von 3
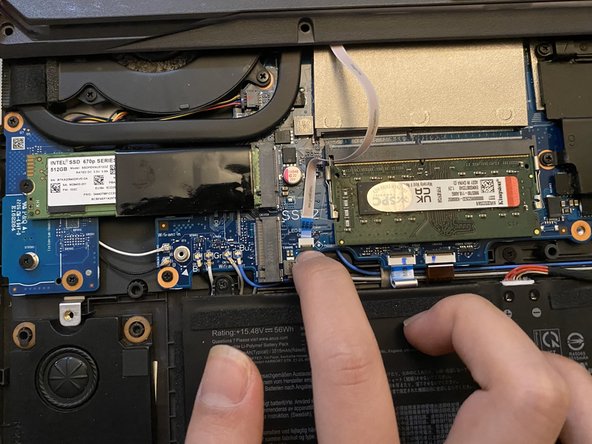
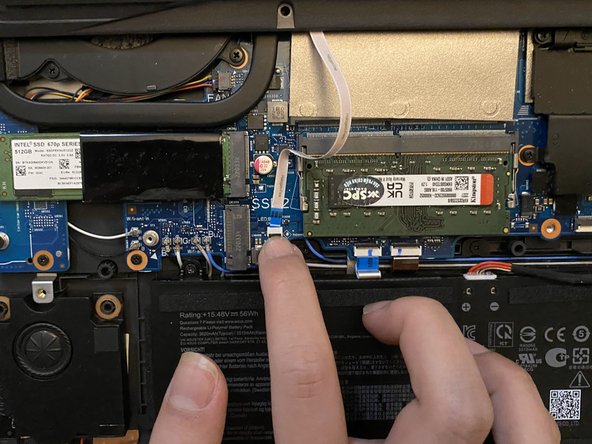
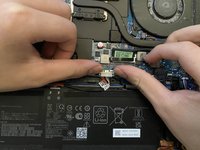
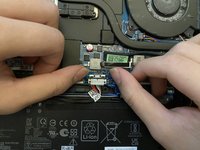
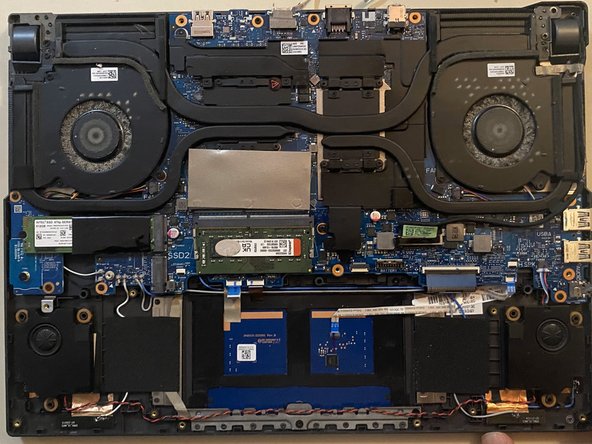
    • When detaching the bottom panel, you'll notice two ribbon cables connecting it to the motherboard.

    • Use the tip of a spudger or your fingernail to flip up the small black locking flap.

    • Gently pull each ribbon cable from its socket.

    • The white line on this ribbon cable marks the edge of the connection area. To reinstall, insert the cable into the connector up to this line, and then close the locking flap. If the cable doesn’t insert easily up to (or very near to) this line, it’s probably misaligned and needs to be gently removed and repositioned.

  4. ASUS ROG Strix G15 G513 Battery Replacement: Schritt 4, Bild 1 von 3 ASUS ROG Strix G15 G513 Battery Replacement: Schritt 4, Bild 2 von 3 ASUS ROG Strix G15 G513 Battery Replacement: Schritt 4, Bild 3 von 3
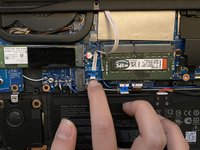
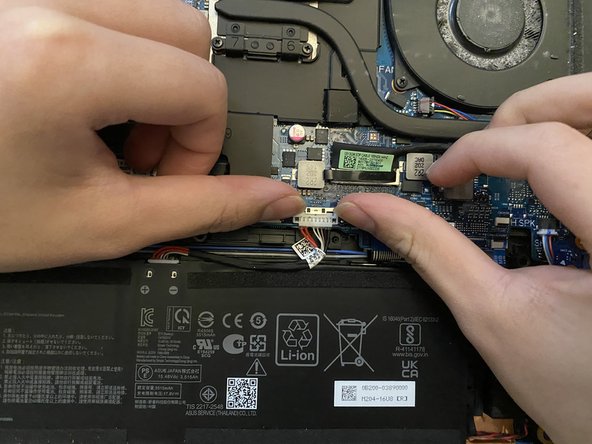
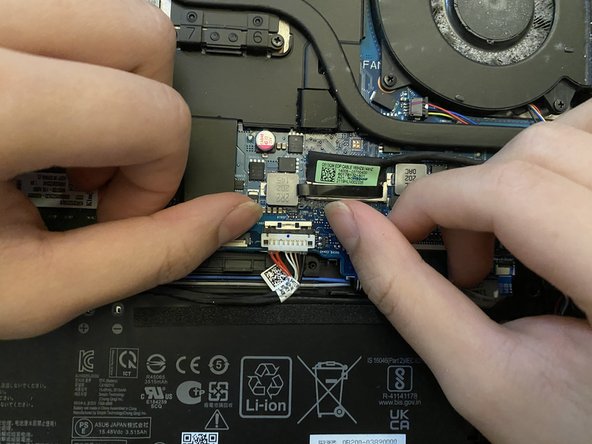
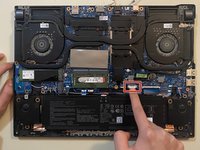
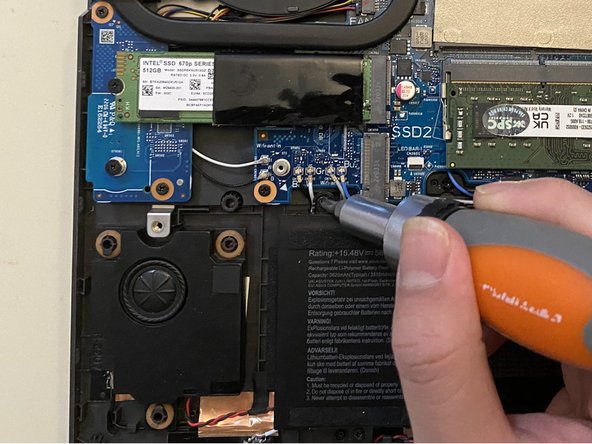
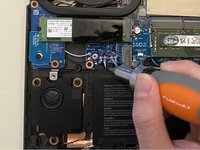
    • Push up on the silver lock securing the battery connector.

    • Push gently to avoid damaging the socket.

  5. ASUS ROG Strix G15 G513 Battery Replacement: Schritt 5, Bild 1 von 3 ASUS ROG Strix G15 G513 Battery Replacement: Schritt 5, Bild 2 von 3 ASUS ROG Strix G15 G513 Battery Replacement: Schritt 5, Bild 3 von 3
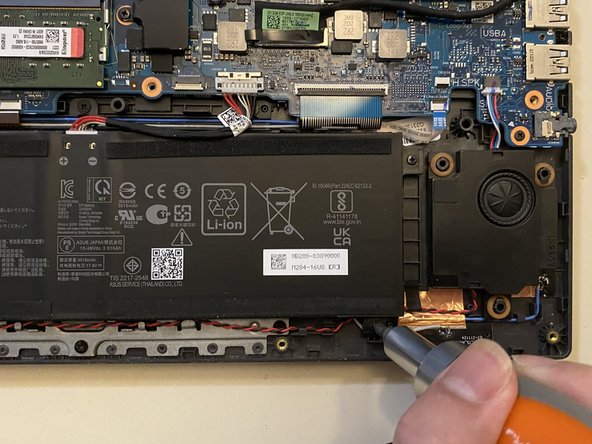
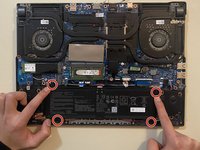
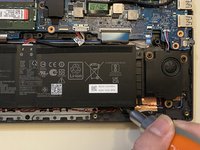
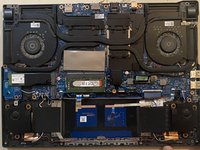
    • Use a Phillips #0 screwdriver to remove the four screws securing the battery.

  6. ASUS ROG Strix G15 G513 Battery Replacement: Schritt 6, Bild 1 von 1
    • Disconnect the battery cable from the socket on the motherboard.

  7. ASUS ROG Strix G15 G513 Battery Replacement: Schritt 7, Bild 1 von 2 ASUS ROG Strix G15 G513 Battery Replacement: Schritt 7, Bild 2 von 2
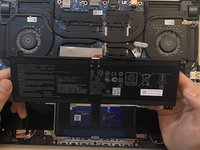
    • Remove the battery.

Abschluss

To reassemble your device, follow these instructions in reverse order. For optimal performance, calibrate your newly installed battery after completing this guide. Take your e-waste to an R2 or e-Stewards certified recycler.

Gia Hung Nguyen

Mitglied seit: 02/04/24

195 Reputation

1 Anleitung geschrieben

Team

York University, Team M-9, Allen Winter 2024 Mitglied von York University, Team M-9, Allen Winter 2024

YORK-ALLEN-W24SMG9

3 Mitglieder

1 Anleitung geschrieben

0 Kommentare

Kommentar hinzufügen

Seitenaufrufe:

Letzte 24 Stunden: 2

Letzte 7 Tage: 24

Letzte 30 Tage: 86

Insgesamt: 163