Einleitung
In this guide, we’ll walk you through the process of replacing the Motherboard for a Keurig K-Duo in the case that there are electrical issues. These issues most commonly arise from overheating, built-up debris, water damage, or physical damage.
The motherboard serves as the main control board that manages the machine’s electrical and operational functions. The motherboard is critical for ensuring that all parts, such as the water pump, heating element, and valves, work together in the correct sequence for brewing coffee.
In order to replace the motherboard, skills for soldering are involved in this process.
Was du brauchst
-
-
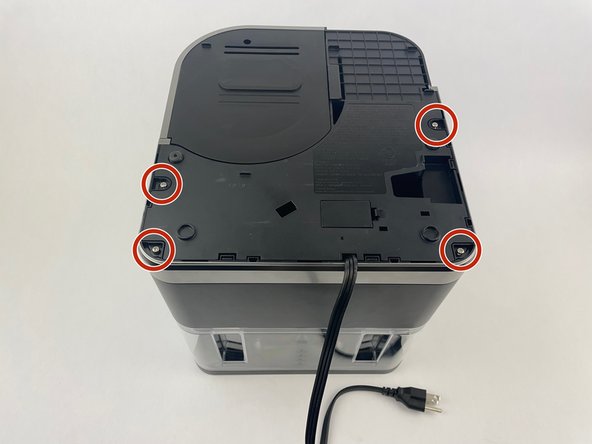
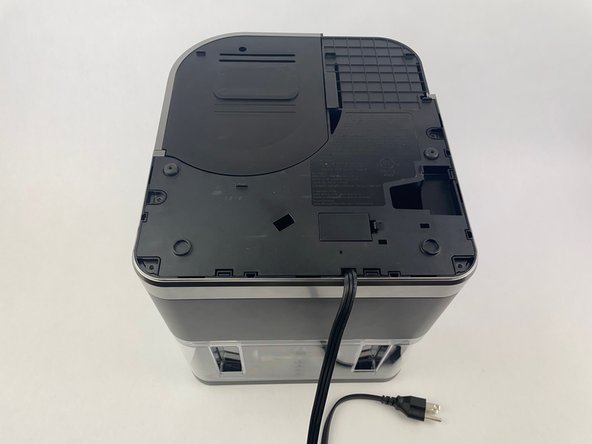
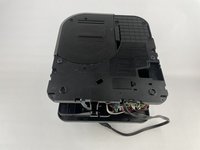
Turn the Keurig K-Duo upside down so the power cord is visible and facing you.
-
-
-
Use a Phillips screwdriver to remove all four screws that secure the plastic panel.
-
-
-
-
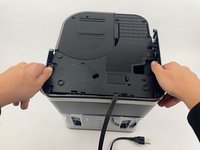
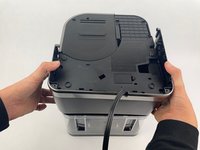
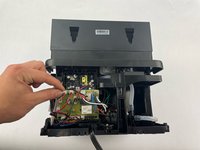
To remove the back panels, grip each side firmly.
-
Gently pull the panel outward toward yourself to release and fully detach the plastic hooks.
-
-
-
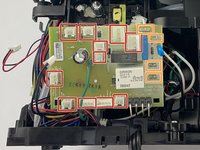
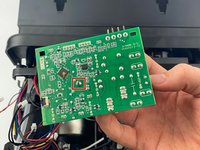
Gently disconnect all eleven connectors from the motherboard.
-
Gently pull off the four remaining wire terminals.
-
-
-
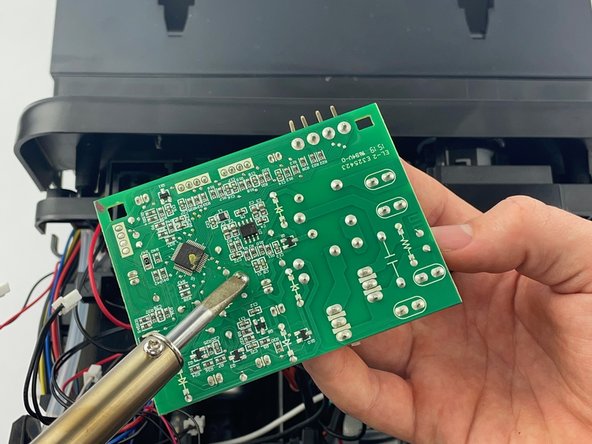
Pull out and flip the motherboard so the back is now facing you.
-
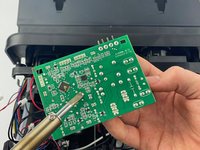
Desolder the solder pad connected to the green wire.
-
Re-solder the existing green wire to the new motherboard.
-


To reassemble your device, follow the above steps in reverse order.
Take your e-waste to an R2 or e-Stewards certified recycler.
Repair didn’t go as planned? Try some basic troubleshooting or ask our Answers community for help.
To reassemble your device, follow the above steps in reverse order.
Take your e-waste to an R2 or e-Stewards certified recycler.
Repair didn’t go as planned? Try some basic troubleshooting or ask our Answers community for help.

Team

Cuesta, Team 10-3, Krynen Fall 2024 Mitglied von Cuesta, Team 10-3, Krynen Fall 2024
CUESTA-KRYNEN-F24S10G3
4 Mitglieder
5 Anleitungen geschrieben