Zum Hauptinhalt wechseln
Gemeinsam reparieren - Jetzt registrieren

Parrot Skycontroller 2 Buttons Replacement

Was du brauchst

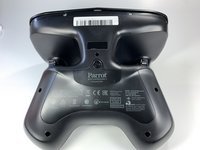
    1. Parrot Skycontroller 2 Buttons Replacement, Battery: Schritt 1, Bild 1 von 3 Parrot Skycontroller 2 Buttons Replacement, Battery: Schritt 1, Bild 2 von 3 Parrot Skycontroller 2 Buttons Replacement, Battery: Schritt 1, Bild 3 von 3
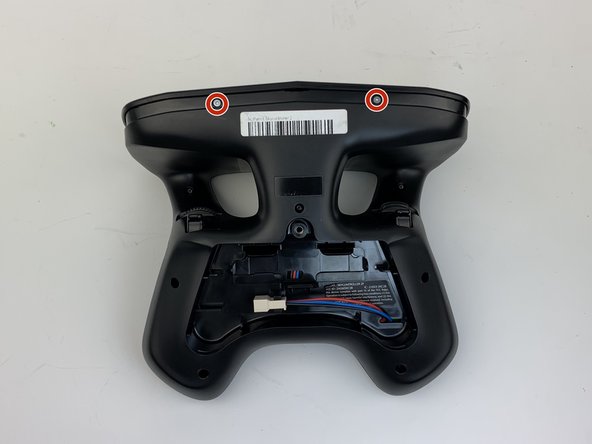
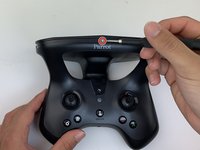
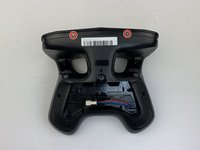
      • Flip your controller face down.

      Frag FixBot
      Kommentar hinzufügen

    2. Parrot Skycontroller 2 Buttons Replacement: Schritt 2, Bild 1 von 1
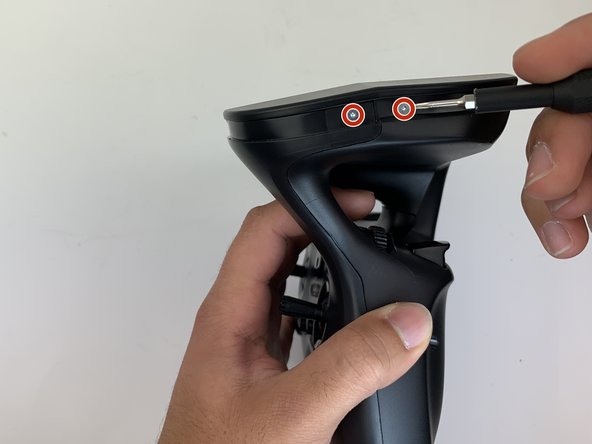
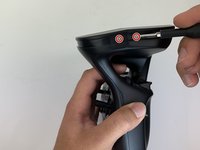
      • Remove one 9mm screw using a #4 flathead screwdriver.

      Frag FixBot
      Kommentar hinzufügen

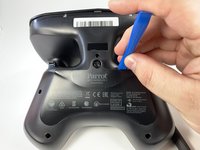
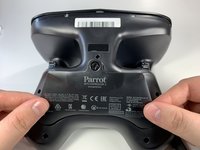
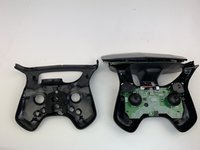
    3. Parrot Skycontroller 2 Buttons Replacement: Schritt 3, Bild 1 von 3 Parrot Skycontroller 2 Buttons Replacement: Schritt 3, Bild 2 von 3 Parrot Skycontroller 2 Buttons Replacement: Schritt 3, Bild 3 von 3
      • Insert the plastic opening tool into the top of the cover and pry upwards to lift the battery cover.

      • Remove the cover by pulling up and out.

      Frag FixBot
      Kommentar hinzufügen

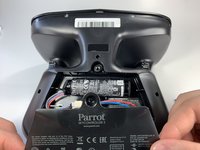
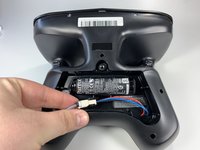
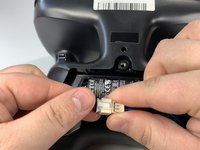
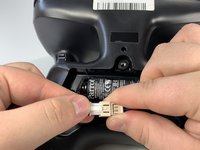
    4. Parrot Skycontroller 2 Buttons Replacement: Schritt 4, Bild 1 von 3 Parrot Skycontroller 2 Buttons Replacement: Schritt 4, Bild 2 von 3 Parrot Skycontroller 2 Buttons Replacement: Schritt 4, Bild 3 von 3
      • Pull the connectors out by gently pushing the tabs and pulling up on the connector.

      • Disconnect the battery from the remote by pressing the white tab and pulling the connectors apart.

      Frag FixBot

      Kommentar hinzufügen

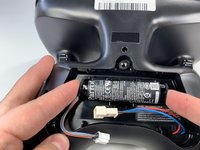
    5. Parrot Skycontroller 2 Buttons Replacement: Schritt 5, Bild 1 von 2 Parrot Skycontroller 2 Buttons Replacement: Schritt 5, Bild 2 von 2
      • Remove the battery from its brackets by pulling up on the ends of the battery.

      Frag FixBot

      Kommentar hinzufügen

    1. Parrot Skycontroller 2 Buttons Replacement, Buttons: Schritt 6, Bild 1 von 1
      • Remove the seven black 11mm screws using the Torx TR6 screwdriver.

      • There is a hidden screw located behind the sticker in the battery compartment.

      • Pull back the sticker with your finger nail and remove the one black 11mm screw using the Torx TR6 screwdriver.

      Frag FixBot
      Kommentar hinzufügen

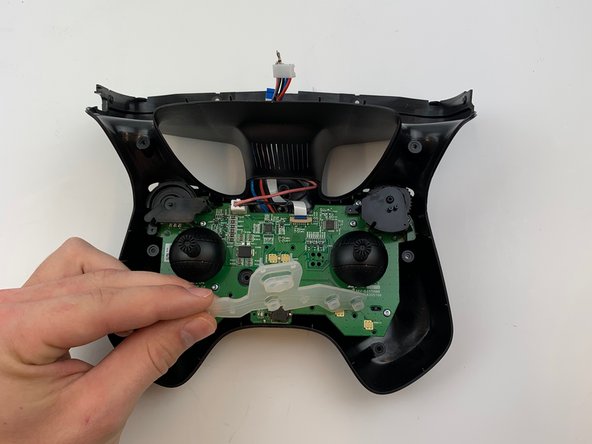
    2. Parrot Skycontroller 2 Buttons Replacement: Schritt 7, Bild 1 von 3 Parrot Skycontroller 2 Buttons Replacement: Schritt 7, Bild 2 von 3 Parrot Skycontroller 2 Buttons Replacement: Schritt 7, Bild 3 von 3
      • Remove the seven silver 4mm screws from around the edge of the top plate using the Torx TR6 Screwdriver.

      • The opposite side to the third picture has a screw located on each side of the USB port.

      Frag FixBot
      Kommentar hinzufügen

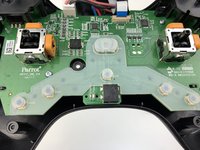
    3. Parrot Skycontroller 2 Buttons Replacement: Schritt 8, Bild 1 von 1
      • Remove the battery compartment plate by pulling up and out.

      Frag FixBot
      Kommentar hinzufügen

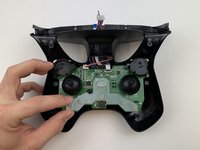
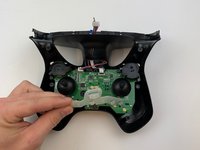
    4. Parrot Skycontroller 2 Buttons Replacement: Schritt 9, Bild 1 von 1
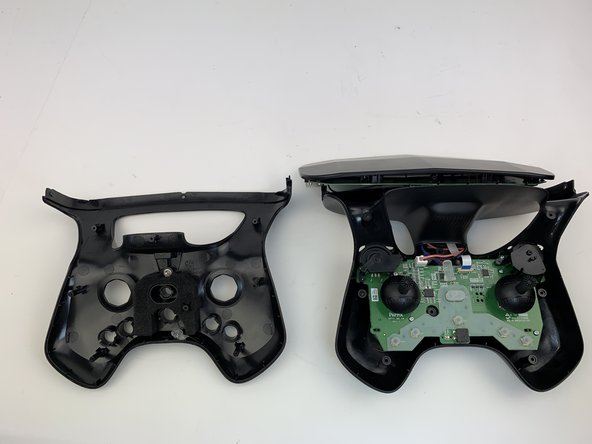
      • Remove the top plate by pushing on the corners with your hand.

      • Be careful to not pull too hard on the cable.

      Frag FixBot
      Kommentar hinzufügen

    5. Parrot Skycontroller 2 Buttons Replacement: Schritt 10, Bild 1 von 2 Parrot Skycontroller 2 Buttons Replacement: Schritt 10, Bild 2 von 2
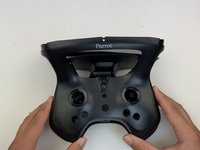
      • Remove the face plate by pulling up and out.

      • Buttons will fall out when this plate is removed.

      Frag FixBot

      Kommentar hinzufügen

    6. Parrot Skycontroller 2 Buttons Replacement: Schritt 11, Bild 1 von 3 Parrot Skycontroller 2 Buttons Replacement: Schritt 11, Bild 2 von 3 Parrot Skycontroller 2 Buttons Replacement: Schritt 11, Bild 3 von 3
      • Use some force pull up and out on the rubber backing for the buttons.

      Frag FixBot

      Kommentar hinzufügen

Abschluss

To reassemble your device, follow these instructions in reverse order.

Rückgängig: Ich habe diese Anleitung nicht absolviert.

0 Kommentare zur Anleitung

Kommentar hinzufügen

Seitenaufrufe:

Letzte 24 Stunden: 1

Letzte 7 Tage: 6

Letzte 30 Tage: 24

Insgesamt: 646