Einleitung
Use this guide to repair a broken or faulty display in your OnePlus 7T smartphone.
Before disassembling your device, be sure the battery is charged below 25%. If accidentally punctured or damaged, the battery can catch fire and/or explode; if discharged below 25%, the chances of fire/explosion is decreased. Be sure to power off the device before beginning the disassembly process.
Follow the iOpener Heating guide for instructions on using the iOpener.
Was du brauchst
Einführungsvideo
OnePlus 7T Screen Replacement
-
-
Insert and gently push the SIM card ejector tool (or an unfolded paperclip) into the small hole on the left side of the top edge of the phone.
-
Press gently to eject the SIM tray.
-
Remove the SIM card tray from the device.
-
-
-
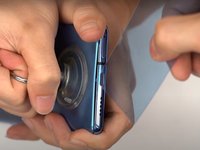
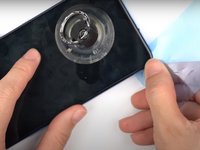
Use a heat gun to lightly heat the edges of the back to soften the adhesive that connects the back cover to the rest of the frame.
-
-
In diesem Schritt verwendetes Werkzeug:Plastic Cards$2.99
-
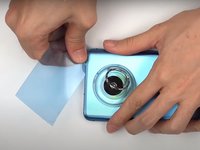
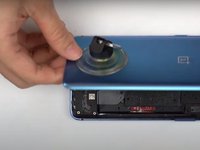
Apply a suction cup to the lower portion of the phone's backing and pull firmly to create a crack between the back cover and the rest of the phone.
-
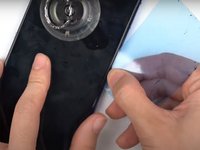
Insert a Jimmy tool, opening pick, or plastic card under the edge of the back cover.
-
-
-
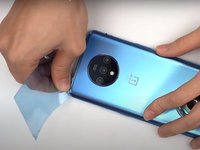
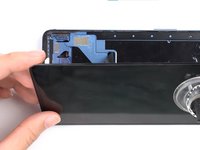
Use a plastic card or Jimmy tool to slice around the phone's seam, cutting through the adhesive.
-
-
-
-
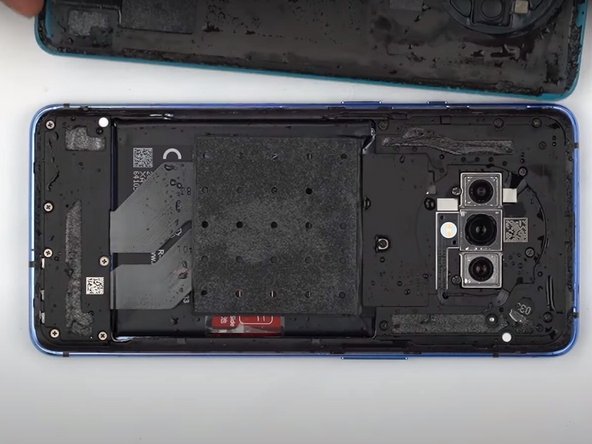
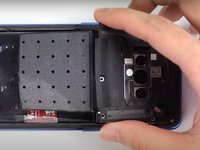
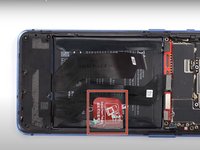
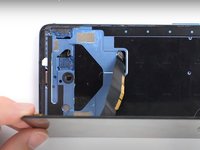
Use a Phillips screwdriver to remove the 11 screws from the plastic motherboard cover.
-
-
-
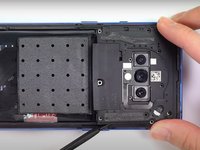
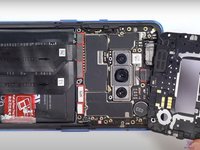
Use a spudger to pry up the plastic motherboard cover.
-
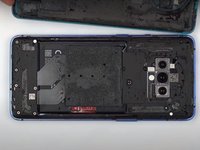
Remove the plastic motherboard cover.
-
-
-
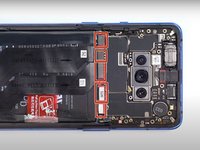
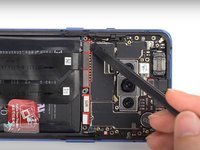
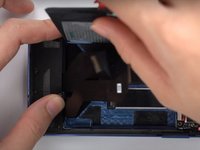
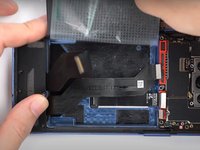
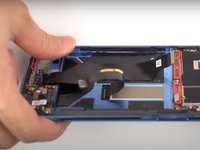
Use the flat end of a spudger to disconnect all flex cables leading to the motherboard.
-
-
-
Grasp the red battery tab with your fingers.
-
Pull upwards on the tab and remove the battery.
-
-
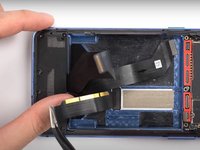
In diesem Schritt verwendetes Werkzeug:Tweezers$4.99
-
Use a pair of tweezers to grasp the end of the flex cables that were just disconnected.
-
Gently pull the cables backwards so that they remain bent back from the phone's motherboard area.
-
-
-
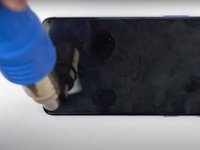
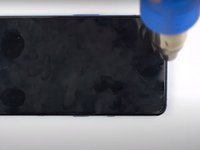
Use a heat gun to lightly heat the edges of the phone's screen to soften the adhesive that connects the display to the rest of the frame.
-
-
-
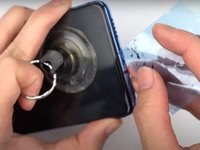
Apply a suction cup to the lower portion of the phone's display and pull firmly to create a crack between the screen and the rest of the phone.
-
Insert a Jimmy tool, opening pick, or plastic card under the edge of the phone's display.
-
Use a plastic card or Jimmy tool to slice around the phone's seam, cutting through the adhesive.
-


To reassemble your device, follow these instructions in reverse order.
Rückgängig: Ich habe diese Anleitung nicht absolviert.
3 weitere Personen haben diese Anleitung absolviert.