Einleitung
Diese Anleitung zeigt, wie die mittlere Zierblende am Sony DualSense Kontroller getauscht wird.
Wenn der Akku aufgebläht ist, musst du geeignete Vorsichtsmaßnahmen treffen.
Hinweis: Diese Anleitung gilt für den DualSense Kontroller mit der FCC Nummer , die auf A endet. Überprüfe dein Modell auf der Rückseite. Wenn die Nummer auf a1 endet , hast du ein älteres Modell mit internen Unterschieden. Benutze dann die Anleitungen für das frühere Modell.
Was du brauchst
-
-
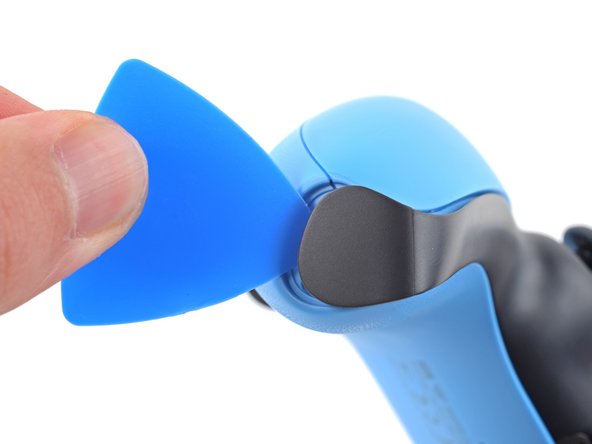
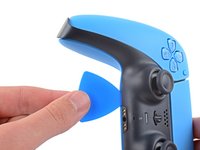
Schiebe ein Plektrum an der unteren rechten Ecke des Kontrollers unter die mittlere Zierblende ein, um die Clips zu lösen.
-
-
-
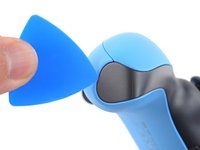
Schiebe das Plektrum an der rechten Unterkante der mittleren Zierblende entlang, um die Clips zu lösen.
-
-
-
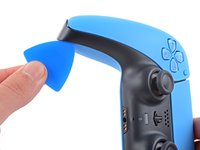
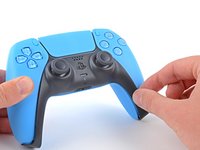
Schiebe ein Plektrum an der unteren linken Ecke des Kontrollers unter die mittlere Zierblende ein, um die Clips zu lösen.
-
-
-
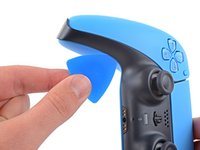
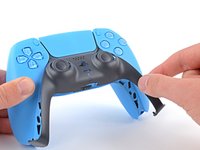
Schiebe das Plektrum an der linken Unterkante der mittleren Zierblende entlang, um die Clips zu lösen.
-
-
-
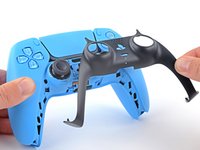
Hebe die mittlere Zierblende mit den Fingern an der Unterkante hoch, um die restlichen Clips zu lösen.
-
Hebe die Blende über die Joysticks und entferne sie.
-
-
-
-
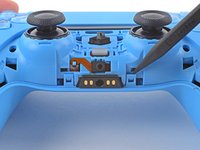
Setze einen Spudger mit dem flachen Ende in den Spalt über der L1-Taste ein.
-
Heble mit dem Spudger hoch und entferne die L1-Taste.
-
-
-
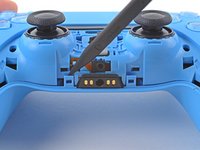
Setze einen Spudger mit dem flachen Ende in den Spalt über der R1-Taste ein.
-
Heble mit dem Spudger hoch und entferne die R1-Taste.
-
-
-
Entferne die beiden 6,5 mm langen Kreuzschlitzschrauben mit denen das Gehäuse an den unteren Enden auf der Rückseite zusammengehalten ist.
-
-
-
Entferne die beiden 6,5 mm langen Kreuzschlitzschrauben hinter der L1- und R1-Taste.
-
-
-
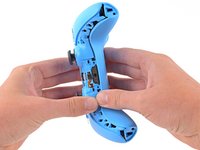
Nimm einen Spudger und löse die beiden Clips auf beiden Seiten der Kopfhörerbuchse.
-
-
-
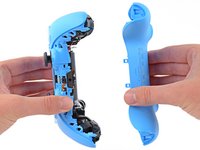
Ziehe die Rückseite behutsam mit den Händen vom Kontroller ab.
-
-
-
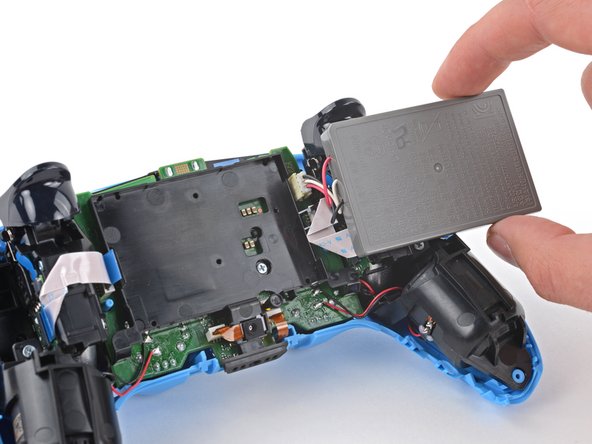
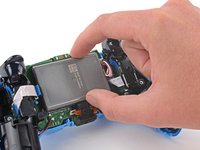
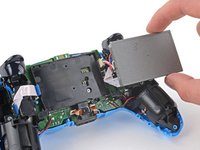
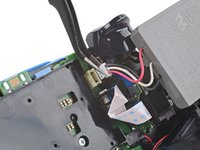
Hebe den Akku hoch und schiebe ihn nach rechts, um besser an den Akkustecker heranzukommen.
-
-
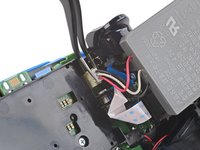
In diesem Schritt verwendetes Werkzeug:Tweezers$4.99
-
Trenne den Akku mit deinen Fingern oder einer Pinzette von der Hauptplatine ab.
-


Um dein Gerät wieder zusammenzubauen, folge den Schritten in umgekehrter Reihenfolge.
Bitte entsorge deinen Elektroschrott sachgerecht.
Hat die Reparatur nicht ganz geklappt? Versuche es mit ein paar grundständigen Lösungen, ansonsten findest du in unserem Forum Hilfe bei der Fehlersuche.
Um dein Gerät wieder zusammenzubauen, folge den Schritten in umgekehrter Reihenfolge.
Bitte entsorge deinen Elektroschrott sachgerecht.
Hat die Reparatur nicht ganz geklappt? Versuche es mit ein paar grundständigen Lösungen, ansonsten findest du in unserem Forum Hilfe bei der Fehlersuche.
Rückgängig: Ich habe diese Anleitung nicht absolviert.
3 weitere Personen haben diese Anleitung absolviert.
Besonderer Dank geht an diese Übersetzer:innen:
100%
VauWeh hilft uns, die Welt in Ordnung zu bringen! Wie kann ich mithelfen?
Hier starten ›

Ein Kommentar
The guide was very helpful for most everything. I did have trouble prying off the back plate, what wasn’t clear was that clips near the L1 & R1 need to be pried ~ 1.5 mm with a spudger in the direction of the face buttons and not the back plate.