Einleitung
Tausche das Display deines Fairphone 4 mit Hilfe dieser Anleitung.
Was du brauchst
-
-
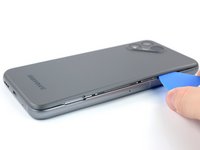
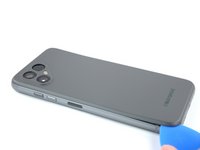
Setze deinen Daumennagel oder ein anderes Hebelwerkzeug (z. B. einen Spudger) in die Aussparung unten rechts auf der Rückabdeckung.
-
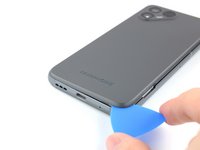
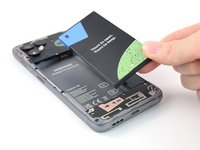
Heble die hintere Abdeckung hoch, um die Kunststoffklammern zu lösen.
-
-
-
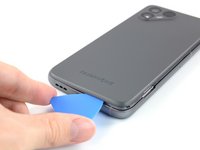
Schiebe ein Plektrum (oder auch deinen Daumennagel) an der rechten Seite des Handys entlang, um die Kunststoffklammern zu lösen.
-
-
-
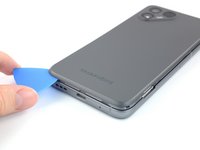
Fahre an der linken Seite des Handys fort, um die Kunststoffklammern zu lösen.
-
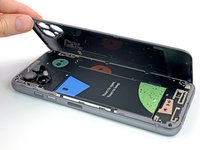
Hebe die hintere Abdeckung an, um die restlichen Kunststoffklammern zu lösen, und nimm sie ab.
-
-
-
-
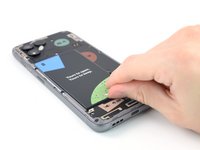
Benutze einen Fingernagel oder ein Hebelwerkzeug an der markierten Aussparung, um den Akku aus seiner Aussparung zu hebeln.
-
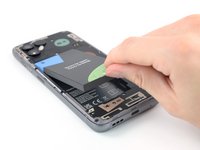
Hebe den Akku aus seiner Aussparung und entferne ihn.
Thank you for this very helpful guide. However I fail to see why you would conclude that replacing the battery is 'moderate'. Could you elaborate on this a little bit more, please?
For me 'moderate' means it is (very) complicated (i.e. plenty of steps) but feasible in general (i.e. there is a good chance you're not gonna brick your device) for which there is only one escalation level left: 'not feasible at all'. Non of that is true for the FP4. Could removing the battery more user-friendly, though? Well yes, of course but it is still by far very simple and straight forward.
Again, thank you very much for this great contribution.
Hey Dave S.,
thanks for your comment. You're totally right, the "moderate" rating was due to an oversight as it is the default in the system. I've changed the rating.
-
-
-
Entferne die acht 4,8 mm langen Kreuzschlitzschrauben.
Screw head size is PH0
Screw head size is PH00, as mentioned in the official video: https://www.youtube.com/watch?v=SUJERxuY...
-
-
-
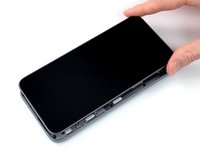
Drehe das Smartphone um, so dass das Display oben liegt.
-
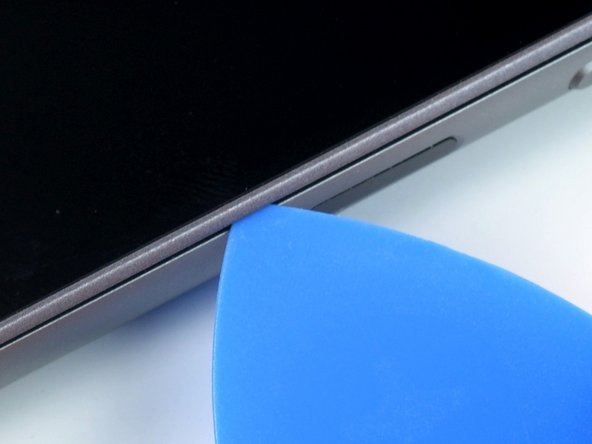
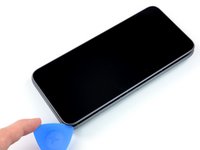
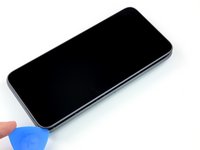
Setze ein Plektrum zwischen dem Display und dem Rahmen ein.
-
-
-
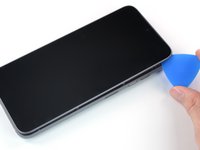
Schiebe das Plektrum an der Kante entlang zur oberen rechten Ecke hin.
-
-
-
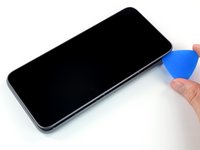
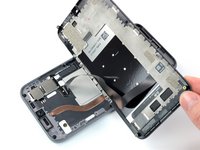
Fasse das Display und hebe es gerade so weit nach oben, bis sich die Haltestifte aus dem Rahmen lösen.
-
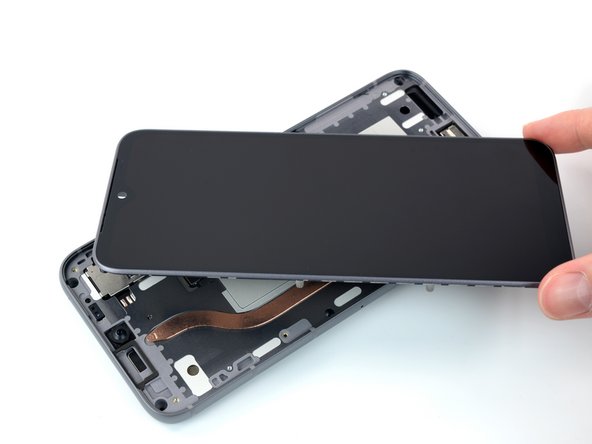
Drehe das Display behutsam im Uhrzeigersinn und klappe es um, so dass du an den Stecker herankommen kannst.
-
Lege das Display mit der Scheibe nach unten auf dem Gerät ab.
-
-
-
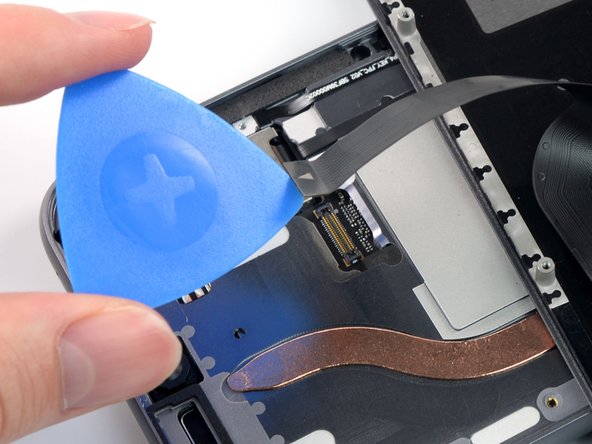
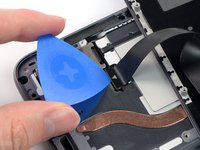
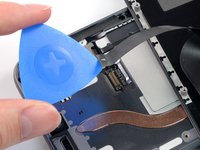
Heble das Displaykabel mit einem Plektrum nach oben aus seinem Anschluss heraus.
-
Entferne das Display.
the new screen will have a tiny sticker in the selfie cam on the inside to prevent scratches don't forget to take it out before putting all the screws back in
Thanks for adding this advice!
This is the connector that a lot of users seem to experience being unreliable — the symptom is rapid false-touch inputs right up the centreline of the screen from time to time.
Augmenting the thickness of the pressure pad (that aligns to the connector from the back of the screen frame) seems to help.I wish Google would do a better job of indexing comments like this, this was my exact problem and I didn't figure out the cause until I read this comment, while replacing my screen 😕
-


Um dein Gerät wieder zusammenzubauen, befolge die Anweisungen in umgekehrter Reihenfolge.
Entsorge deinen Elektromüll fachgerecht.
Hat die Reparatur nicht ganz geklappt? Versuche es mit ein paar grundständigen Lösungen, ansonsten findest du in unserem Forum Hilfe bei der Fehlersuche.
Um dein Gerät wieder zusammenzubauen, befolge die Anweisungen in umgekehrter Reihenfolge.
Entsorge deinen Elektromüll fachgerecht.
Hat die Reparatur nicht ganz geklappt? Versuche es mit ein paar grundständigen Lösungen, ansonsten findest du in unserem Forum Hilfe bei der Fehlersuche.
Rückgängig: Ich habe diese Anleitung nicht absolviert.
14 weitere Personen haben diese Anleitung absolviert.
Besonderer Dank geht an diese Übersetzer:innen:
100%

Diese Übersetzer:innen helfen uns, die Welt zu reparieren! Wie kann ich mithelfen?
Hier starten ›


10 Kommentare
20-40 Minutes? ... more like 10 ... and I wasn't even pushing it
Thanks for your comment! The time estimate was set a little too high, you're right. I've adjusted it!
I can confirm that you need a #0 screwdriver, not a #00, as has been changed in the latest unchecked version.
Hi Jonathan, thanks for you comment! While a #0 screwdriver will work, we recommend a #00 as Fairphone themselves do, see their website: "The only tool you will need is a Phillips #00 screwdriver to access all spare parts of the Fairphone 4."
Hi Manuel, that is odd - my #00 did have a tendency to slip and wear out the screw, while I did not have that issue with the #0.
Jonathan -
My replacement screen came with a dust cover over the selfie camera opening so the selfie camera didn't function: it just showed slight changes of lighting but no image. The instructions should contain a warning to remove this paper cover as it took me quite a while to figure out why the camera didn't work.
I've looked up this guide to just double check how the small ribbon cable connects again. while doing that finished the replacement in exactly10 minutes (set up a stopwatch just for fun.
I've used a LTT ratchet screwdriver, the supplied bits had a correct one.
10/10 would recommend to replace your screen your self. going to a store to get it done will take longer for sure
After removing the old screen and replacing it with a newly-purchased on that arrived today, neither my existing, broken screen (which was working this morning, just with cracked glass) nor the new replacement module are recognising touch inputs.
Can you provide more information on actions and checks I need to do please?
Hi R M Carter,
I'm sorry to hear about the issues during your repair. Based on your comment, it sounds like the display itself is working as expected? Did you try a hard reboot already? If that doesn't fix the issue, there might be a problem with the display connector. Reseat the connector, and if that doesn't do the try, check the connector socket for damages or dirt/dust. Please also check our general troubleshooting advice.