Einleitung
Follow this guide to remove or replace the battery on a Motorola Moto E6 Plus.
Before you begin, download the Rescue and Smart Assistant app to backup your device and diagnose whether your problem is software or hardware related.
For your safety, discharge the battery below 25% before disassembling your phone. This reduces the risk of a dangerous thermal event if the battery is accidentally damaged during the repair. If your battery is swollen, take appropriate precautions.
-
-
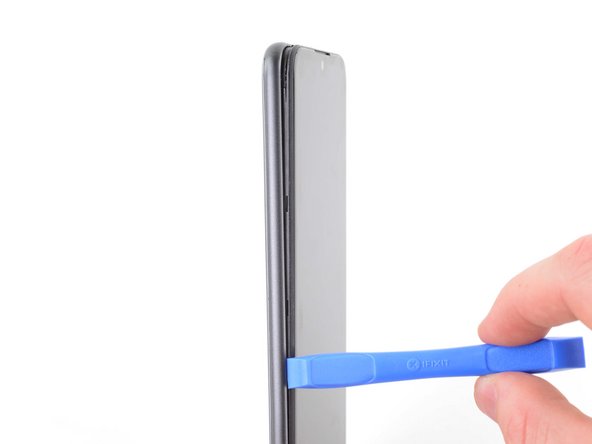
Use an opening tool or your fingernail to pry the back cover away from the frame using the notch at the bottom right corner.
-
-
-
Use an opening tool or your fingernail to release the clips on the right edge by sliding up and around the top right corner.
-
-
-
-
Continue to slide the opening tool or your fingernail across the top edge to release the clips securing the back cover to the frame.
-
-
-
Continue to slide the opening tool or your fingernail down the left edge to release the clips.
-
-
-
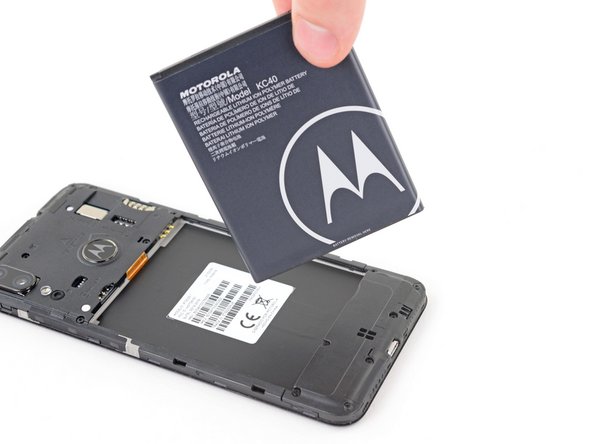
Use a spudger or your fingernail to pry the battery up using the notch near the bottom right corner.
-
Remove the battery.
-
To reassemble your device, follow these instructions in reverse order.
For optimal performance, calibrate your newly installed battery after completing this guide.
Take your e-waste to an R2 or e-Stewards certified recycler.
Repair didn’t go as planned? Try some basic troubleshooting, or ask our Motorola Moto E6 Plus Answers community for help.
Rückgängig: Ich habe diese Anleitung nicht absolviert.
4 weitere Nutzer:innen haben diese Anleitung absolviert.


