Einleitung
Use this guide to replace the screen assembly in your Samsung Galaxy Watch5.
Note: The Galaxy Watch5's display, frame, and buttons are all connected as one assembly. Replacing the display requires replacing all of these components as one unit.
Was du brauchst
-
-
Take your watch off the charger and power it down.
-
Remove the watch band.
-
-
-
Use a Tri-point Y000 screwdriver to remove the four 4.1 mm-long screws securing the back cover.
-
-
-
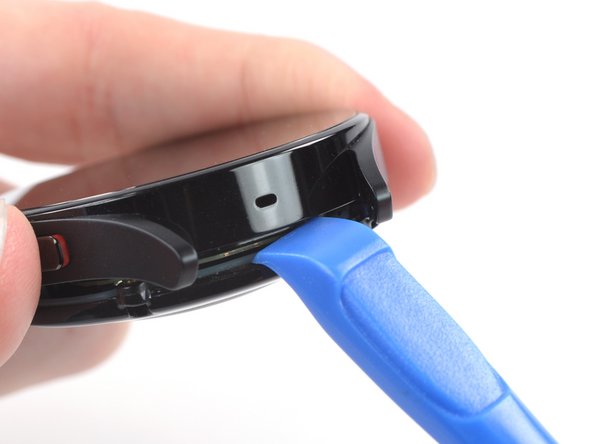
Insert an opening tool into the seam between the back cover and the metal housing.
-
Twist the opening tool to loosen the gasket and create a gap.
-
-
-
Lay the watch screen-side down.
-
Carefully swing open the back cover at the gap you just created.
-
Use a spudger to disconnect the sensor flex cable from the motherboard by prying the press connector straight up from its socket.
-
-
-
-
Remove the back cover.
-
Make sure the rubber gasket (marked in red) is undamaged. If damaged, replace it with a new one to maintain water resistance.
-
-
-
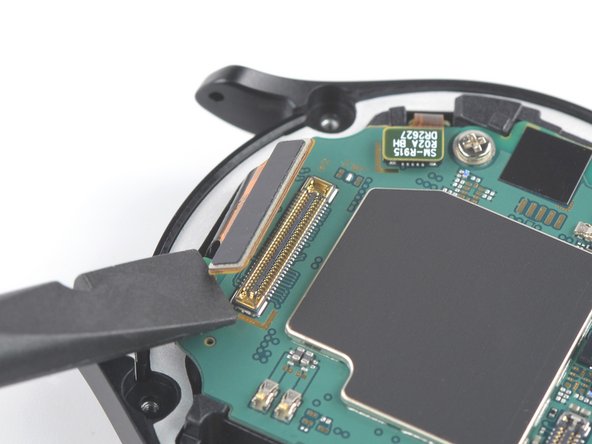
Use a spudger to disconnect the display flex cable by prying the connector straight up from its socket.
-
-
-
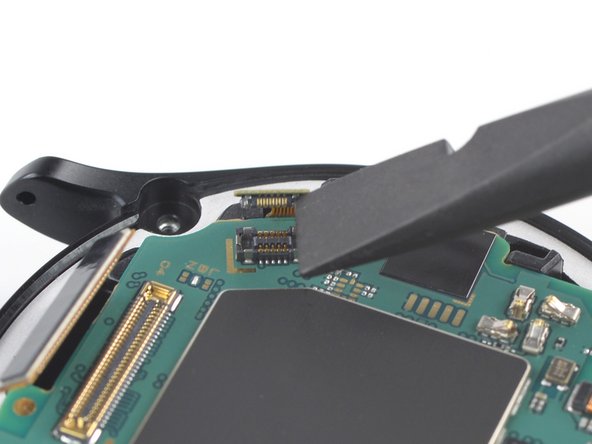
Use a spudger to disconnect the button flex cable by prying the connector straight up from its socket.
-
-
-
Use a Phillips screwdriver to remove the single 4.4 mm–long screw securing the motherboard.
-
-
-
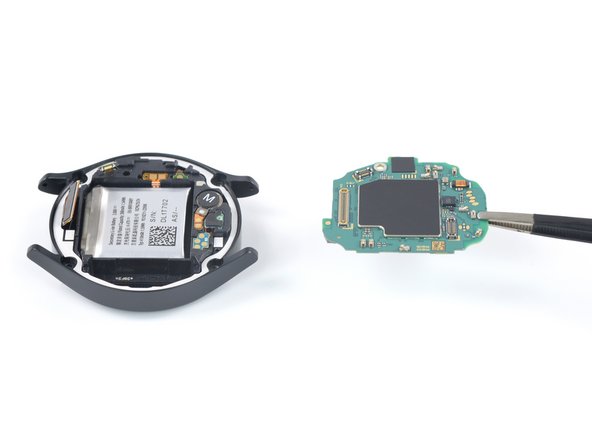
Use a pair of tweezers or your fingers to lift the motherboard out from the watch, clearing the two flex cables.
-
-
-
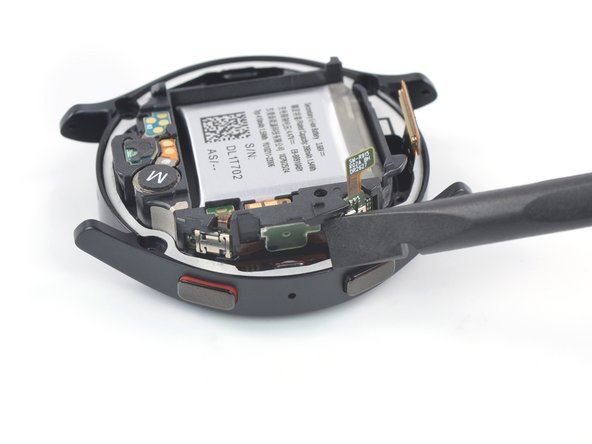
Place one corner of the flat end of a spudger between the core assembly and the buttons side of the frame.
-
Twist the spudger to lever the core assembly out of the metal housing.
-
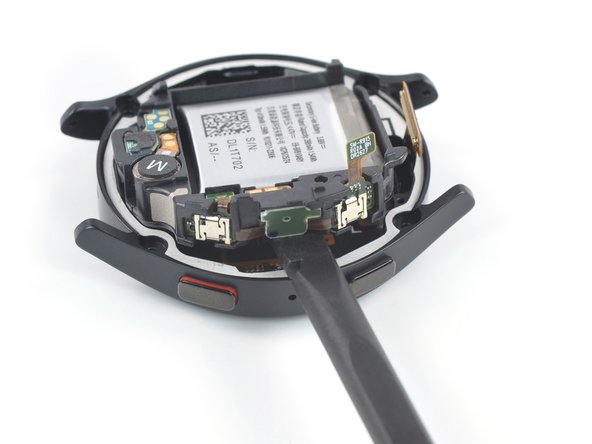
Once the gap is big enough, place the spudger underneath the core assembly and lift it up.
-
-
-
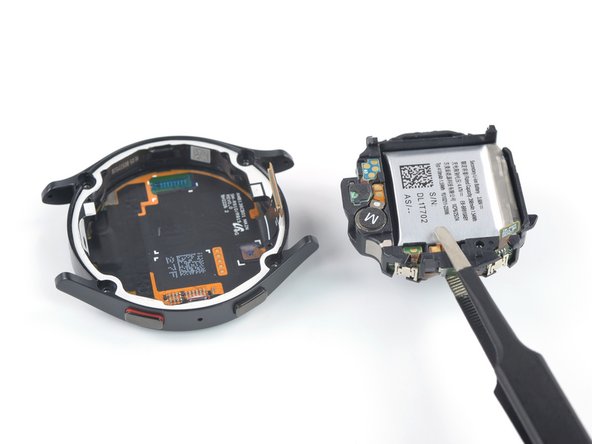
Use a pair of tweezers or your fingers to remove the core assembly.
-
Only the screen assembly remains.
-


If possible, turn on your device and test your repair before installing new adhesive and resealing.
To reassemble your device, follow these instructions in reverse order.
Take your e-waste to an R2 or e-Stewards certified recycler.
Repair didn’t go as planned? Try some basic troubleshooting, or ask our Answers community for help.

