Zum Hauptinhalt wechseln

SteelSeries Nimbus+ Thumbsticks Replacement

Was du brauchst

  1. SteelSeries Nimbus+ Thumbsticks Replacement, Remove the phone mount: Schritt 1, Bild 1 von 2 SteelSeries Nimbus+ Thumbsticks Replacement, Remove the phone mount: Schritt 1, Bild 2 von 2
    • Use your fingers to remove the phone mount by pulling it straight out of the controller.

  2. SteelSeries Nimbus+ Thumbsticks Replacement, Remove the sticker: Schritt 2, Bild 1 von 1
    • Use your fingers to remove the sticker located on the back cover of the Nimbus+.

    • If you have trouble removing the sticker heat an iOpener and apply it to the rear case for two minutes to loosen the adhesive underneath.

  3. SteelSeries Nimbus+ Thumbsticks Replacement, Unscrew the back cover: Schritt 3, Bild 1 von 1
    • Use a Y1 Tri-point screwdriver to remove the five 9.1 mm-long screws securing the back cover.

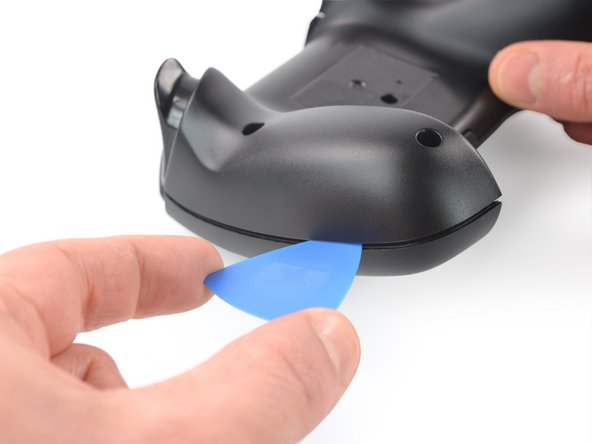
  4. SteelSeries Nimbus+ Thumbsticks Replacement, Insert an opening pick: Schritt 4, Bild 1 von 2 SteelSeries Nimbus+ Thumbsticks Replacement, Insert an opening pick: Schritt 4, Bild 2 von 2
    • The back cover is held in place by plastic clips.

    • Insert an opening pick into the gap between the front and back cover assembly at the outside of the right controller handle.

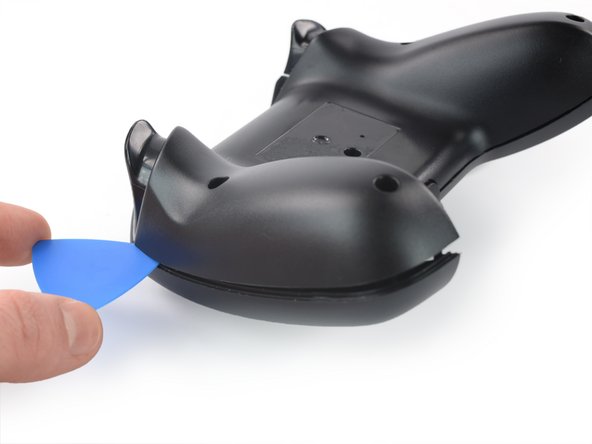
  5. SteelSeries Nimbus+ Thumbsticks Replacement, Release the plastic clips: Schritt 5, Bild 1 von 2 SteelSeries Nimbus+ Thumbsticks Replacement, Release the plastic clips: Schritt 5, Bild 2 von 2
    • Slide the opening pick to the top of the controller to release the remaining plastic clips on the right edge.

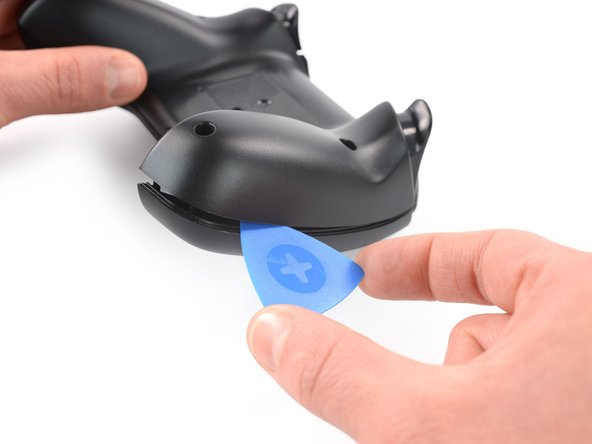
  6. SteelSeries Nimbus+ Thumbsticks Replacement, Insert an opening pick: Schritt 6, Bild 1 von 2 SteelSeries Nimbus+ Thumbsticks Replacement, Insert an opening pick: Schritt 6, Bild 2 von 2
    • Insert an opening pick into the gap between the front and back cover assembly at the outside of the left controller handle.

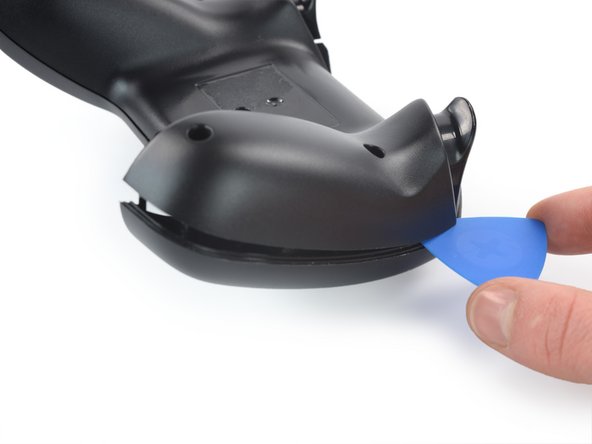
  7. SteelSeries Nimbus+ Thumbsticks Replacement, Release the plastic clips: Schritt 7, Bild 1 von 2 SteelSeries Nimbus+ Thumbsticks Replacement, Release the plastic clips: Schritt 7, Bild 2 von 2
    • Slide the opening pick to the top of the controller to release the remaining plastic clips on the left edge.

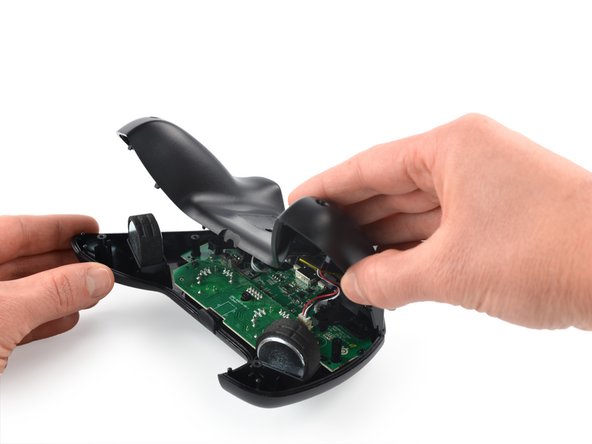
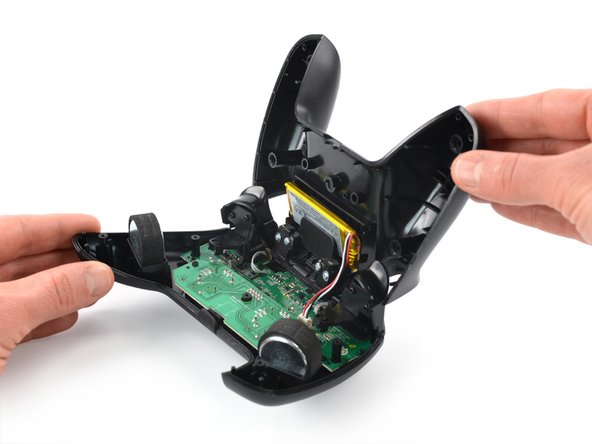
  8. SteelSeries Nimbus+ Thumbsticks Replacement, Unfold the back cover assembly: Schritt 8, Bild 1 von 3 SteelSeries Nimbus+ Thumbsticks Replacement, Unfold the back cover assembly: Schritt 8, Bild 2 von 3 SteelSeries Nimbus+ Thumbsticks Replacement, Unfold the back cover assembly: Schritt 8, Bild 3 von 3
    • Carefully fold the back cover assembly to the top of the SteelSeries Nimbus+ and bring it in an 90 degree angle.

    • Do not try to remove the back cover assembly all the way yet! It is still connected to mainboard.

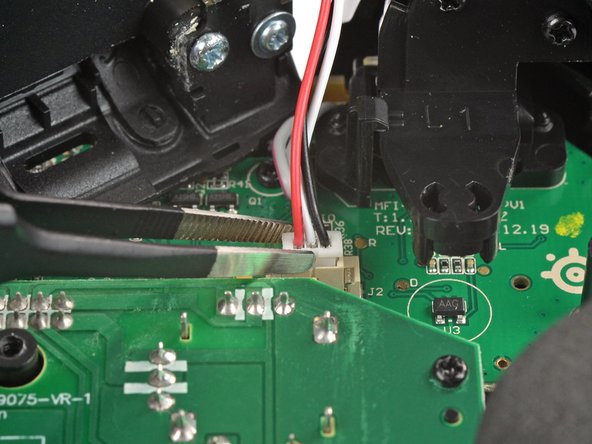
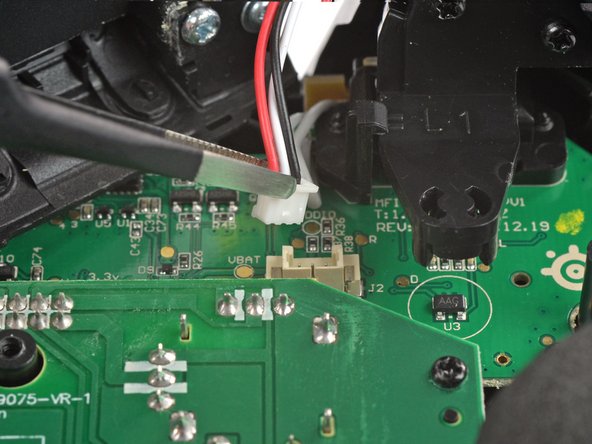
  9. SteelSeries Nimbus+ Thumbsticks Replacement, Disconnect the battery cable: Schritt 9, Bild 1 von 3 SteelSeries Nimbus+ Thumbsticks Replacement, Disconnect the battery cable: Schritt 9, Bild 2 von 3 SteelSeries Nimbus+ Thumbsticks Replacement, Disconnect the battery cable: Schritt 9, Bild 3 von 3
    • Use a pair of blunt nose tweezers to disconnect the battery cable from the mainboard.

  10. SteelSeries Nimbus+ Thumbsticks Replacement, Remove the back cover assembly: Schritt 10, Bild 1 von 1
    • Remove the back cover assembly.

  11. SteelSeries Nimbus+ Thumbsticks Replacement, Unscrew the board: Schritt 11, Bild 1 von 1
    • Use a Phillips screwdriver to remove the two 7.0 mm-long screws securing the board.

  12. SteelSeries Nimbus+ Thumbsticks Replacement, Disconnect the thumbstick board: Schritt 12, Bild 1 von 3 SteelSeries Nimbus+ Thumbsticks Replacement, Disconnect the thumbstick board: Schritt 12, Bild 2 von 3 SteelSeries Nimbus+ Thumbsticks Replacement, Disconnect the thumbstick board: Schritt 12, Bild 3 von 3
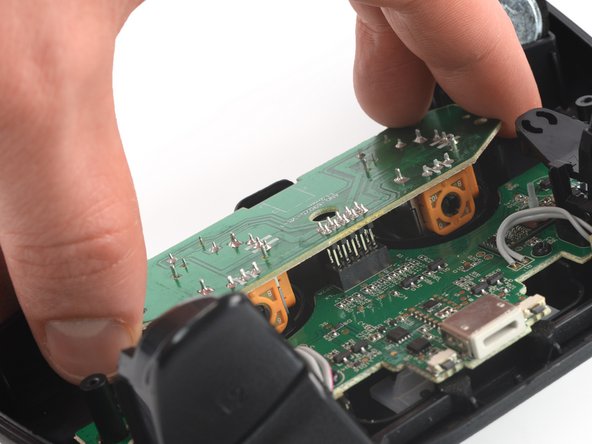
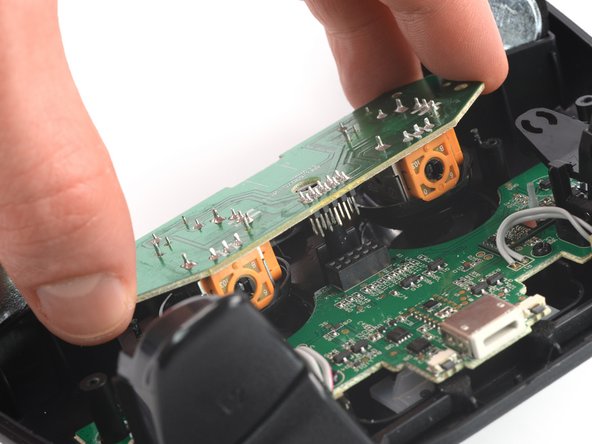
    • Disconnect the thumbstick board by pulling it straight out its socket on the mainboard.

  13. SteelSeries Nimbus+ Thumbsticks Replacement, Remove the board: Schritt 13, Bild 1 von 1
    • Remove the board with the thumbsticks from the mainboard.

Abschluss

To reassemble your device, follow these instructions in reverse order.

Take your e-waste to an R2 or e-Stewards certified recycler.

Repair didn’t go as planned? Check our Answers community for help.

Ein:e weitere:r Nutzer:in hat diese Anleitung absolviert.

Adriana Zwink

Mitglied seit: 12/18/19

48.416 Reputation

167 Anleitungen geschrieben

Team

iFixit Mitglied von iFixit

Staff

135 Mitglieder

17.182 Anleitungen geschrieben

2 Kommentare

how can we find a replacement board with the thumbsticks?

Anne Taylor - Antwort

I wonder the same thing

Bizkot -

Kommentar hinzufügen

Seitenaufrufe:

Letzte 24 Stunden: 3

Letzte 7 Tage: 8

Letzte 30 Tage: 34

Insgesamt: 890