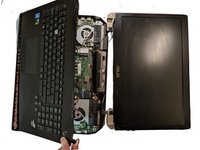
ASUS ROG G750JW-RS72-CB Display Assembly Replacement
Einleitung
Zu Schritt 1 der AnleitungIn this guide, we will replace the screen of the Asus ROG G750JW-RS72-CB.
Was du brauchst
-
-
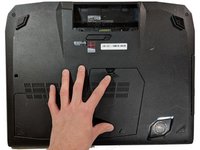
With your finger, push this slide to the right. The battery should pop out of place.
-
-
-
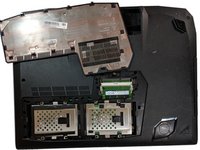
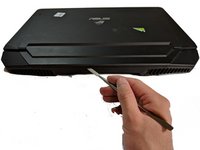
Lift up the flap using a plastic opening tool.
-
Hold the flap back with your finger.
-
-
-
-
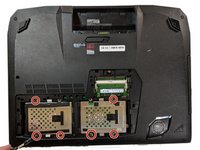
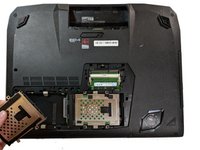
Unscrew the 5.2mm screws holding the hard drive in place.
-
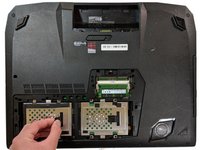
Gently pull the rubber hard drive mount to the side.
-
Pull the drive out.
-
-
-
Remove the 8.5mm screws holding the bottom half of the laptop together.
-
-
-
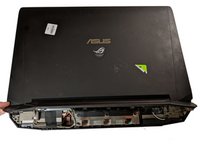
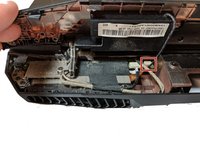
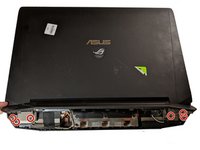
Unscrew the 6.8mm screws holding the hinges of the screen to the bottom half of the computer.
-
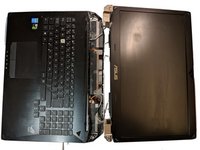
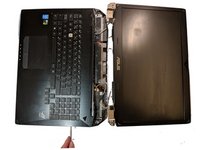
Detach the screen from the hinges of the laptop.
-
-
-
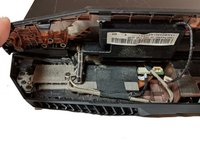
Gently unplug the cables connecting the screen to the motherboard.
-
The display assembly can now be freely separated.
-
To reassemble your device, follow these instructions in reverse order.
To reassemble your device, follow these instructions in reverse order.
Rückgängig: Ich habe diese Anleitung nicht absolviert.
5 weitere Personen haben diese Anleitung absolviert.
Ein Kommentar
Super helpful.
Upon re-pasting GPU I noticed that not only GPU chip was covered in thermal paste surrounding chips were literately covered with thermal paste to is that normal?


