
Acer Chromebook 14 CB3-431-C7EX Battery Replacement
Einleitung
Zu Schritt 1 der AnleitungIf the Acer Chromebook 14 CB3-431-C7EX is malfunctioning due to the battery, use this guide to replace the internal battery.
The internal battery of the Acer Chromebook 14 allows the laptop to be operable while disconnected from the A/C charging cord. A faulty internal battery may cause the Acer Chromebook 14 to discharge faster than normal or have issues powering the device while disconnected from the charger.
Before buying a replacement battery, use the first two steps of the guide to ensure that the battery is properly connected within the laptop. You may be able to fix this issue by reconnecting a loose connector.
Before beginning, be sure to power down the laptop, and unplug from the external power source(s).
Was du brauchst
Ersatzteile

Werkzeuge


Mehr anzeigen …
-
-
Use a Phillips #0 screwdriver to unscrew the eight 4mm screws.
-
Use a Phillips #0 screwdriver to unscrew the two 7mm screws.
-
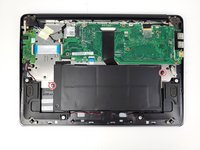
Remove the cover of the device by prying up from one of the edges with a spudger or plastic opening tool.
-
-
-
Use a spudger to disconnect the battery's connector from the motherboard. The connector should slide out toward the battery.
-
-
-
-
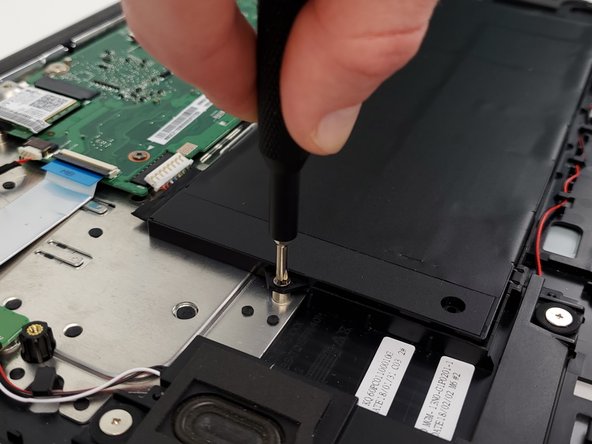
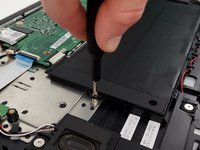
Use a Phillips #0 screwdriver to unscrew the two 5.5mm screws from the battery housing.
-
-
-
While lifting the connector side of the battery, slide the battery towards the center of the laptop.
-
Remove the battery from the laptop.
-


To reassemble your device, follow these instructions in reverse order.
To reassemble your device, follow these instructions in reverse order.
Rückgängig: Ich habe diese Anleitung nicht absolviert.
3 weitere Personen haben diese Anleitung absolviert.
Team

Embry-Riddle Aeronautical University, Team S17-G7, Lamothe Spring 2020 Mitglied von Embry-Riddle Aeronautical University, Team S17-G7, Lamothe Spring 2020
ERAU-LAMOTHE-S20S17G7
3 Mitglieder
5 Anleitungen geschrieben