
Acer Chromebook C710-2847 Screen Replacement
Einleitung
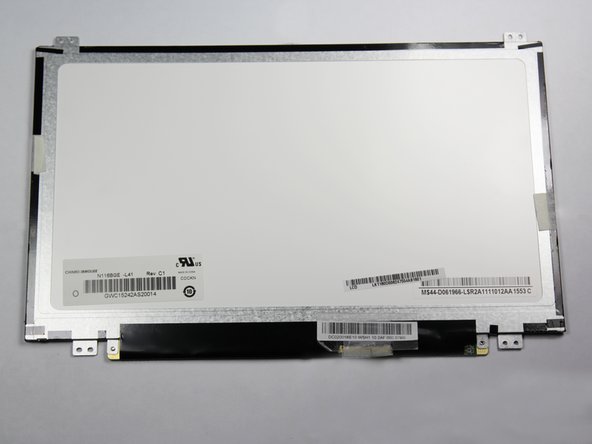
Zu Schritt 1 der AnleitungIf your screen breaks or has dead pixels, the most cost effective solution is to replace the screen.
Was du brauchst


-
-
Place the laptop on a flat surface with the bottom side facing up.
-
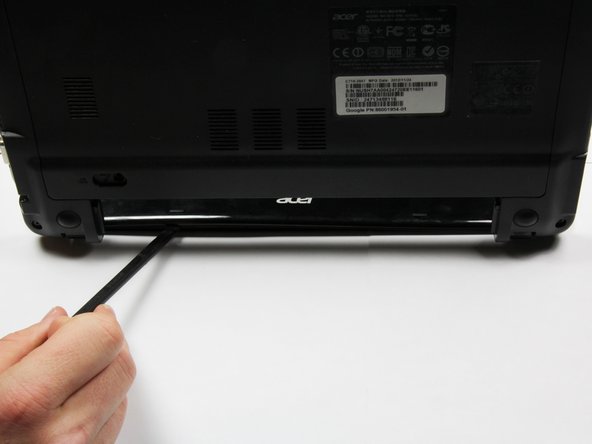
Place the tip of a spudger or finger into the hole on the battery release slider.
-
-
-
Use the spudger to move the slider to the right and hold it there.
-
With the slider held, use your other hand to pull the battery back away from the laptop.
-
-
-
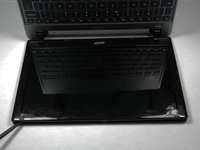
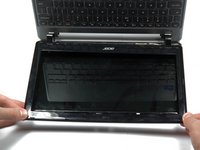
Open the laptop, keeping the screen on the table.
-
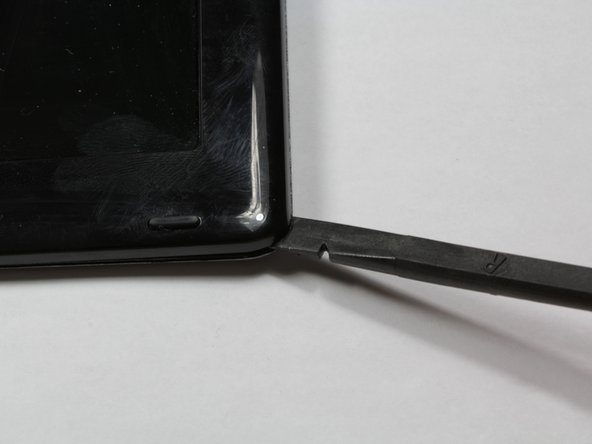
Use a spudger to unclip the top left and right sides of the bezel. You should feel and hear the clips releasing as you do this.
-
Turn the device around 180 degrees, keeping the screen on the table. Use the spudger on the bottom of the screen to unclip the bezel between the hinges.
-
-
-
-
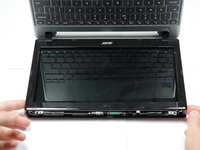
Lift the bezel one inch off the top corners of the screen.
-
Gently pull the plastic bezel toward you.
-
Set the bezel aside.
-
-
-
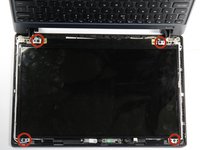
Unscrew the four black #0 3mm Phillips screws holding down the screen.
-
Lift up the small pieces of black tape at the bottom center of the screen near the keyboard.
-
-
-
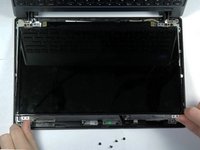
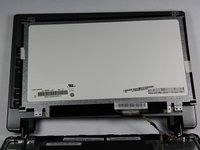
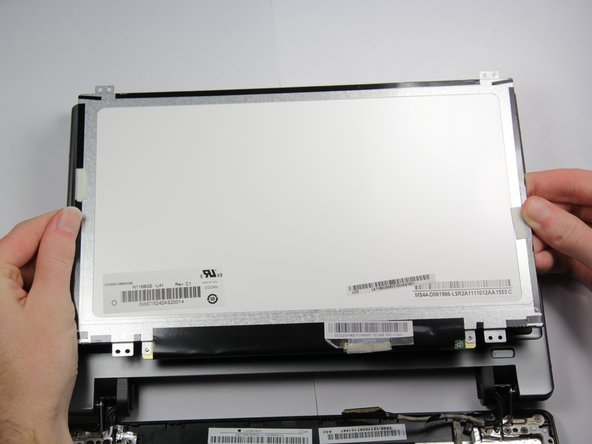
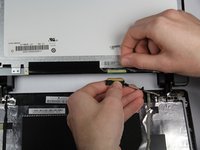
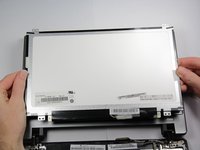
Lift up the screen from the silver tabs at the top and flip it over to rest on top of the keyboard.
-
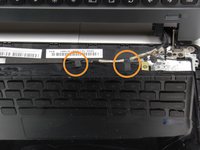
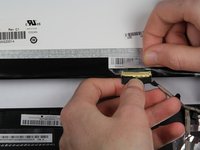
Carefully unwrap the narrow black tape from around the ribbon cable connection.
-
Pull off the clear tape from the ribbon cable connection.
-
-
-
Pull out the ribbon cable.
-
Remove any remaining tape holding the screen to the laptop.
-


To reassemble your device, follow these instructions in reverse order. Be sure to tape the cable back to the screen to avoid display problems.
To reassemble your device, follow these instructions in reverse order. Be sure to tape the cable back to the screen to avoid display problems.
Rückgängig: Ich habe diese Anleitung nicht absolviert.
33 weitere Personen haben diese Anleitung absolviert.
Team

Cal Poly, Team 13-3, Forte Fall 2013 Mitglied von Cal Poly, Team 13-3, Forte Fall 2013
CPSU-FORTE-F13S13G3
5 Mitglieder
14 Anleitungen geschrieben
8 Kommentare
I am 69 years old and bought myself and 4 grandchildren Acer Chromebooks. I heard the screen messing up was quite common. So when my screen went first, I knew I had to learn to fix it, or spend another small fortune if they all broke down. So here I am. The screen is out..next adventure..putting a new one in. Will return here to do that. Thanks for the site.
Great guide. Didn't realize it was that simple...i'd like a little information on which screen was purchased for this model.
Thanks!
I like it. The link for the screen is dead for me but I will find one.
Thanks for this. Just repaired 3 laptops for my classroom! Super easy.