
Asus G74SX-BBK7 Trackpad Button Replacement
Einleitung
Zu Schritt 1 der AnleitungThe mouse button, located under the trackpad, includes a left and right side and is used for clicking on a computer. It can be extremely inconvenient to not have. This guide will teach you replace your mouse button.
Was du brauchst


-
-
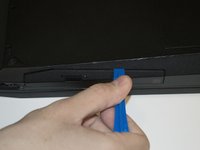
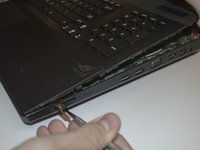
Using a flathead screwdriver, spudger, or large coin such as a quarter, remove the 13mm screw on the bottom of the laptop.
-
Take off the back panel.
-
-
-
-
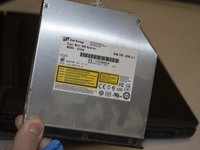
Remove the two 6mm Phillips #0 screws that were previously covered by the optical drive using a Phillips #0 screwdriver.
-
-
-
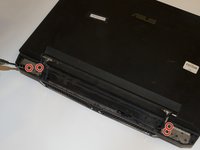
First, remove the five 10mm Phillips #0 screws from the back of the computer near the top.
-
Remove all eighteen 6mm Phillips #0 screws from the bottom of the computer.
-
-
-
Next, pry open back plastic cover using a metal spudger.
-
Unscrew the four 10mm Phillips #0 screws under the cover.
-
-
-
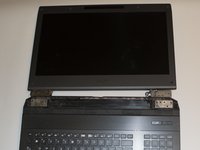
Lay laptop opened and completely flat.
-
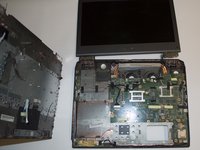
Using the metal spudger, slowly pry open the front main panel by going around each side.
-
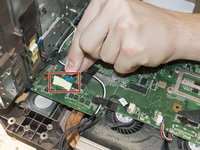
Lift the top panel out, pulling the cable strips out of their sockets. These will be reattached later.
-
-
-
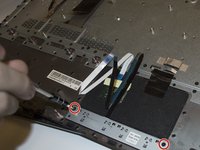
After separating the main panel and the motherboard, unscrew two 6mm Phillips #0 screws.
-
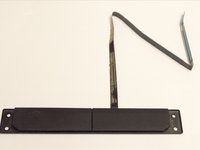
Remove the mouse button.
-
-
-
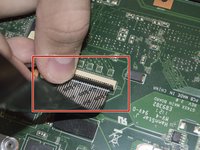
To reconnect the motherboard and main panel, insert strips back to their corresponding location.
-
To do this, first remove the tape and open up the tab. Plug in the strip and and close the tab.
-


To reassemble your device, follow these instructions in reverse order.
To reassemble your device, follow these instructions in reverse order.
Rückgängig: Ich habe diese Anleitung nicht absolviert.
2 weitere Personen haben diese Anleitung absolviert.
Team

Cal Poly, Team 5-10, Maness Spring 2015 Mitglied von Cal Poly, Team 5-10, Maness Spring 2015
CPSU-MANESS-S15S5G10
4 Mitglieder
6 Anleitungen geschrieben