
Asus G75VW-BHI7N07 Trackpad Buttons Replacement

Einleitung
Zu Schritt 1 der AnleitungThe trackpad can wear out over time or stop working completely. This guide will show you how to remove the trackpad buttons in this device.
Was du brauchst
Werkzeuge


Mehr anzeigen …
-
-
Remove the 5 (9 mm screws) around the outside edges of the back cover with the PH1 Phillips-head screwdriver.
-
Lift off the back cover using the opening tool.
-
-
-
Remove the 10 (9 mm) screws marked 'A' using the PH1 Phillips-head screwdriver.
-
Remove the battery by pressing the slide release button.
-
Remove 2 more (9 mm) 'A' marked screws within the battery compartment using the PH1 Phillips-head screwdriver.
-
-
-
-
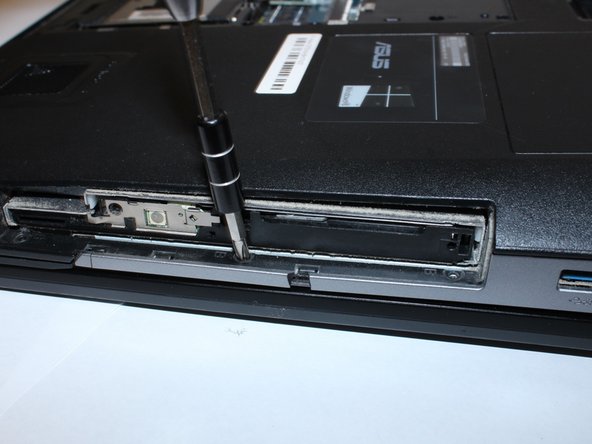
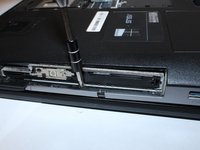
Remove the cover for the disc drive with the opening tool.
-
Remove the 6 (4 mm) 'B' marked screws with the PH1 Phillips-head screwdriver. (3 screws are in the battery compartment and 3 are under the disc drive cover)
-
-
-
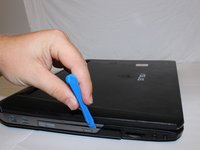
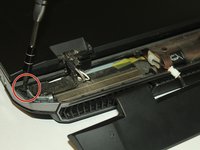
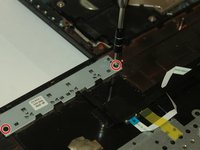
Take off the henge cover using the opening tool.
-
Remove the 2 black outside edge (9 mm) screws with the J0 Phillips screwdriver.
-
-
-
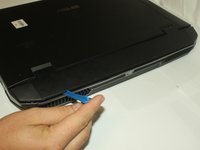
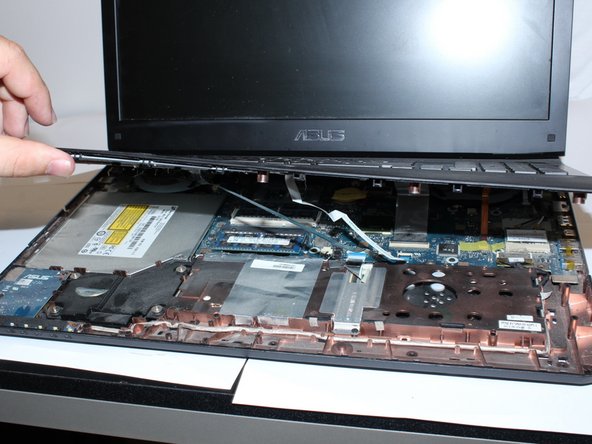
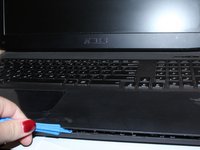
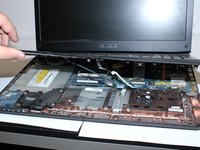
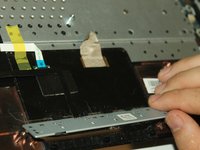
Pry open the keypad platform with the opening tool.
-
You will need to lift the keypad platform with your hands.
-
Remove all electrical connections using your hands.
-
-
-
Take the 2 (3 mm) screws out of the trackpad using the PH1 Phillips screwdriver.
-
Remove the trackpad buttons using your hands.
-


To reassemble your device, follow these instructions in reverse order.
To reassemble your device, follow these instructions in reverse order.
Rückgängig: Ich habe diese Anleitung nicht absolviert.
Eine weitere Person hat diese Anleitung absolviert.

Team

Western Carolina University, Team S1-G1, Virtue Fall 2017 Mitglied von Western Carolina University, Team S1-G1, Virtue Fall 2017
WCU-VIRTUE-F17S1G1
3 Mitglieder
5 Anleitungen geschrieben