
Asus ROG G751JL-BSI7T28 USB Port Board Replacement

Einleitung
Zu Schritt 1 der AnleitungIt is important to power down the Asus ROG G751JL-BSI7T28 prior to starting the repair as well as unplug the A/C adapter. While this covers most of the concern with electrical components, there still may be connectors with power going through them. There is no risk for a personal shock however no metal should be near the laptop during the repair. Necklaces, bracelets, rings, etc could potentially short out components on the motherboard of the laptop making your problem bigger than when you started the repair!
When replacing the USB port board, is is important to be delicate with taking the old hardware out as well as putting the new in. The USB port board is connected to the motherboard which is also home to all the other components in the computer. Breaking this will complicate the repair so it is important to take it slow and be gentle.
Was du brauchst
Ersatzteile
Werkzeuge


Mehr anzeigen …
-
-
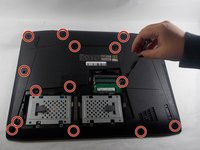
With the laptop closed, turn it upside-down so the bottom is facing up toward you.
-
-
-
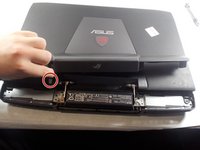
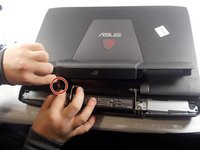
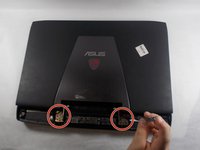
Place a spudger into the notch, and pry the small triangular piece away from the laptop.
-
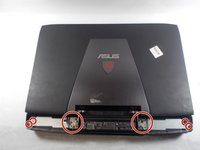
Using a Phillips #00 screwdriver, remove the single 3 mm screw.
-
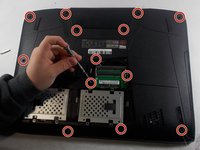
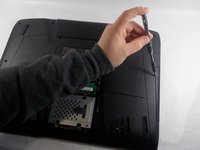
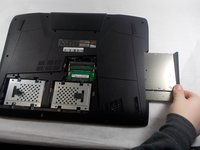
Place a spudger beneath the back panel and pry it away from the laptop.
-
-
-
-
Open the laptop and turn it so that the ASUS logo is facing you.
-
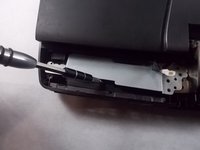
Gently lift up the display hinge housing shroud, but don’t pull it completely away yet.
-
Disconnect the RGB light power cable in the shroud, now the shroud can be put aside.
-
-
-
Remove the 5mm Phillips #00 screws.
-
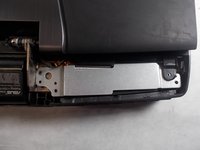
Lift up the silver hinge brackets on each side of the laptop.
-
-
-
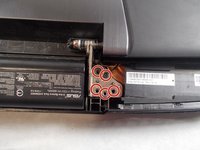
Remove the 5mm Phillips #00 screws from the hinges.
-
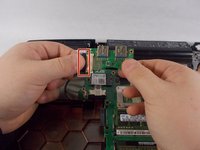
Detach the ribbon cable and remove the display assembly from the laptop.
-
-
-
Carefully lift the keyboard up, being careful to not damage the fragile ribbon connectors.
-
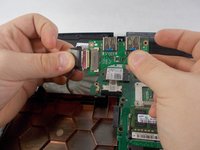
Use an opening tool to detach the ribbon cables connecting the keyboard to the rest of the laptop.
-
Remove the keyboard from the laptop.
-
-
-
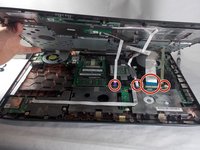
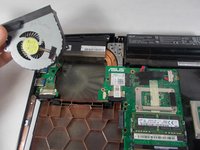
Remove the 5mm Phillips #00 screw.
-
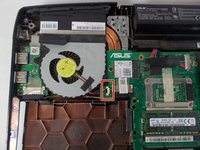
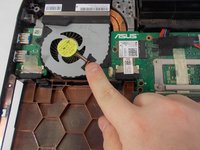
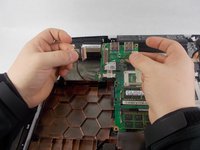
Pull up on the black tab connected to the fan. This will pull it away from the cooling fins, allowing it to be removed.
-
Remove the fan from the laptop.
-
-
-
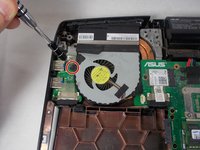
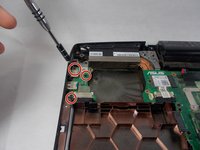
Remove the three 5mm Phillips #0 screws from the USB port board.
-
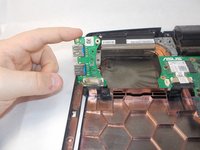
Lift the USB port board out of the laptop.
-


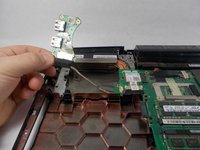


To reassemble your device, follow these instructions in reverse order.
To reassemble your device, follow these instructions in reverse order.

Team

UMass Dartmouth, Team S1-G1, Barthe Fall 2019 Mitglied von UMass Dartmouth, Team S1-G1, Barthe Fall 2019
UMASSD-BARTHE-F19S1G1
3 Mitglieder
4 Anleitungen geschrieben
2 Kommentare
Hi Dylan. I inherited an older G751JL-BSI7T28 Asus gaming laptop. Do you know if the internal graphics card was able to be replaced by anything other than the 2GB Geforce that is in it? I hate top put money in an older laptop but other than it doesnt have USB C or USB 3.1, it really isn’t that bad of a laptop for its age.
cpruitt1@carolina.rr.com
The laptop is very formidable for it’s age but unfortunately the laptop’s GPU is integrated into the motherboard, so it cannot be swapped out. Hope this helps!