Asus ROG GL551J Hard Drive Replacement
Einleitung
Zu Schritt 1 der AnleitungUse this guide to remove replace the hard drive in your Asus ROG GL551J, which can be completed in fewer than 3 steps.
Was du brauchst
Komplettpaket für die Reparatur
Diese Kits enthalten alle Ersatzteile und Werkzeuge, die für diese Anleitung benötigt werden.
Ersatzteile
Werkzeuge
Mehr anzeigen …
-
-
-
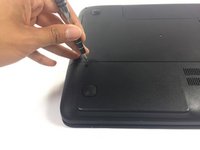
With laptop upside-down, locate and unscrew the two screws on the panel with the vents.
-
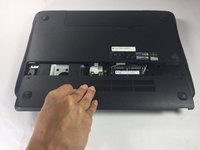
Slide the panel out and lift up to remove.
-
-
-
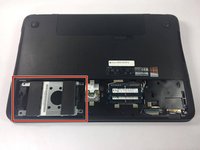
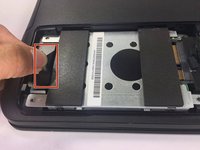
The hard drive is the metal rectangle with the two soft padding bars attached to it.
-
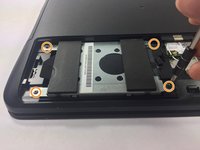
Locate and remove the 4 screws holding the hard drive down at each corner using a PH000 Philips head.
-
-
-
Locate the black plastic tab attached to the bottom of the hard drive and pull it straight outwards.
-
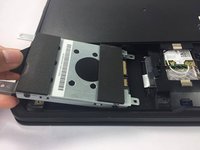
Once the hard drive detaches from the connector, lift the hard drive up and out.
-
To reassemble your device, follow these instructions in reverse order.
To reassemble your device, follow these instructions in reverse order.
Rückgängig: Ich habe diese Anleitung nicht absolviert.
7 weitere Personen haben diese Anleitung absolviert.


