
Asus ROG Strix GL702VM-BHI7N09 Solid State Drive Replacement
Einleitung
Zu Schritt 1 der AnleitungShould you find yourself needing to increase storage capacity or experiencing a faulty Solid State Drive (SSD) in your Asus ROG Strix GL702VM-BHI7N09 gaming laptop, this guide will be useful. The SSD is vital for system operation and is required for storing the programs and operating system on your computer.
Was du brauchst
Komplettpaket für die Reparatur
Diese Kits enthalten alle Ersatzteile und Werkzeuge, die für diese Anleitung benötigt werden.


Ersatzteile


Werkzeuge


Mehr anzeigen …
-
-
Flip the laptop over to the back panel, with the serial numbers facing up.
-
Using a Phillips #1 screwdriver, remove the ten 12 mm screws from the back panel.
-
-
-
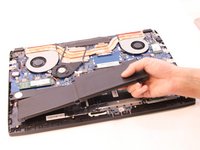
Wedge the sharp edge of the plastic opening tool into the seam between the back panel and the rest of the laptop, then gently pry the panel up.
-
Continue breaking the seals by sliding the plastic opening tool around the entire laptop under the seam until the back panel is free.
-
Once you have broken all the seals, carefully lift the panel off.
-
-
-
-
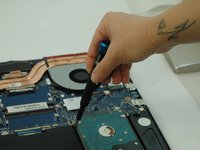
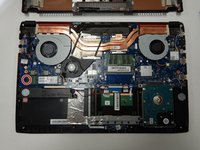
Unscrew the 3.8 mm Phillips #1 screw on the top right hand corner of the battery.
-
Lift battery from laptop frame.
-
-
-
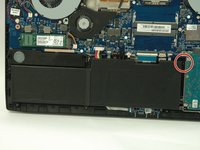
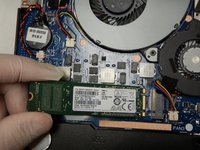
Using a Phillips #1 screwdriver, remove the 4mm screw holding down the SSD.
-
Slide the SSD out from the connection slot.
-


To reassemble your device, follow these instructions in reverse order.
To reassemble your device, follow these instructions in reverse order.
Team

The Citadel Military College of South Carolina, Team S1-G3, Eggleston Fall 2020 Mitglied von The Citadel Military College of South Carolina, Team S1-G3, Eggleston Fall 2020
CMCSC-EGGLESTON-F20S1G3
3 Mitglieder
3 Anleitungen geschrieben