
BLU Dash Music 4.0 Screen Replacement

Einleitung
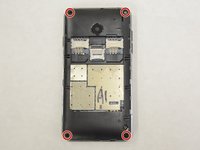
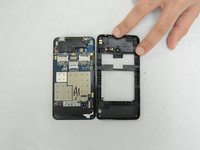
Zu Schritt 1 der AnleitungIf your BLU Dash Music 4.0 screen is damaged in any form, use this guide to replace the screen.
The screen is a display that also serves as input for your device. A scratched or cracked screen can harm user's hands and can obstruct display as well.
Before using this guide, inspect the screen and use a screen cleaner to ensure that it is free of debris. This can also help confirm that the damage is done to the screen itself and the display is not hindered by some superficial dust settling.
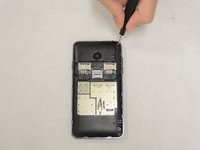
Before beginning, make sure to power off your phone completely and disconnect from any external power source.
Was du brauchst


To reassemble your device, follow these instructions in reverse order.
To reassemble your device, follow these instructions in reverse order.

Team

IUPUI, Team S1-G1, Stella Fall 2019 Mitglied von IUPUI, Team S1-G1, Stella Fall 2019
IUPUI-STELLA-F19S1G1
4 Mitglieder
3 Anleitungen geschrieben