Zum Hauptinhalt wechseln
Bush Pump Above Grade Riser Pipe Replacement

Bush Pump Above Grade Riser Pipe Replacement

Jake Devincenzi

Jake Devincenzi und 5 weitere Mitwirkende

Zuletzt aktualisiert am July 16, 2019

Keine Schätzung
Mittel

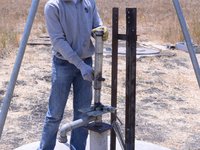
This guide will walk you through the procedure to remove the above grade riser pipe. You can then replace it with a new one, or perform any necessary repairs on it.

Was du brauchst

iFixit erhält eine Provision, wenn du über diese Links etwas kaufst.
  1. Bush Pump Above Grade Riser Pipe Replacement, Head and Handle: Schritt 1, Bild 1 von 2 Bush Pump Above Grade Riser Pipe Replacement, Head and Handle: Schritt 1, Bild 2 von 2
    • Test pump performance by pumping 40 strokes.

    • An effective pump should return at least 10 liters.

  2. Bush Pump Above Grade Riser Pipe Replacement: Schritt 2, Bild 1 von 2 Bush Pump Above Grade Riser Pipe Replacement: Schritt 2, Bild 2 von 2
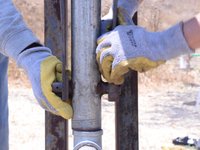
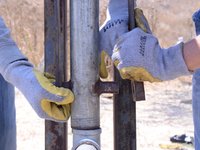
    • Remove the two pins connecting the handle to the slider.

  3. Bush Pump Above Grade Riser Pipe Replacement: Schritt 3, Bild 1 von 2 Bush Pump Above Grade Riser Pipe Replacement: Schritt 3, Bild 2 von 2
    • Pull the two lever arms away from the slider.

  4. Bush Pump Above Grade Riser Pipe Replacement: Schritt 4, Bild 1 von 2 Bush Pump Above Grade Riser Pipe Replacement: Schritt 4, Bild 2 von 2
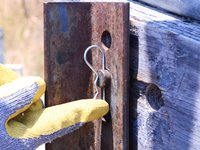
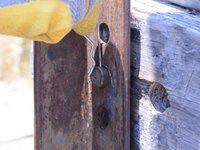
    • Lift the two pins attaching the pump frame to the head and handle up, off of the pump frame.

  5. Bush Pump Above Grade Riser Pipe Replacement: Schritt 5, Bild 1 von 3 Bush Pump Above Grade Riser Pipe Replacement: Schritt 5, Bild 2 von 3 Bush Pump Above Grade Riser Pipe Replacement: Schritt 5, Bild 3 von 3
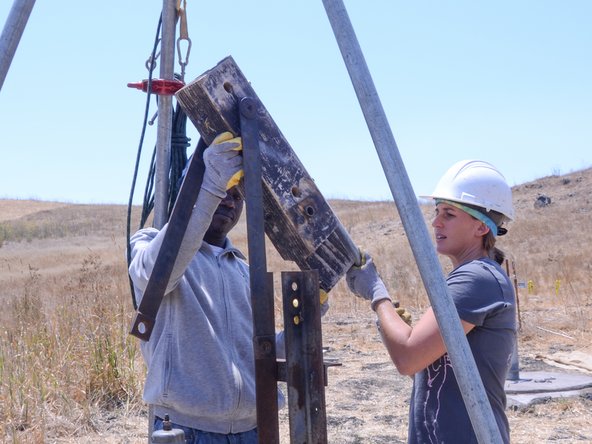
    • Throughout this step, make sure you support the handle and head with at least three hands.

    • Slide the bearing rod out of the head.

    • Inspect the bearing rod and head for any wear or tear.

  6. Bush Pump Above Grade Riser Pipe Replacement: Schritt 6, Bild 1 von 1
    • Remove the head and handle, and place them on a clean surface to prevent contamination.

  7. Bush Pump Above Grade Riser Pipe Replacement, Riser Main Slider: Schritt 7, Bild 1 von 2 Bush Pump Above Grade Riser Pipe Replacement, Riser Main Slider: Schritt 7, Bild 2 von 2
    • Firmly lift the riser main slider with two hands.

    • Use caution not to drop the riser main, as this can damage the pump cylinder.

  8. Bush Pump Above Grade Riser Pipe Replacement: Schritt 8, Bild 1 von 3 Bush Pump Above Grade Riser Pipe Replacement: Schritt 8, Bild 2 von 3 Bush Pump Above Grade Riser Pipe Replacement: Schritt 8, Bild 3 von 3
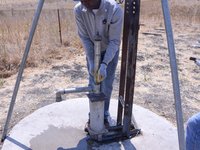
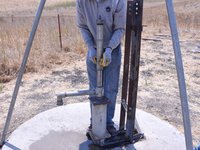
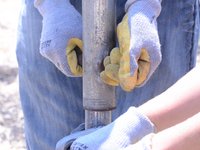
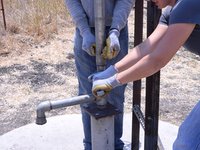
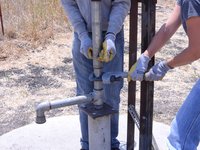
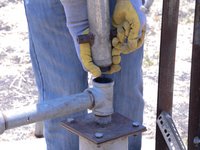
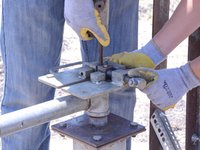
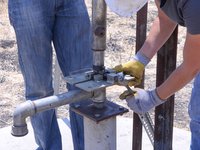
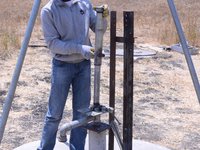
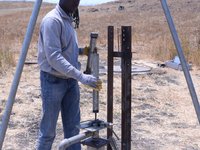
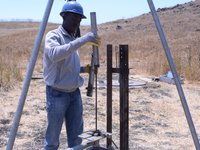
    • Use a pipe wrench to fully loosen the above grade riser pipe.

  9. Bush Pump Above Grade Riser Pipe Replacement: Schritt 9, Bild 1 von 3 Bush Pump Above Grade Riser Pipe Replacement: Schritt 9, Bild 2 von 3 Bush Pump Above Grade Riser Pipe Replacement: Schritt 9, Bild 3 von 3
    • Lift the slider and riser main pipe.

    • Place a pump rod clamp around the rod, and tighten it securely against the pump rod.

    • Carefully lower the riser main and slider to allow it to rest on the rod clamp.

  10. Bush Pump Above Grade Riser Pipe Replacement: Schritt 10, Bild 1 von 3 Bush Pump Above Grade Riser Pipe Replacement: Schritt 10, Bild 2 von 3 Bush Pump Above Grade Riser Pipe Replacement: Schritt 10, Bild 3 von 3
    • Loosen and remove both the pump rod jam nut and pump rod nut on the top of the slider.

  11. Bush Pump Above Grade Riser Pipe Replacement: Schritt 11, Bild 1 von 2 Bush Pump Above Grade Riser Pipe Replacement: Schritt 11, Bild 2 von 2
    • Remove the riser main slider, and inspect it for wear and tear.

    • Set the slider in a sanitary place to prevent contamination.

  12. Bush Pump Above Grade Riser Pipe Replacement, Above Grade Riser Pipe: Schritt 12, Bild 1 von 3 Bush Pump Above Grade Riser Pipe Replacement, Above Grade Riser Pipe: Schritt 12, Bild 2 von 3 Bush Pump Above Grade Riser Pipe Replacement, Above Grade Riser Pipe: Schritt 12, Bild 3 von 3
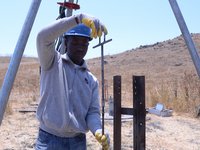
    • Remove the above grade riser pipe.

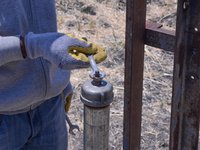
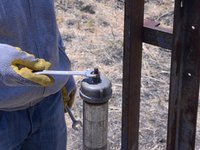
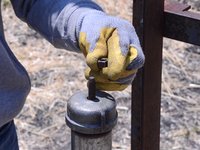
    • Firmly screw a T-handle onto the pump rod.

    • If you are replacing the above ground riser main, leave the T-handle attached until you are ready to install the replacement part.

Abschluss

To reassemble your device, follow these instructions in reverse order.

2 weitere Personen haben diese Anleitung absolviert.

Jake Devincenzi

Mitglied seit: 04/18/11

118.199 Reputation

57 Anleitungen geschrieben

0 Kommentare

Kommentar hinzufügen

Seitenaufrufe:

Letzte 24 Stunden: 0

Letzte 7 Tage: 0

Letzte 30 Tage: 5

Insgesamt: 461