
Canon Powershot A610 Flash Unit Replacement
Einleitung
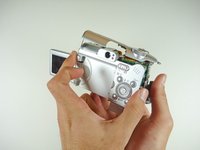
Zu Schritt 1 der AnleitungYou will have to get into the inside of the camera before removing the flash bulb is possible. Some soldering may be required to completely remove the flash unit from the camera.
Was du brauchst
Werkzeuge


Mehr anzeigen …
-
-
Unlock the battery cover, while swinging the cover outward to open it.
-
-
-
Turn the camera over and allow the batteries to fall out.
-
Close the battery cover.
-
-
-
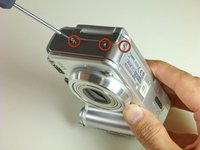
Remove the three 3 mm screws that attach the side panel to the body of the camera.
-
Using your fingernails, pull the side panel outward to remove it.
-
Remove the two remaining 2 mm screws that attach to the frame of the camera.
-
-
-
Remove the 3 mm screw that sits at the bottom of the camera, near the front side.
-
Remove the 4 mm screw that sits at the bottom of the camera, near the back side.
-
-
-
Open the battery cover.
-
Remove the 5 mm screw that sits on the top of the battery slot.
-
Remove the three 6 mm screws that sit at the bottom of the battery slot.
-
Close the battery cover.
-
-
-
-
Open the digital A/V DC terminal cover.
-
Remove the three 4 mm screws.
-
Detach the digital A/V DC terminal.
-
-
-
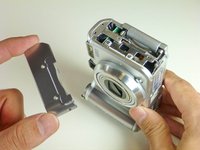
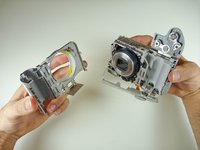
Grip the sides of the top cover and gently lift it until it detaches from the camera.
-
-
-
Open the battery cover.
-
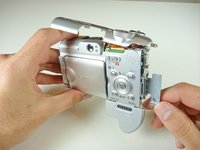
With the camera upside down, pull the side of the front case that is closest to you, in an outward movement.
-
-
-
Open the memory card slot cover.
-
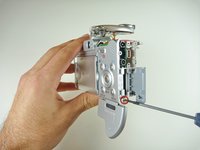
Remove the 3 mm screw that sits near the bottom of the case.
-
-
-
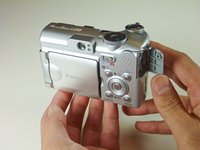
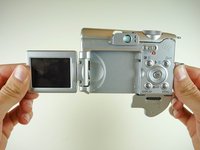
Flip the LCD screen all the way open.
-
Grip both sides of top of the back case and gently pull it, in an outward movement, until the case detaches.
-
-
-
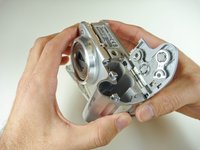
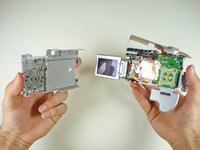
Using your forefinger and thumb, pull the flash unit upward, and out of the camera.
-
-
-
Unsolder the white, yellow, brown, and green wires at their soldering points.
-
Remove and replace the flash assembly.
-


To reassemble your device, follow these instructions in reverse order.
To reassemble your device, follow these instructions in reverse order.
Team

Cal Poly, Team 11-26, Maness Winter 2011 Mitglied von Cal Poly, Team 11-26, Maness Winter 2011
CPSU-MANESS-W11S11G26
3 Mitglieder
9 Anleitungen geschrieben