Zum Hauptinhalt wechseln
Cobra 29 LTD Classic Power Port Replacement

Cobra 29 LTD Classic Power Port Replacement

Noah Negrey

Noah Negrey und 6 weitere Mitwirkende

Zuletzt aktualisiert am January 28, 2014

25 - 30 Minuten
Schwierig

The power connector connects to the power port and provides power to the device. The power port is located on the back of the device. Perform the guide on a flat non-conductive surface to avoid electrical shock and damage to your device.

Some steps in this guide require soldering. For information on how to solder, see the soldering guide.

Was du brauchst

Werkzeuge

Mehr anzeigen …

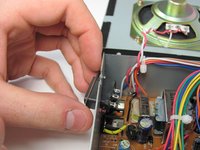
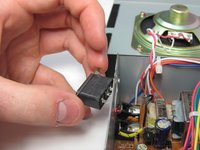
  1. Cobra 29 LTD Classic Power Port Replacement, Power Cable: Schritt 1, Bild 1 von 2 Cobra 29 LTD Classic Power Port Replacement, Power Cable: Schritt 1, Bild 2 von 2
    • Turn the power switch, the leftmost knob, counterclockwise to off.

  2. Cobra 29 LTD Classic Power Port Replacement: Schritt 2, Bild 1 von 2 Cobra 29 LTD Classic Power Port Replacement: Schritt 2, Bild 2 von 2
    • Turn the device around and firmly pull the power cable plug to remove it from the radio.

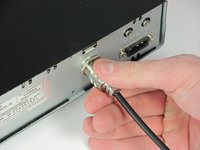
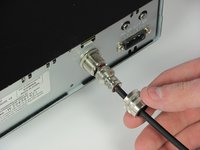
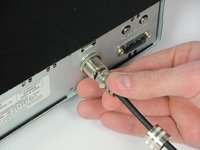
  3. Cobra 29 LTD Classic Power Port Replacement, Antenna Cable: Schritt 3, Bild 1 von 2 Cobra 29 LTD Classic Power Port Replacement, Antenna Cable: Schritt 3, Bild 2 von 2
    • Unscrew the securing cap counterclockwise from the antenna connector.

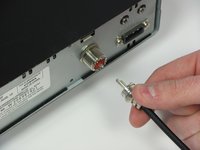
  4. Cobra 29 LTD Classic Power Port Replacement: Schritt 4, Bild 1 von 2 Cobra 29 LTD Classic Power Port Replacement: Schritt 4, Bild 2 von 2
    • Gently pull the antenna cable to remove it from the back of the radio.

  5. Cobra 29 LTD Classic Power Port Replacement, Microphone: Schritt 5, Bild 1 von 2 Cobra 29 LTD Classic Power Port Replacement, Microphone: Schritt 5, Bild 2 von 2
    • Unscrew the cap counterclockwise on the microphone plug to disconnect the cable.

  6. Cobra 29 LTD Classic Power Port Replacement: Schritt 6, Bild 1 von 1
    • Gently unplug the microphone plug.

  7. Cobra 29 LTD Classic Power Port Replacement, Outer Cover: Schritt 7, Bild 1 von 2 Cobra 29 LTD Classic Power Port Replacement, Outer Cover: Schritt 7, Bild 2 von 2
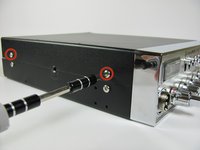
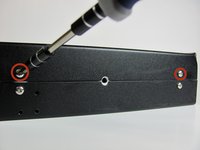
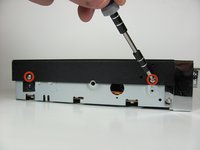
    • Unscrew the top four 6.0mm Phillips head screws counterclockwise on the left and right side of the device using a #1 Phillips head screwdriver.

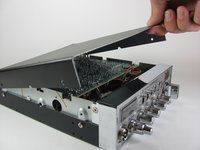
  8. Cobra 29 LTD Classic Power Port Replacement: Schritt 8, Bild 1 von 3 Cobra 29 LTD Classic Power Port Replacement: Schritt 8, Bild 2 von 3 Cobra 29 LTD Classic Power Port Replacement: Schritt 8, Bild 3 von 3
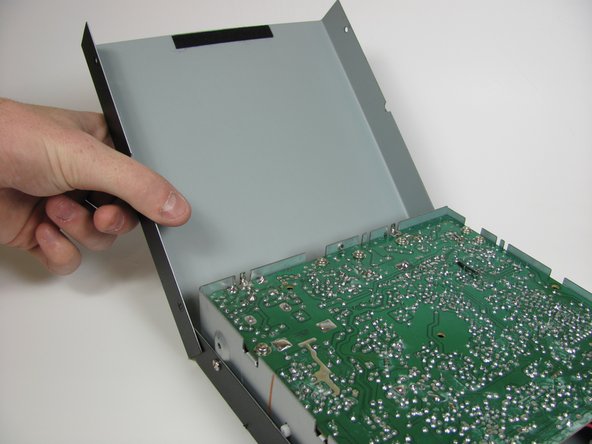
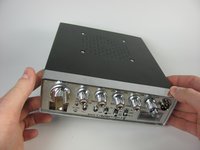
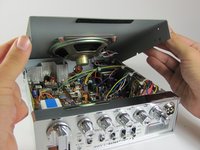
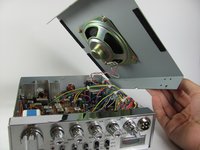
    • Gently life and remove the top cover.

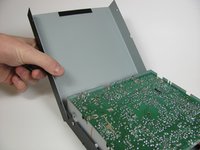
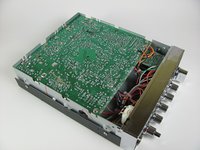
  9. Cobra 29 LTD Classic Power Port Replacement: Schritt 9, Bild 1 von 3 Cobra 29 LTD Classic Power Port Replacement: Schritt 9, Bild 2 von 3 Cobra 29 LTD Classic Power Port Replacement: Schritt 9, Bild 3 von 3
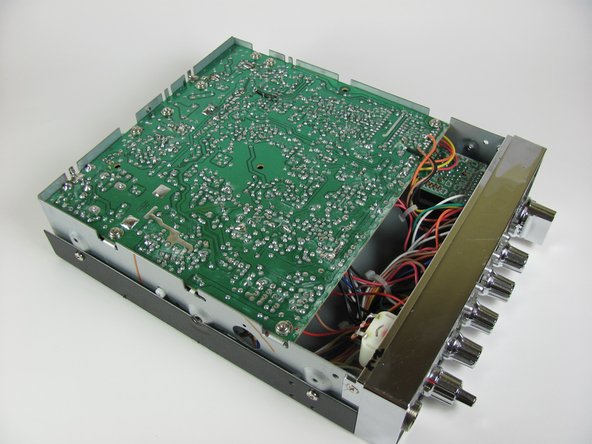
    • Gently set down on a hard, flat, non-conductive surface to minimize risk of shock or breaking your radio.

    • Carefully flip the radio over.

  10. Cobra 29 LTD Classic Power Port Replacement: Schritt 10, Bild 1 von 2 Cobra 29 LTD Classic Power Port Replacement: Schritt 10, Bild 2 von 2
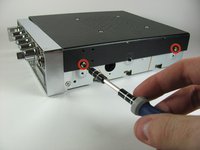
    • Unscrew the four 6.0mm Phillips head screws counterclockwise on the left and right side of the device that connect the remaining cover, using a #1 Phillips head screwdriver.

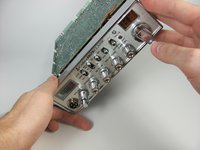
  11. Cobra 29 LTD Classic Power Port Replacement: Schritt 11, Bild 1 von 3 Cobra 29 LTD Classic Power Port Replacement: Schritt 11, Bild 2 von 3 Cobra 29 LTD Classic Power Port Replacement: Schritt 11, Bild 3 von 3
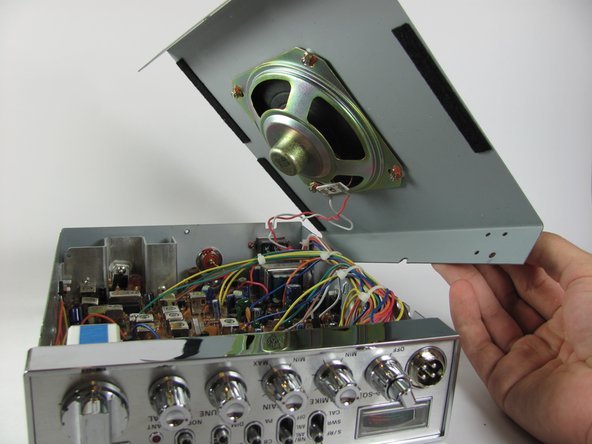
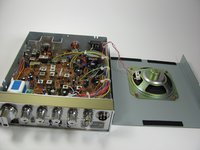
    • Watch out for the wires connected to the speaker. These short wires will not allow you to move the cover very far.

    • Gently lift and remove the case cover.

  12. Cobra 29 LTD Classic Power Port Replacement, Power Port: Schritt 12, Bild 1 von 3 Cobra 29 LTD Classic Power Port Replacement, Power Port: Schritt 12, Bild 2 von 3 Cobra 29 LTD Classic Power Port Replacement, Power Port: Schritt 12, Bild 3 von 3
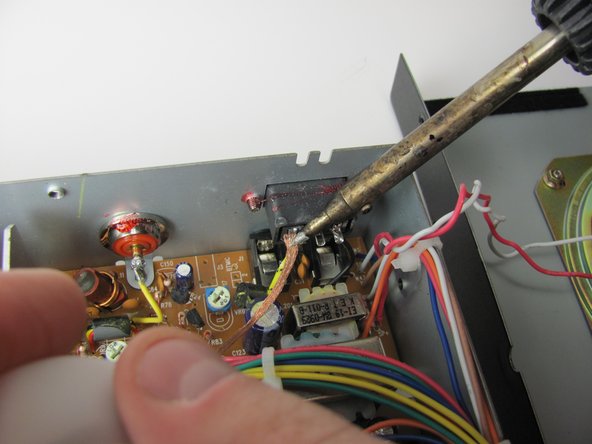
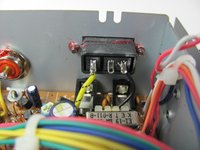
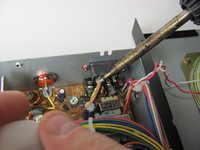
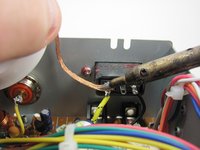
    • De-solder the yellow wire that is connected to the power port, with a soldering iron and the desoldering wick.

    • During reassembly you will need to resolder the components back together.

  13. Cobra 29 LTD Classic Power Port Replacement: Schritt 13, Bild 1 von 1
    • The wire may still be hot, so let it sit for 30 seconds before continuing.

    • Remove the yellow wire from the power port.

  14. Cobra 29 LTD Classic Power Port Replacement: Schritt 14, Bild 1 von 1
    • De-solder the black wire that is connected to the power port, with a soldering iron and the desoldering wick.

    • During reassembly you will need to resolder the components back together.

  15. Cobra 29 LTD Classic Power Port Replacement: Schritt 15, Bild 1 von 1
    • The wire may still be hot, so let it sit for 30 seconds before continuing.

    • Remove the black wire from the power port.

  16. Cobra 29 LTD Classic Power Port Replacement: Schritt 16, Bild 1 von 1
    • Unscrew the two 6mm Phillips screws counterclockwise, using a #1 Phillips head screwdriver.

    • If screws have lock-tight glue on them, use a strong force to initially remove the screws from the device.

  17. Cobra 29 LTD Classic Power Port Replacement: Schritt 17, Bild 1 von 2 Cobra 29 LTD Classic Power Port Replacement: Schritt 17, Bild 2 von 2
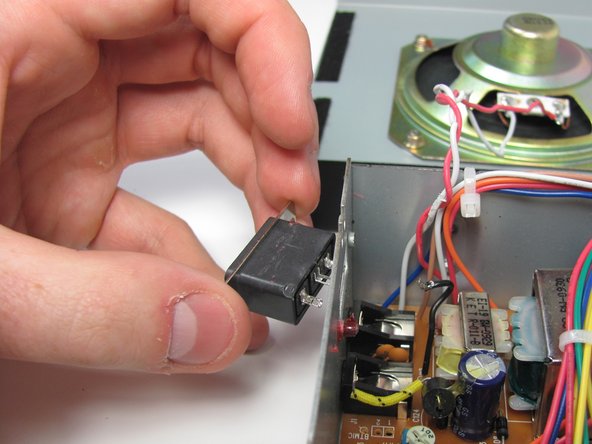
    • Gently pull the power port out of the case.

Abschluss

To reassemble your device, follow these instructions in reverse order.

2 weitere Personen haben diese Anleitung absolviert.

Noah Negrey

Mitglied seit: 10/13/13

352 Reputation

2 Anleitungen geschrieben

Team

Cal Poly, Team 11-37, Amido Fall 2013 Mitglied von Cal Poly, Team 11-37, Amido Fall 2013

CPSU-AMIDO-F13S11G37

4 Mitglieder

9 Anleitungen geschrieben

4 Kommentare

Difficulty Difficult? this is the easiest thing you can do to one of these radios.

bassblaster505 - Antwort

thank you, i’m hoping this will help but i doubt it, i had too big of a fuse in mine and it took a spike hit and lost all power a few years back but i’d really like to get this fixed.

BOB MCMILLAN - Antwort

Any idea what the board pin hole number is that the black cord from the negative goes into? I’ve got a 2018 29 LX

Keith Nicola - Antwort

Not sure. There is a partial schematic available at www.cbtricks.com

Tom Capehart -
Kommentar hinzufügen

Seitenaufrufe:

Letzte 24 Stunden: 0

Letzte 7 Tage: 16

Letzte 30 Tage: 69

Insgesamt: 6,884