
Dell Inspiron B130 CPU Replacement
Einleitung
Zu Schritt 1 der AnleitungThe CPU is very important and works directly with the motherboard. It basically tells your computer nearly everything it does, so if you have already figured out that the problem you are experiencing can't be the piece of hardware you thought it was then it is probably the CPU. A slow computer, random reboots, and "blue screens of death" are the common problems that arise from a bad or broken CPU.
Was du brauchst
Werkzeuge

-
-
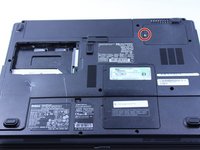
Remove the battery by flipping the two switches under the battery and pulling it out
-
-
-
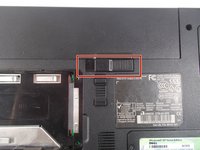
Push the tab from the battery, downwards to unlock the battery.
-
The tab should be in the position next to the unlocked indicator.
-
-
-
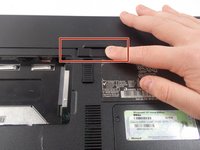
Now, push the other tab (the one right under the battery) from right to left.
-
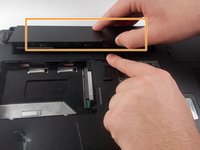
Now the battery will be loose; lift the battery up and out of the computer.
-
-
-
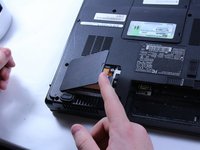
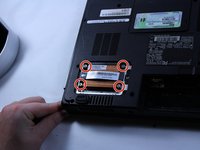
Use a flat head screwdriver to turn the screw one quarter turn into the unlock position.
-
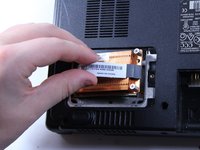
Remove the CPU.
-


To reassemble your device, follow these instructions in reverse order.
To reassemble your device, follow these instructions in reverse order.
Rückgängig: Ich habe diese Anleitung nicht absolviert.
2 weitere Personen haben diese Anleitung absolviert.
Team

UMass Dartmouth, Team 1-8, Catania Fall 2016 Mitglied von UMass Dartmouth, Team 1-8, Catania Fall 2016
UMASSD-CATANIA-F16S1G8
3 Mitglieder
9 Anleitungen geschrieben