Zum Hauptinhalt wechseln

Dell Inspiron E1405 Heat Sink Replacement

Was du brauchst

  1. Dell Inspiron E1405 Heat Sink Replacement, Battery: Schritt 1, Bild 1 von 1
    • Save your work, power the laptop off, and ensure that the charging cable is unplugged before removing the battery.

    • Flip the laptop over.

    • Locate the battery release switch on the bottom of the laptop.

  2. Dell Inspiron E1405 Heat Sink Replacement: Schritt 2, Bild 1 von 3 Dell Inspiron E1405 Heat Sink Replacement: Schritt 2, Bild 2 von 3 Dell Inspiron E1405 Heat Sink Replacement: Schritt 2, Bild 3 von 3
    • Slide the battery release switch away from the lock symbol until you hear the battery click.

    • Slide the battery towards the back of the laptop until it comes free.

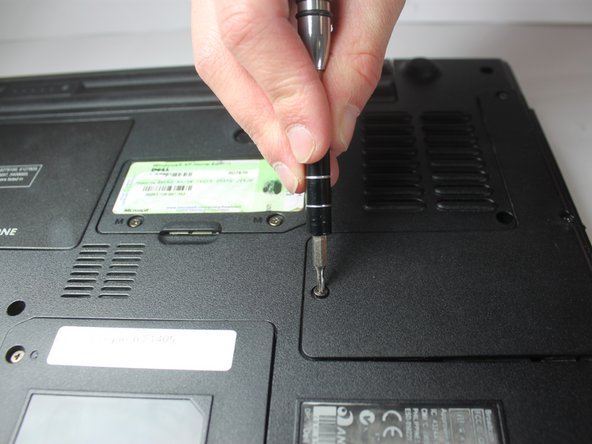
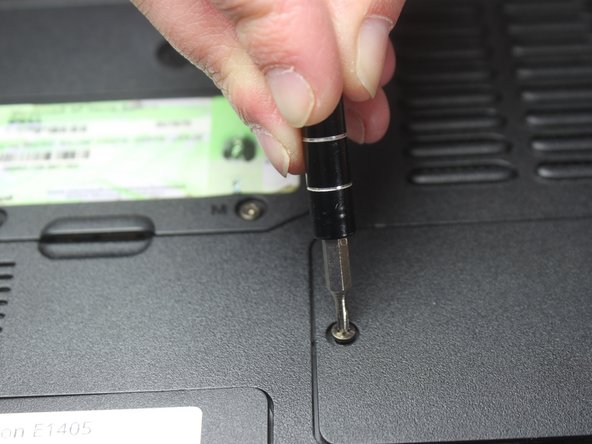
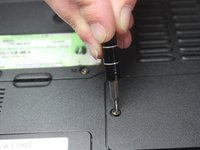
  3. Dell Inspiron E1405 Heat Sink Replacement, Heat Sink: Schritt 3, Bild 1 von 3 Dell Inspiron E1405 Heat Sink Replacement, Heat Sink: Schritt 3, Bild 2 von 3 Dell Inspiron E1405 Heat Sink Replacement, Heat Sink: Schritt 3, Bild 3 von 3
    • Remove/loosen the eight 4.8mm screws with a #1 Phillips screwdriver securing the bottom panel.

    • Remove the bottom panel.

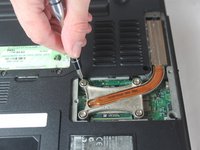
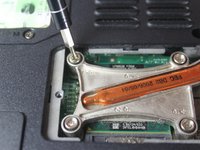
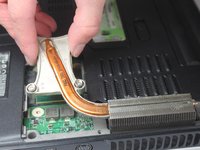
  4. Dell Inspiron E1405 Heat Sink Replacement: Schritt 4, Bild 1 von 3 Dell Inspiron E1405 Heat Sink Replacement: Schritt 4, Bild 2 von 3 Dell Inspiron E1405 Heat Sink Replacement: Schritt 4, Bild 3 von 3
    • Loosen the five 5.5mm screws with a #1 Phillips screwdriver securing the heat sink and clean it with compressed air

    • Gently lift the heat sink from the side, as indicated in the picture.

Abschluss

To reassemble your device, follow these instructions in reverse order.

Team

Texas Tech, Team S8-G3, Bennett Spring 2017 Mitglied von Texas Tech, Team S8-G3, Bennett Spring 2017

TTU-BENNETT-S17S8G3

3 Mitglieder

5 Anleitungen geschrieben

0 Kommentare

Kommentar hinzufügen

Seitenaufrufe:

Letzte 24 Stunden: 0

Letzte 7 Tage: 1

Letzte 30 Tage: 1

Insgesamt: 208