
Dell Inspiron M531R-5535 Fan Replacement
Einleitung
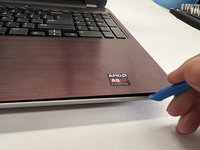
Zu Schritt 1 der AnleitungUse this guide to replace the fan in your Dell Inspiron M531R-5535 laptop.
The fan is an essential component for preventing the computer from overheating. The fan allows the computer hardware to cool off and make the computer more smoothly.
Make sure to power off your laptop completely and disconnect from any external power source prior to beginning the process.
Was du brauchst


-
-
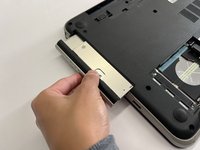
Flip the laptop over and unlock the battery.
-
Lift up to remove the battery.
-
-
-
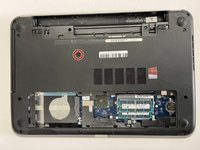
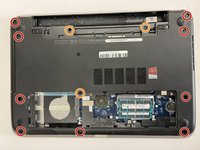
Unscrew nine 5.7mm Phillips #1 screws.
-
Unscrew three 5.6mm Phillips #1 screws
-
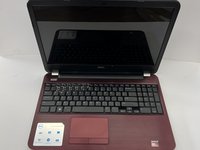
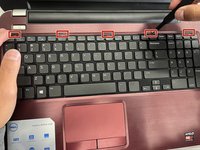
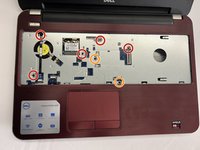
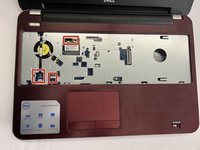
Then flip the laptop and open it to see the keyboard.
-
-
-
-
Use a nylon spudger or plastic opening tool to press into the highlighted keyboard latches.
-
-
-
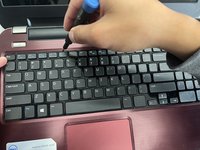
Lift up the keyboard.
-
Lift up on the black ZIF tab and pull the keyboard ribbon cable free.
-
-
-
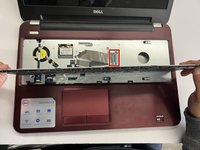
Unscrew the five 5.6mm Phillips #1 screws.
-
Unscrew the two 3.6mm Phillips #1 screws.
-
-
-
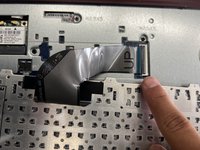
Unscrew the Phillips #1 screw.
-
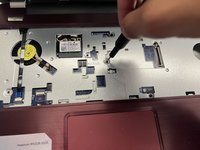
Pull the white connector out to disconnect the cables from the motherboard.
-
Pull up on gold connectors (MHF4) to disconnect the cables connecting the WLAN card.
-
Pull up on the white flap and pull out the strip to disconnect the strip from the motherboard.
-
-
-
Flip the motherboard over.
-
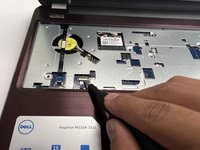
Pull the white connector out to disconnect the fan.
-
Lift the fan to remove it from the motherboard.
-


To reassemble your device, follow these instructions in reverse order.
To reassemble your device, follow these instructions in reverse order.
Rückgängig: Ich habe diese Anleitung nicht absolviert.
2 weitere Personen haben diese Anleitung absolviert.
Team

CSU Los Angeles, Team 6-5, Adachi Fall 2022 Mitglied von CSU Los Angeles, Team 6-5, Adachi Fall 2022
CSULA-ADACHI-F22S6G5
3 Mitglieder
5 Anleitungen geschrieben