
Dell Inspiron N4010 Keyboard Replacement
Einleitung
Zu Schritt 1 der AnleitungThis will show you how to remove the keyboard from the laptop. Removal of the keyboard acts both as a prerequisite to removal of other components and as a method of repair in its own right. Removal and replacement of the keyboard could fox issues such as broken keys.
Was du brauchst
Ersatzteile

Werkzeuge


Mehr anzeigen …
-
-
While holding the left-hand switch to the left position, pull the battery away from the laptop.
-
-
-
-
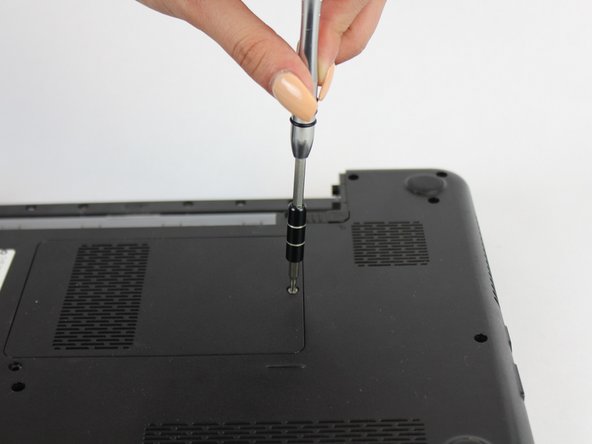
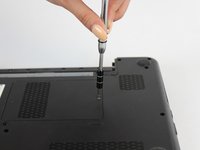
Using the #0 Philips head, unscrew the indicated screw.
-
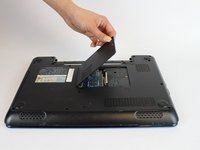
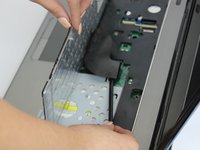
Carefully pull the RAM cover up and away.
-
-
-
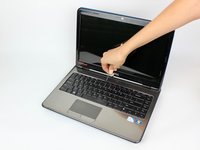
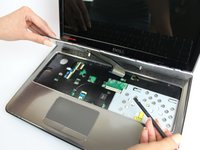
Using a thin plastic tool (such as a guitar pick or spudger) at the top of the keyboard just above the F7 key, gently pry the keyboard away.
-
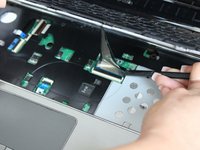
Move the spudger to either end at the top of the keyboard to fully undo all plastic clips.
-
-
-
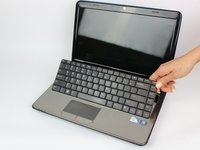
Carefully tip the keyboard upwards and pull it slightly away from the body of the laptop.
-


To reassemble your device, follow these instructions in reverse order.
To reassemble your device, follow these instructions in reverse order.
Rückgängig: Ich habe diese Anleitung nicht absolviert.
2 weitere Personen haben diese Anleitung absolviert.
Team

USF Tampa, Team S13-G5, Boczar Fall 2017 Mitglied von USF Tampa, Team S13-G5, Boczar Fall 2017
USFT-BOCZAR-F17S13G5
5 Mitglieder
9 Anleitungen geschrieben