
Dell Inspiron N5050 Hard Drive Replacement
Einleitung
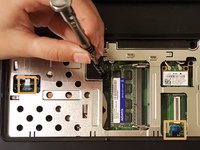
Zu Schritt 1 der AnleitungBefore disassembling this device further, have a screwdriver and a plastic opening tool nearby. This section of the guide involves removing the keyboard, so make sure you carefully pull the keyboard cable to prevent damaging it.
Was du brauchst
Komplettpaket für die Reparatur
Diese Kits enthalten alle Ersatzteile und Werkzeuge, die für diese Anleitung benötigt werden.


Ersatzteile


Werkzeuge


Mehr anzeigen …
-
-
-
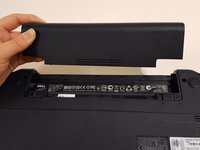
Remove the eleven 5mm palmrest screws from the bottom of the laptop with a Phillips #PH00 screw.
-
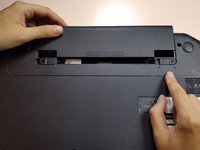
Remove the two 3mm hard drive screws from the bottom of the laptop with a Phillips #PH00 screw.
-
-
-
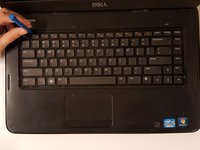
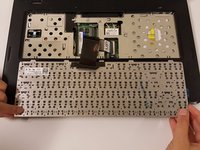
Flip over and open the laptop to view the keyboard.
-
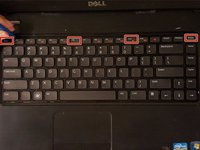
Use a plastic opening tool to press down on four clips, one by one.
-
Press down on the clips and pull the tool towards you to pry the keyboard loose.
-
-
-
Remove the keyboard carefully.
-
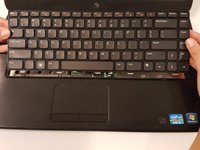
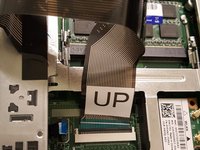
Flip the keyboard over to find the keyboard cable.
-
Pull the cable labeled "UP" out to disconnect it from the laptop.
-
-
-
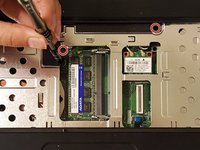
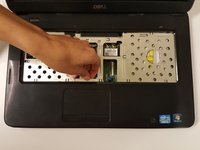
Unscrew the two palmrest screws.
-
Lift the two, blue palmrest cables up and out of their sockets.
-
-
-
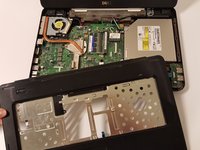
Lift the entire surface (palmrest casing) to expose the motherboard underneath.
-


To reassemble your device, follow these instructions in reverse order.
To reassemble your device, follow these instructions in reverse order.
Rückgängig: Ich habe diese Anleitung nicht absolviert.
11 weitere Personen haben diese Anleitung absolviert.
Team

University of North Texas, Team 1-3, Campbell Fall 2016 Mitglied von University of North Texas, Team 1-3, Campbell Fall 2016
UNT-CAMPBELL-F16S1G3
2 Mitglieder
3 Anleitungen geschrieben