Zum Hauptinhalt wechseln
Dell Vostro 3550 Display Assembly Replacement

Dell Vostro 3550 Display Assembly Replacement

Dylan J. Souza

Dylan J. Souza und 2 weitere Mitwirkende

Zuletzt aktualisiert am July 14, 2019

30 Minuten
Mittel

This guide will demonstrate how to replace the display assembly on the Dell Vostro 3550. This replacement may be needed if the screen is cracked or damaged. When performing the steps in this guide, be sure to exercise caution with all steps involving wires or cables.

Was du brauchst

Werkzeuge

  1. Dell Vostro 3550 Display Assembly Replacement, Display Assembly: Schritt 1, Bild 1 von 2 Dell Vostro 3550 Display Assembly Replacement, Display Assembly: Schritt 1, Bild 2 von 2
    • Grip the back trim of the laptop and pull upwards to remove it.

  2. Dell Vostro 3550 Display Assembly Replacement: Schritt 2, Bild 1 von 3 Dell Vostro 3550 Display Assembly Replacement: Schritt 2, Bild 2 von 3 Dell Vostro 3550 Display Assembly Replacement: Schritt 2, Bild 3 von 3
    • Slide the plastic opening tool around the perimeter of the display bezel.

    • Carefully remove the bezel from the display.

  3. Dell Vostro 3550 Display Assembly Replacement: Schritt 3, Bild 1 von 3 Dell Vostro 3550 Display Assembly Replacement: Schritt 3, Bild 2 von 3 Dell Vostro 3550 Display Assembly Replacement: Schritt 3, Bild 3 von 3
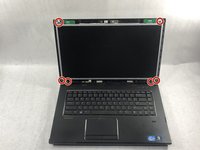
    • Remove the six 7 mm Phillips #0 screws attaching the display to the upper casing of the laptop.

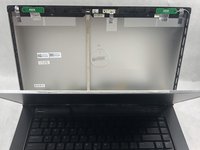
    • When all six screws are removed, gently lower the display to reveal the camera cable.

  4. Dell Vostro 3550 Display Assembly Replacement: Schritt 4, Bild 1 von 3 Dell Vostro 3550 Display Assembly Replacement: Schritt 4, Bild 2 von 3 Dell Vostro 3550 Display Assembly Replacement: Schritt 4, Bild 3 von 3
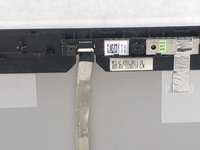
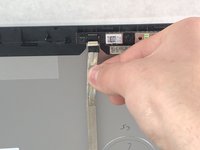
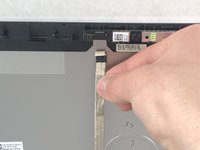
    • Disconnect the camera ribbon cable by gently pulling it away from its connector.

  5. Dell Vostro 3550 Display Assembly Replacement: Schritt 5, Bild 1 von 2 Dell Vostro 3550 Display Assembly Replacement: Schritt 5, Bild 2 von 2
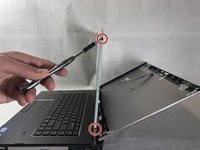
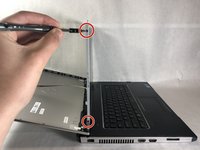
    • Remove the four 5 mm Phillips #0 screws (two on either side) securing the display to the metal frame.

  6. Dell Vostro 3550 Display Assembly Replacement: Schritt 6, Bild 1 von 3 Dell Vostro 3550 Display Assembly Replacement: Schritt 6, Bild 2 von 3 Dell Vostro 3550 Display Assembly Replacement: Schritt 6, Bild 3 von 3
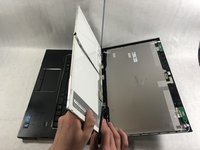
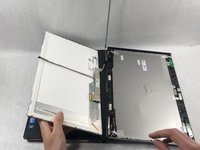
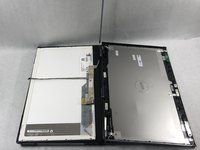
    • Gently lower the display into a resting position.

  7. Dell Vostro 3550 Display Assembly Replacement: Schritt 7, Bild 1 von 3 Dell Vostro 3550 Display Assembly Replacement: Schritt 7, Bild 2 von 3 Dell Vostro 3550 Display Assembly Replacement: Schritt 7, Bild 3 von 3
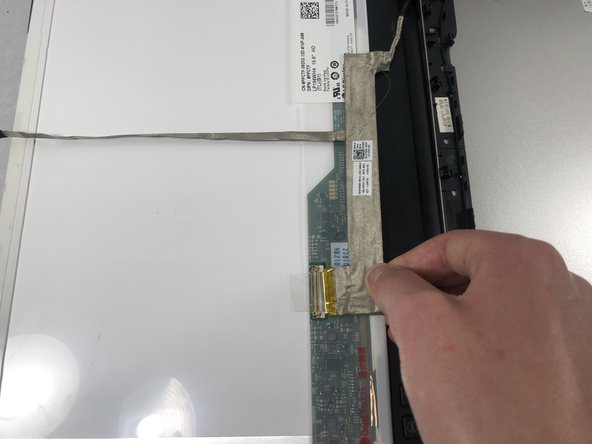
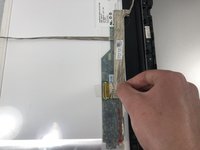
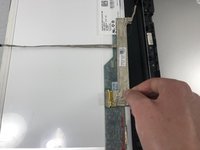
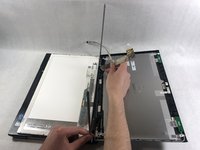
    • Loosen the clear tape fastening the ribbon cable to the display.

    • Carefully pull the ribbon cable away from the connector.

  8. Dell Vostro 3550 Display Assembly Replacement: Schritt 8, Bild 1 von 3 Dell Vostro 3550 Display Assembly Replacement: Schritt 8, Bild 2 von 3 Dell Vostro 3550 Display Assembly Replacement: Schritt 8, Bild 3 von 3
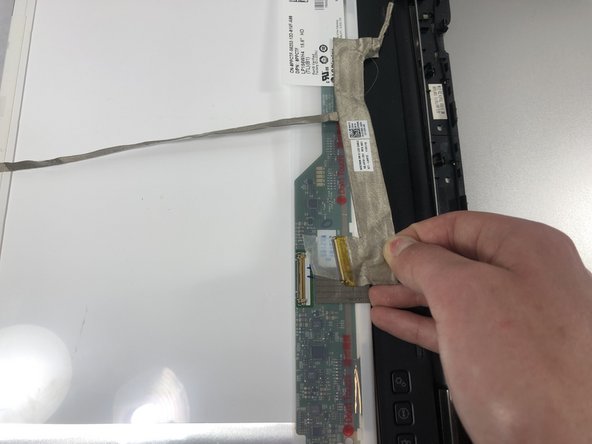
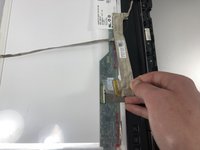
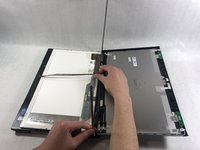
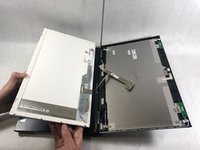
    • Peel the ribbon cable away from the display.

    • Remove the display from the laptop.

Abschluss

To reassemble your device, follow these instructions in reverse order.

Team

UMass Dartmouth, Team S8-G6, Bailey Spring 2019 Mitglied von UMass Dartmouth, Team S8-G6, Bailey Spring 2019

UMASSD-BAILEY-S19S8G6

3 Mitglieder

7 Anleitungen geschrieben

0 Kommentare

Kommentar hinzufügen

Seitenaufrufe:

Letzte 24 Stunden: 1

Letzte 7 Tage: 8

Letzte 30 Tage: 21

Insgesamt: 851