Zum Hauptinhalt wechseln
Gemeinsam reparieren - Jetzt registrieren

HP Pavilion dv6000 LCD Screen Replacement

Was du brauchst

    1. HP Pavilion dv6000 LCD Screen Replacement, LCD Screen: Schritt 1, Bild 1 von 2 HP Pavilion dv6000 LCD Screen Replacement, LCD Screen: Schritt 1, Bild 2 von 2
      • Remove rubber screw covers from the LCD screen. The top covers pop off with a fingernail but the two on the bottom may require a screwdriver or flat tool.

      • Remove the six 7.15mm screws underneath the stoppers. There are four on top and two on bottom.

      Frag FixBot

      Kommentar hinzufügen

    2. HP Pavilion dv6000 LCD Screen Replacement: Schritt 2, Bild 1 von 2 HP Pavilion dv6000 LCD Screen Replacement: Schritt 2, Bild 2 von 2
      • Press the tabs on the sides of the screen in and pop the plastic off. Careful, the plastic is very flimsy and may break.

      Frag FixBot

      Kommentar hinzufügen

    3. HP Pavilion dv6000 LCD Screen Replacement: Schritt 3, Bild 1 von 2 HP Pavilion dv6000 LCD Screen Replacement: Schritt 3, Bild 2 von 2
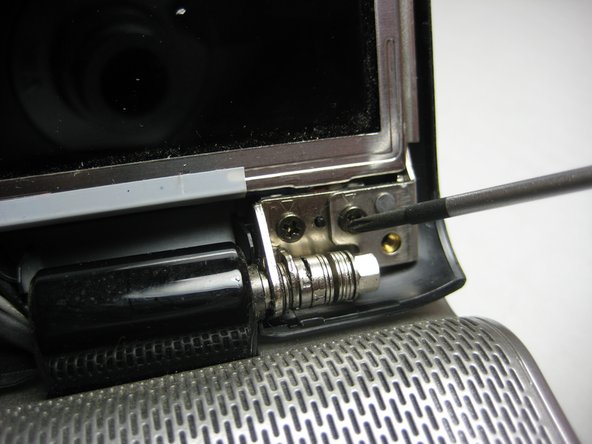
      • Remove the two screws (5.8mm) on either side of the LCD near the hinge. Remove the screws on the outermost side first.

      Frag FixBot

      Kommentar hinzufügen

    4. HP Pavilion dv6000 LCD Screen Replacement: Schritt 4, Bild 1 von 2 HP Pavilion dv6000 LCD Screen Replacement: Schritt 4, Bild 2 von 2
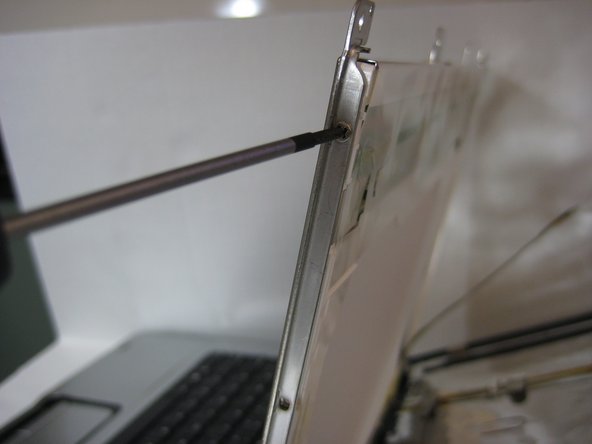
      • Take out the two 3.58mm screws on the LCD at the top (one on each edge).

      Frag FixBot

      Kommentar hinzufügen

    5. HP Pavilion dv6000 LCD Screen Replacement: Schritt 5, Bild 1 von 1
      • Hold on to the LCD screen to prevent it from falling over and remove the two 3.58mm screws on the sides at the bottom.

      Frag FixBot

      Kommentar hinzufügen

    6. HP Pavilion dv6000 LCD Screen Replacement: Schritt 6, Bild 1 von 3 HP Pavilion dv6000 LCD Screen Replacement: Schritt 6, Bild 2 von 3 HP Pavilion dv6000 LCD Screen Replacement: Schritt 6, Bild 3 von 3
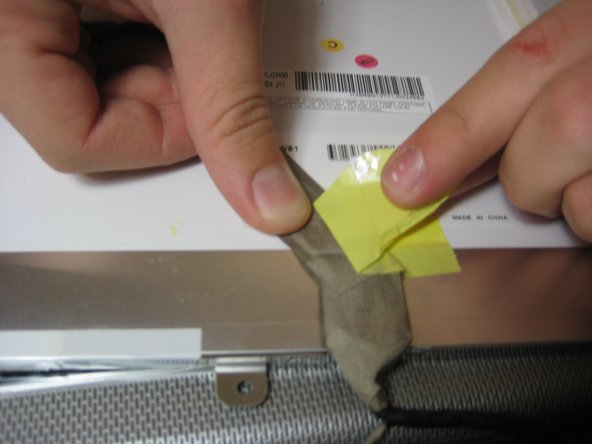
      • Let the screen gently rest on the keyboard.

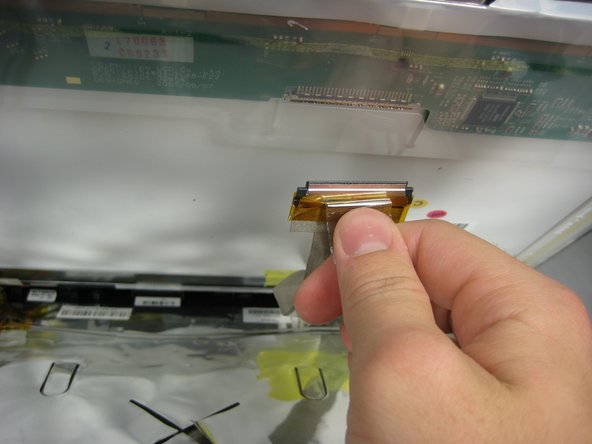
      • Remove the tape from the ribbon.

      • Stop here and check the cable

      Frag FixBot

      Kommentar hinzufügen

Abschluss

To reassemble your device, follow these instructions in reverse order.

Rückgängig: Ich habe diese Anleitung nicht absolviert.

16 weitere Personen haben diese Anleitung absolviert.

Team

Cal Poly, Team 21-33, Regan Fall 2010 Mitglied von Cal Poly, Team 21-33, Regan Fall 2010

CPSU-REGAN-F10S21G33

4 Mitglieder

87 Anleitungen geschrieben

1 Kommentar zur Anleitung

after replacing my cracked screen the back light does not show again

firelionkofi - Antwort Teilen

Kommentar hinzufügen

Seitenaufrufe:

Letzte 24 Stunden: 7

Letzte 7 Tage: 12

Letzte 30 Tage: 37

Insgesamt: 40,085