Zum Hauptinhalt wechseln
HP Pavillion dm4t-2100 Finger Print Scanner Replacement

HP Pavillion dm4t-2100 Finger Print Scanner Replacement

Brandon Snyder

Brandon Snyder und 4 weitere Mitwirkende

Zuletzt aktualisiert am March 30, 2016

20 Minuten
Schwierig

You will need to remove many parts of the computer. The key is to be careful when removing some parts of the computer.

Was du brauchst

Werkzeuge

  • Phillips #0 Screwdriver
    Phillips #0 Screwdriver
  • Phillips #1 Screwdriver
    Phillips #1 Screwdriver
  • Spudger
    Spudger

Mehr anzeigen …

  1. HP Pavillion dm4t-2100 Finger Print Scanner Replacement, Battery: Schritt 1, Bild 1 von 2 HP Pavillion dm4t-2100 Finger Print Scanner Replacement, Battery: Schritt 1, Bild 2 von 2
    • Shut down the computer.

    • Shutting down the computer by holding power button can cause damage to computer.

    • Turn computer upside down so the base is facing upward.

  2. HP Pavillion dm4t-2100 Finger Print Scanner Replacement: Schritt 2, Bild 1 von 3 HP Pavillion dm4t-2100 Finger Print Scanner Replacement: Schritt 2, Bild 2 von 3 HP Pavillion dm4t-2100 Finger Print Scanner Replacement: Schritt 2, Bild 3 von 3
    • Slide latch next to battery icon until battery pops up.

    • Pull the battery away from the computer until completely detached.

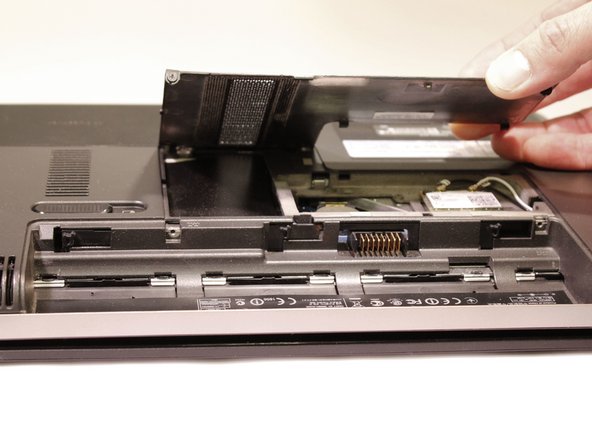
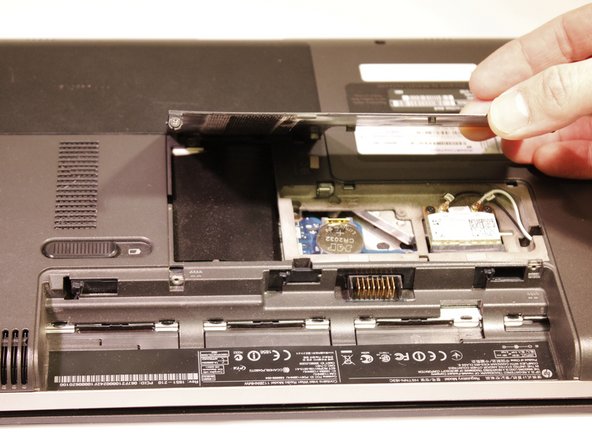
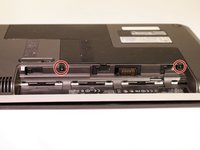
  3. HP Pavillion dm4t-2100 Finger Print Scanner Replacement, Hard Drive: Schritt 3, Bild 1 von 3 HP Pavillion dm4t-2100 Finger Print Scanner Replacement, Hard Drive: Schritt 3, Bild 2 von 3 HP Pavillion dm4t-2100 Finger Print Scanner Replacement, Hard Drive: Schritt 3, Bild 3 von 3
    • Position the computer so the front is towards you.

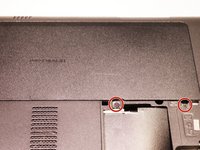
    • Remove two 5mm Phillips #1 screws

    • Slide the hard drive cover towards the empty battery spot and remove it.

  4. HP Pavillion dm4t-2100 Finger Print Scanner Replacement: Schritt 4, Bild 1 von 3 HP Pavillion dm4t-2100 Finger Print Scanner Replacement: Schritt 4, Bild 2 von 3 HP Pavillion dm4t-2100 Finger Print Scanner Replacement: Schritt 4, Bild 3 von 3
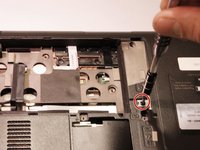
    • Loosen two 5mm Phillips #1 screws securing plastic cover, until cover is detachable.

    • Slide cover toward empty battery area and remove it.

  5. HP Pavillion dm4t-2100 Finger Print Scanner Replacement: Schritt 5, Bild 1 von 1
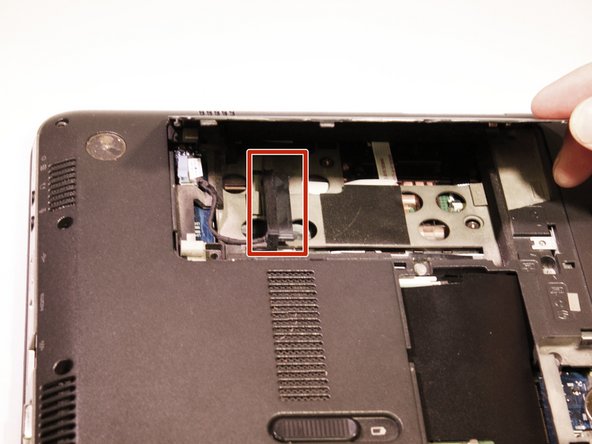
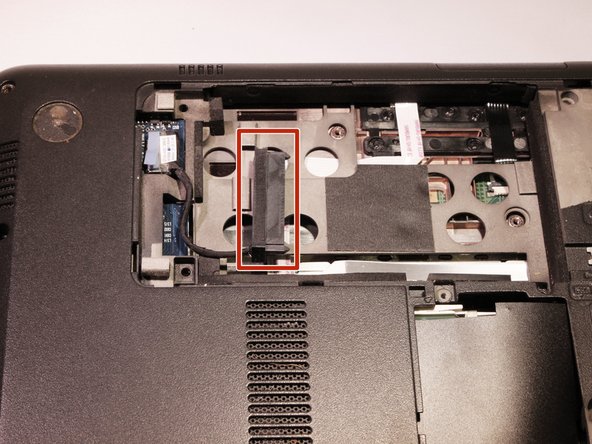
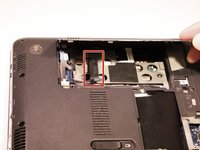
    • Disconnect the hard drive cable that is plugged in.

    • Lift the tab on the hard drive to pull it out of the computer.

    • Hard Drive is removed.

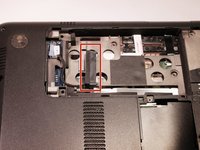
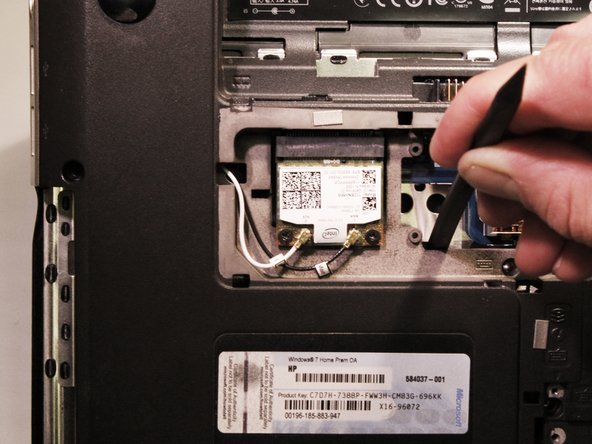
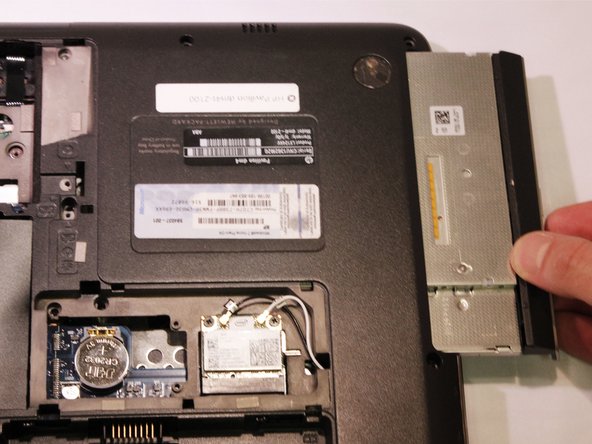
  6. HP Pavillion dm4t-2100 Finger Print Scanner Replacement, Finger Print Scanner: Schritt 6, Bild 1 von 3 HP Pavillion dm4t-2100 Finger Print Scanner Replacement, Finger Print Scanner: Schritt 6, Bild 2 von 3 HP Pavillion dm4t-2100 Finger Print Scanner Replacement, Finger Print Scanner: Schritt 6, Bild 3 von 3
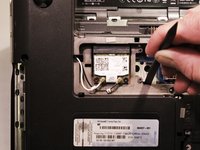
    • Remove one 5mm Phillips #1 Screw that is securing the optical drive.

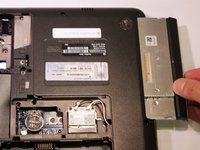
    • With the nylon spudger push the optical drive until you can grab it.

    • Pull the optical drive all the way out, until removed.

  7. HP Pavillion dm4t-2100 Finger Print Scanner Replacement: Schritt 7, Bild 1 von 1
    • Remove two 6.5mm Phillips #1 screws from the back of the computer.

    • Keyboard icons next to keyboard bolts

  8. HP Pavillion dm4t-2100 Finger Print Scanner Replacement: Schritt 8, Bild 1 von 1
    • Turn the computer upside down with the front towards you, and, remove the two rubber feet near the battery.

    • Organizing screws would be helpful

    • Remove 13 Phillips M2.0X7.0 screws.

    • Remove 6 Phillips M2.0X2.0 broad head screws.

  9. HP Pavillion dm4t-2100 Finger Print Scanner Replacement: Schritt 9, Bild 1 von 2 HP Pavillion dm4t-2100 Finger Print Scanner Replacement: Schritt 9, Bild 2 von 2
    • Turn the computer over, and open the computer as far as possible without breaking it.

    • Release the top of the keyboard by lifting up and gently pull the top up until the whole keyboard is up.

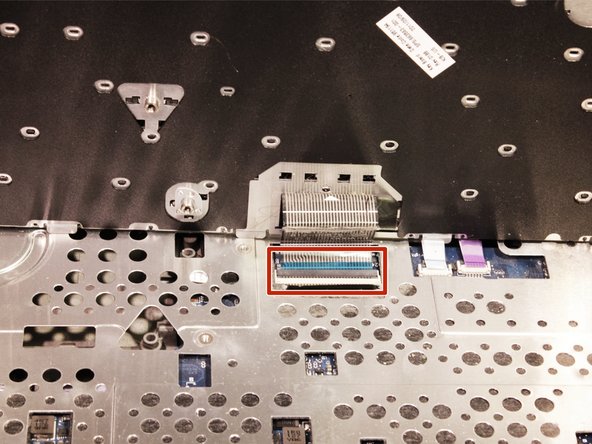
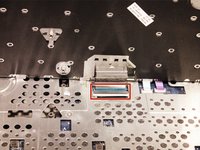
    • Lift plastic cover to release the ZIF connector that is holding the keyboard in place. Then remove the keyboard.

  10. HP Pavillion dm4t-2100 Finger Print Scanner Replacement: Schritt 10, Bild 1 von 2 HP Pavillion dm4t-2100 Finger Print Scanner Replacement: Schritt 10, Bild 2 von 2
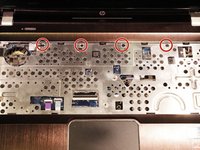
    • Remove four 4mm Phillips #0 screws near the top of the keyboard area.

    • Lift top cover from the base and release the ZIF connector that the power button is connected to. The cover should now be removed.

    • Using a nylon spudger could be helpful

  11. HP Pavillion dm4t-2100 Finger Print Scanner Replacement: Schritt 11, Bild 1 von 1
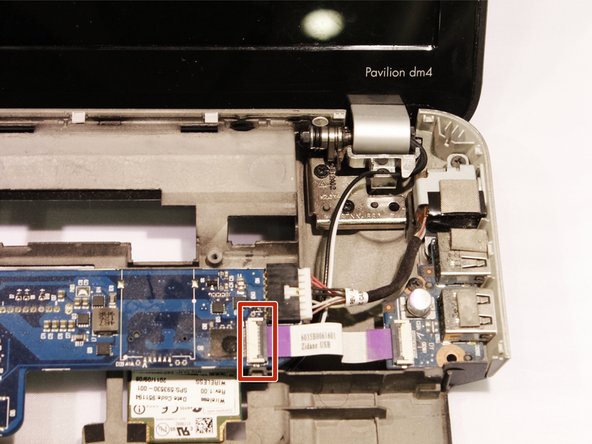
    • Release 2 ZIF connectors where the touch pad cable and fingerprint reader are connected.

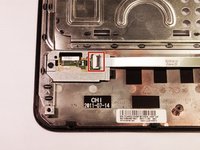
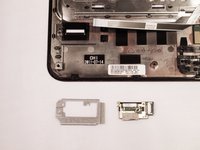
  12. HP Pavillion dm4t-2100 Finger Print Scanner Replacement: Schritt 12, Bild 1 von 2 HP Pavillion dm4t-2100 Finger Print Scanner Replacement: Schritt 12, Bild 2 von 2
    • Take the top cover and put it upside down and remove one 3mm Phillips #1 screw.

    • Release ZIF connector on fingerprint reader and remove.

Abschluss

To reassemble your device, follow these instructions in reverse order.

0 Kommentare

Kommentar hinzufügen

Seitenaufrufe:

Letzte 24 Stunden: 1

Letzte 7 Tage: 1

Letzte 30 Tage: 5

Insgesamt: 562