Zum Hauptinhalt wechseln
KitchenAid KUDS01DJSS0 Electronic Control Board Replacement

KitchenAid KUDS01DJSS0 Electronic Control Board Replacement

Thuan Trang

Thuan Trang und 2 weitere Mitwirkende

Zuletzt aktualisiert am January 25, 2023

30 Minuten
Mittel

The KitchenAid #KUDS01DJSS dishwasher's electronic control board can be replaced using this guide. You can verify your dishwasher's model by checking inside the door.

The control board controls all of the dishwasher's functions, such as filling, washing, drying, and draining. Symptoms that match your issue can be diagnosed by viewing these Dishwasher Repairs. During the time it takes to replace the dishwasher control board, remind your family not to run the dishwasher for about 30 minutes.

Before replacing the electronic control board, make sure the power/electricity is off. Disconnect the dishwasher from any external power source before starting the process and turn off the dishwasher completely.

Was du brauchst

iFixit erhält eine Provision, wenn du über diese Links etwas kaufst.
  1. KitchenAid KUDS01DJSS0 Electronic Control Board Replacement, Electronic Control Board: Schritt 1, Bild 1 von 3 KitchenAid KUDS01DJSS0 Electronic Control Board Replacement, Electronic Control Board: Schritt 1, Bild 2 von 3 KitchenAid KUDS01DJSS0 Electronic Control Board Replacement, Electronic Control Board: Schritt 1, Bild 3 von 3
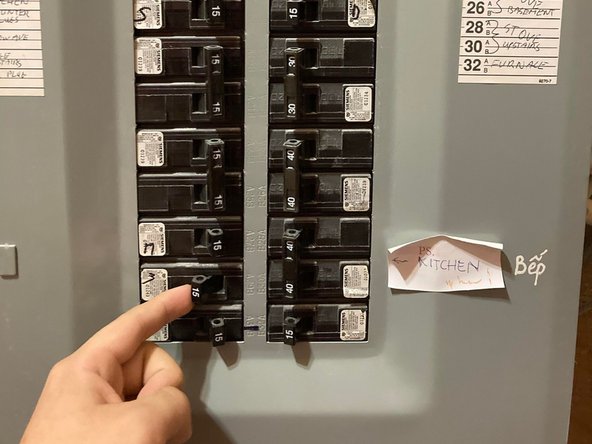
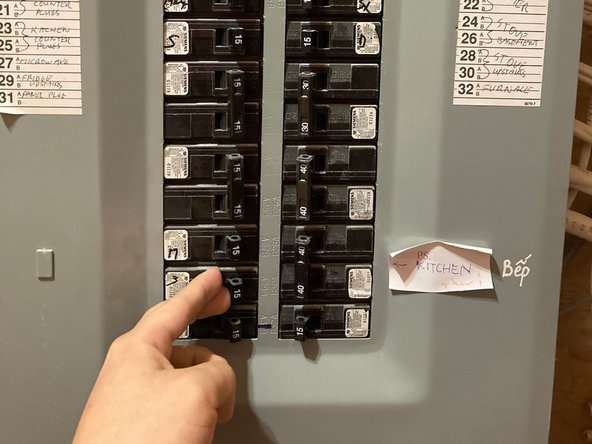
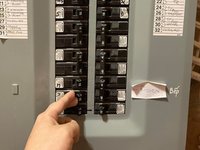
    • Unplug the dishwasher or shut off the house circuit breaker for the dishwasher.

    • To verify that power is disconnected, make sure that the control panel doesn’t light up when you press a control button or the power button.

  2. KitchenAid KUDS01DJSS0 Electronic Control Board Replacement: Schritt 2, Bild 1 von 3 KitchenAid KUDS01DJSS0 Electronic Control Board Replacement: Schritt 2, Bild 2 von 3 KitchenAid KUDS01DJSS0 Electronic Control Board Replacement: Schritt 2, Bild 3 von 3
    • Open the dishwasher door.

  3. KitchenAid KUDS01DJSS0 Electronic Control Board Replacement: Schritt 3, Bild 1 von 3 KitchenAid KUDS01DJSS0 Electronic Control Board Replacement: Schritt 3, Bild 2 von 3 KitchenAid KUDS01DJSS0 Electronic Control Board Replacement: Schritt 3, Bild 3 von 3
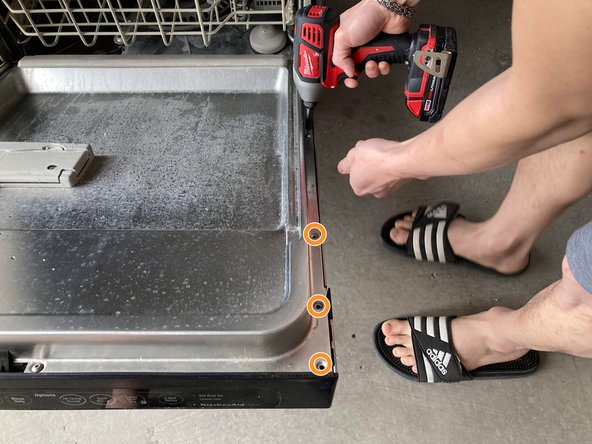
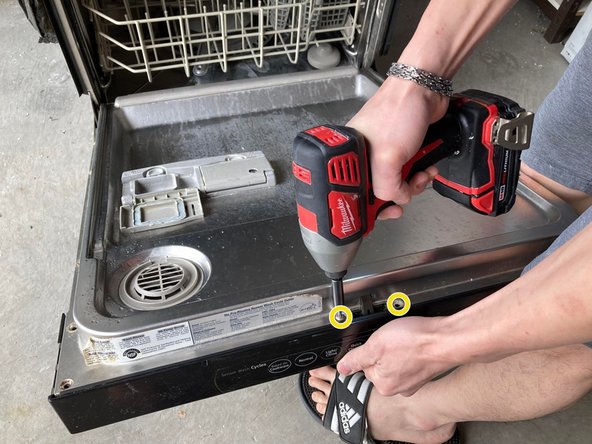
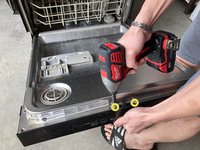
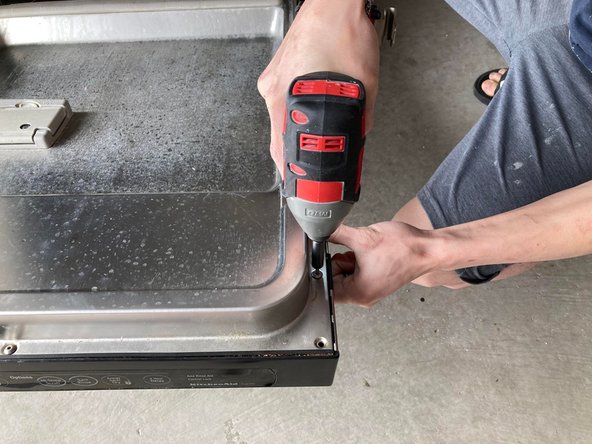
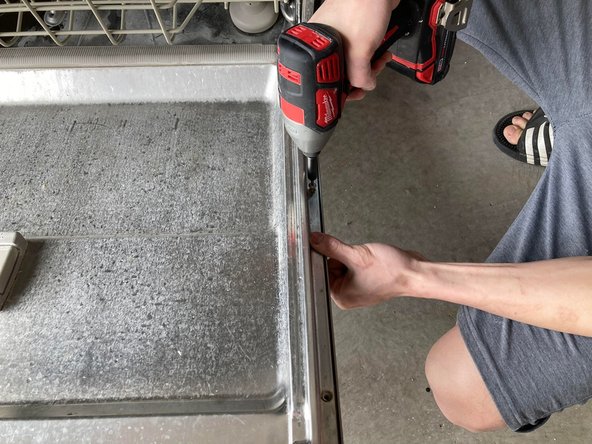
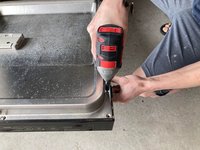
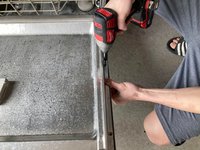
    • Remove the four screws from each side of the dishwasher door (eight screws total).

    • Removing the three screws from each side of the dishwasher (six screws total).

    • Support the outer door panel with one hand as you remove the final two screws at the top of the dishwasher door.

    • There are total of sixteen (16) screws.

  4. KitchenAid KUDS01DJSS0 Electronic Control Board Replacement: Schritt 4, Bild 1 von 2 KitchenAid KUDS01DJSS0 Electronic Control Board Replacement: Schritt 4, Bild 2 von 2
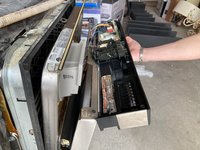
    • Use your hands to pull off the outer door panel with the control panel.

  5. KitchenAid KUDS01DJSS0 Electronic Control Board Replacement: Schritt 5, Bild 1 von 2 KitchenAid KUDS01DJSS0 Electronic Control Board Replacement: Schritt 5, Bild 2 von 2
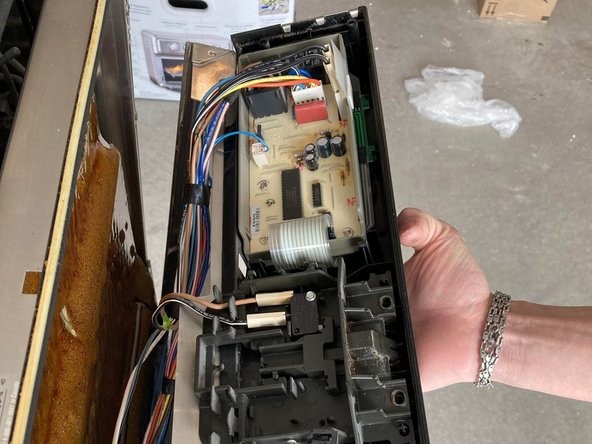
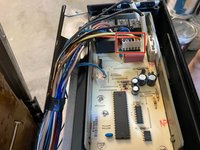
    • Disconnect the two white outer wires by pulling them out.

    • The two white connectors have the same size and are close together.

    • Use one hand to hold the control panel while disconnecting the electrical connections from the old board.

  6. KitchenAid KUDS01DJSS0 Electronic Control Board Replacement: Schritt 6, Bild 1 von 3 KitchenAid KUDS01DJSS0 Electronic Control Board Replacement: Schritt 6, Bild 2 von 3 KitchenAid KUDS01DJSS0 Electronic Control Board Replacement: Schritt 6, Bild 3 von 3
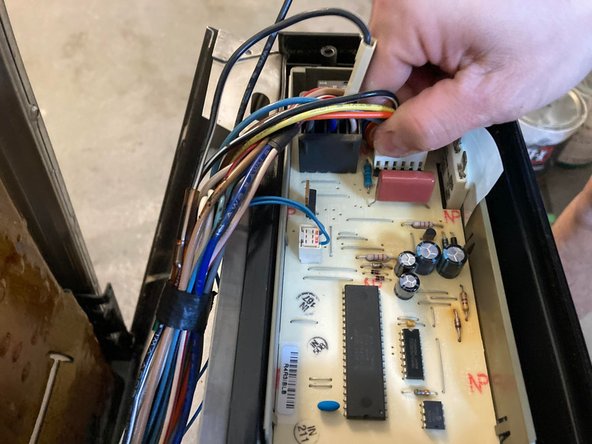
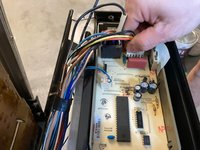
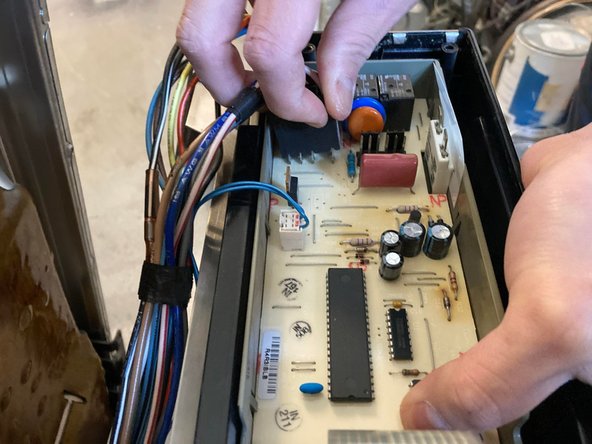
    • Remove the white rectangular connector that has six colored wires connected to it.

  7. KitchenAid KUDS01DJSS0 Electronic Control Board Replacement: Schritt 7, Bild 1 von 2 KitchenAid KUDS01DJSS0 Electronic Control Board Replacement: Schritt 7, Bild 2 von 2
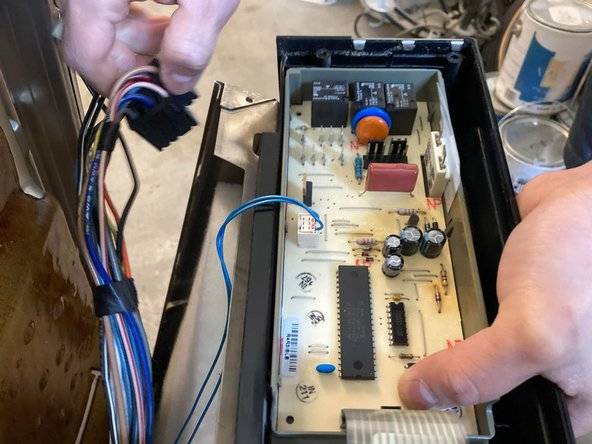
    • Use one hand to hold the control panel while detaching the black connector.

    • The black connector is the main connector to the control board.

  8. KitchenAid KUDS01DJSS0 Electronic Control Board Replacement: Schritt 8, Bild 1 von 3 KitchenAid KUDS01DJSS0 Electronic Control Board Replacement: Schritt 8, Bild 2 von 3 KitchenAid KUDS01DJSS0 Electronic Control Board Replacement: Schritt 8, Bild 3 von 3
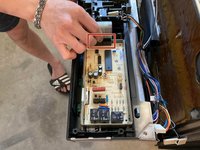
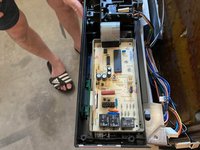
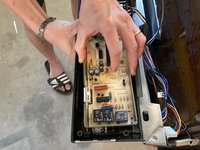
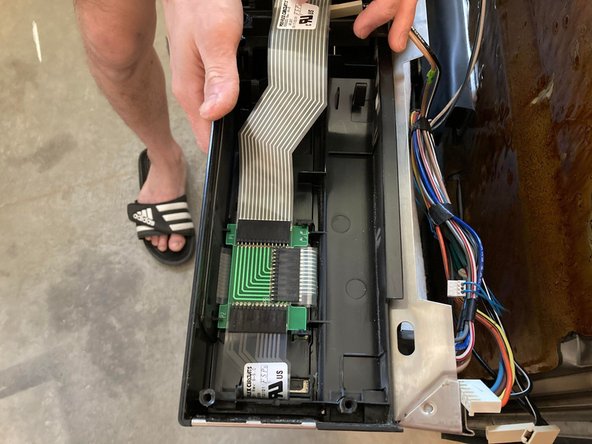
    • Detach the white and gray ribbon cable attached to the black connector.

  9. KitchenAid KUDS01DJSS0 Electronic Control Board Replacement: Schritt 9, Bild 1 von 2 KitchenAid KUDS01DJSS0 Electronic Control Board Replacement: Schritt 9, Bild 2 von 2
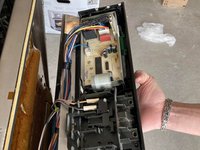
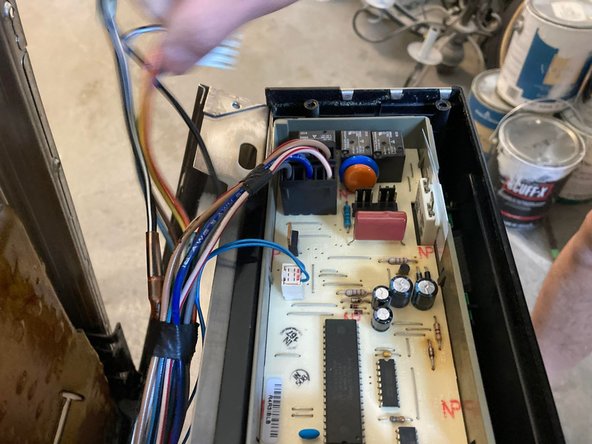
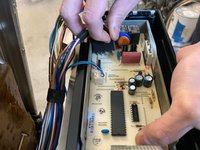
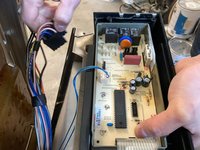
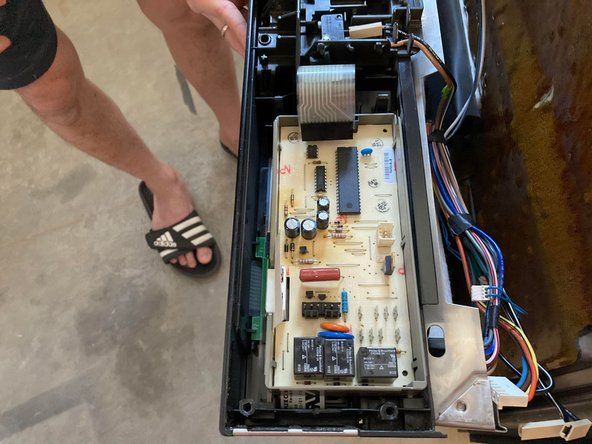
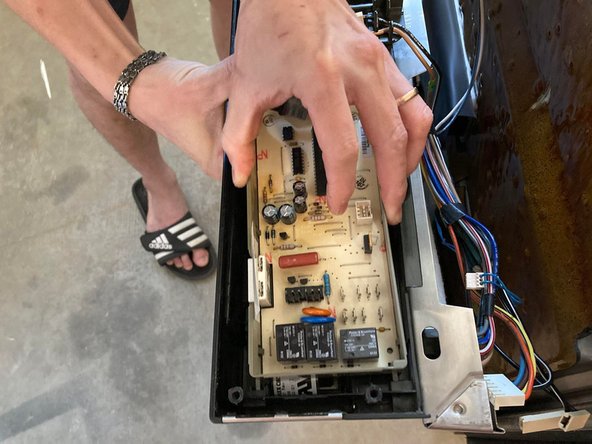
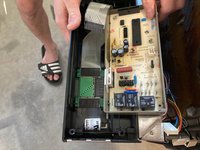
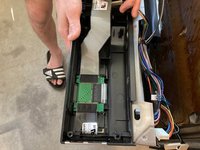
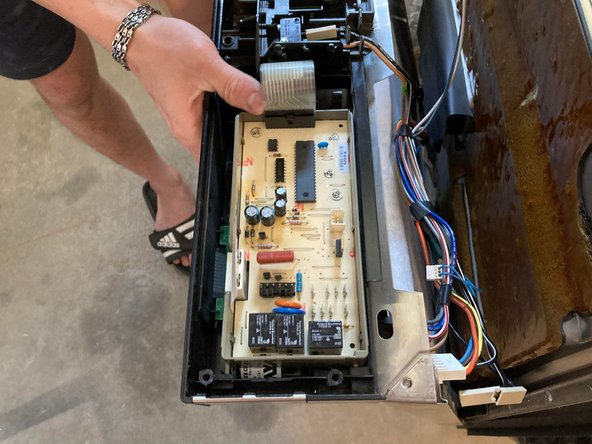
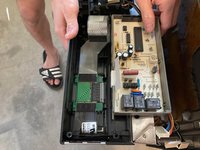
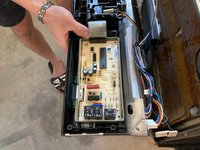
    • Use your hands to pull the electronic control board out the mounting slots.

  10. KitchenAid KUDS01DJSS0 Electronic Control Board Replacement: Schritt 10, Bild 1 von 2 KitchenAid KUDS01DJSS0 Electronic Control Board Replacement: Schritt 10, Bild 2 von 2
    • Push the new electronic control board into the mounting slots.

    • Slide it to the right to engage the locking tab until you hear a click.

  11. KitchenAid KUDS01DJSS0 Electronic Control Board Replacement: Schritt 11, Bild 1 von 2 KitchenAid KUDS01DJSS0 Electronic Control Board Replacement: Schritt 11, Bild 2 von 2
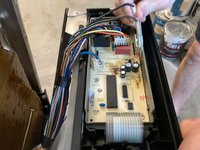
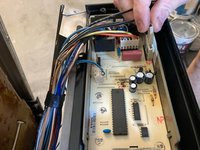
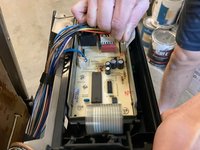
    • Reconnect the black connector wires to the new electronic control board.

  12. KitchenAid KUDS01DJSS0 Electronic Control Board Replacement: Schritt 12, Bild 1 von 3 KitchenAid KUDS01DJSS0 Electronic Control Board Replacement: Schritt 12, Bild 2 von 3 KitchenAid KUDS01DJSS0 Electronic Control Board Replacement: Schritt 12, Bild 3 von 3
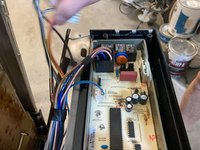
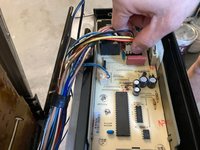
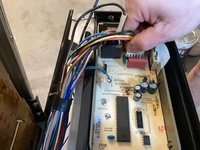
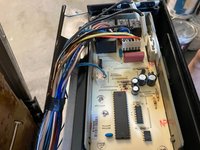
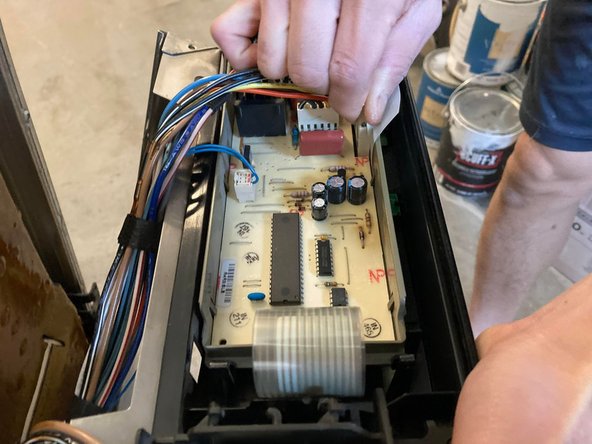
    • Reconnect the white rectangular connector with six wires to the new electronic control board.

  13. KitchenAid KUDS01DJSS0 Electronic Control Board Replacement: Schritt 13, Bild 1 von 3 KitchenAid KUDS01DJSS0 Electronic Control Board Replacement: Schritt 13, Bild 2 von 3 KitchenAid KUDS01DJSS0 Electronic Control Board Replacement: Schritt 13, Bild 3 von 3
    • Reconnect the two white outer connector wires to the new electronic control board.

  14. KitchenAid KUDS01DJSS0 Electronic Control Board Replacement: Schritt 14, Bild 1 von 3 KitchenAid KUDS01DJSS0 Electronic Control Board Replacement: Schritt 14, Bild 2 von 3 KitchenAid KUDS01DJSS0 Electronic Control Board Replacement: Schritt 14, Bild 3 von 3
    • Reinstall the outer door panel and control panel on the inner door panel and reattach the user interface control wire harness.

    • Reinstall the sixteen mounting screws.

  15. KitchenAid KUDS01DJSS0 Electronic Control Board Replacement: Schritt 15, Bild 1 von 3 KitchenAid KUDS01DJSS0 Electronic Control Board Replacement: Schritt 15, Bild 2 von 3 KitchenAid KUDS01DJSS0 Electronic Control Board Replacement: Schritt 15, Bild 3 von 3
    • Connect the dishwasher and reset the circuit breaker for your house to restore electricity.

    • To verify that power is connected, make sure that the control panel does light up when you press a control button or the power button.

Ziellinie

2 weitere Personen haben diese Anleitung absolviert.

Thuan Trang

Mitglied seit: 01/13/22

345 Reputation

1 Anleitung geschrieben

Team

York University, Team S-29, Woodhouse Winter 2022 Mitglied von York University, Team S-29, Woodhouse Winter 2022

YORK-WOODHOUSE-W22SSG29

1 Mitglied

2 Anleitungen geschrieben

4 Kommentare

Excellent illustration!!!

KO SAMUEL TAK SHUN - Antwort

عمل فنى رائع وجميل وبدقة متناهية

khaliddabnoun - Antwort

عمل فنى جميل ورائع وبدقة متناهية

khaliddabnoun - Antwort

Excellent how to! However the part attached to purchase doesn’t look like the original control board. Help!

magdelena kormusis - Antwort

Kommentar hinzufügen

Seitenaufrufe:

Letzte 24 Stunden: 4

Letzte 7 Tage: 9

Letzte 30 Tage: 25

Insgesamt: 1,620