
LG Chocolate 3 Keypad Replacement
Einleitung
Zu Schritt 1 der AnleitungIf your LG Chocolate 3 keyboard is broken or malfunctioning, this guide will assist you in replacing the keypad. A keypad can be damaged from frequent use and become unresponsive. To access the keyboard, you will remove the battery, the rear case, the side buttons, and the motherboard. This is a complex repair with many small parts, and the process will take about an hour to complete. If you wish to reassemble the phone after the keypad replacement, follow the steps in reverse order.
Was du brauchst


-
-
Place the phone face down.
-
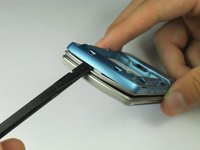
Press your finger down on the indentation and slide the back plate off.
-
-
-
Use the pointed end of the spudger to pull out the plastic inserts that are located on the left and right-hand corners.
-
-
In diesem Schritt verwendetes Werkzeug:Tweezers$4.99
-
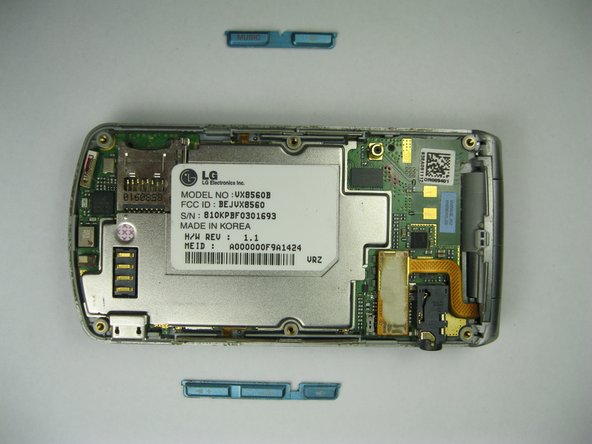
Using a Phillips #00 screwdriver, remove the six 3mm long screws found along the edges of the phone.
-
-
-
Use tweezers to pull the clear end of the red and blue speaker cables away from motherboard.
-
-
-
In diesem Schritt verwendetes Werkzeug:Tweezers$4.99
-
Use tweezers to remove the music button found on the side of the phone.
-
-
-
Use tweezers to remove the volume control buttons on the opposite side of the phone.
-
-
-
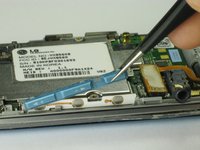
Use the flat end of the spudger to lift the orange display data cable.
-
-
-
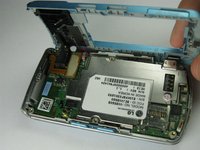
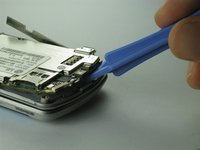
Carefully insert the plastic opening tool between the motherboard and the back of the phone.
-
-
-
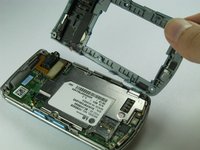
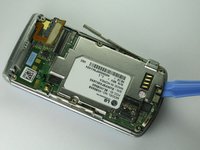
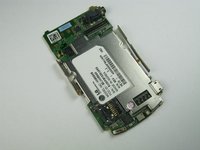
Use your thumb and index finger to carefully lift and separate the motherboard from the back of the phone.
-
-
-
Lift the orange data cable up so that it is elevated.
-
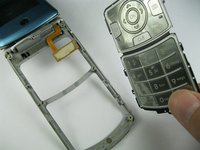
Gently use a finger to lift the keypad out.
-
-
-
Insert the spudger in between the keypad and the phone.
-
Lift the keypad to seperate it from the phone.
-
-
-
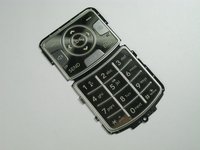
Remove the damaged keypad.
-
Insert the replacement keypad.
-
Reassemble the phone after the broken keypad is replaced.
-


To reassemble this device, follow these instructions in reverse order.
To reassemble this device, follow these instructions in reverse order.
Rückgängig: Ich habe diese Anleitung nicht absolviert.
Eine weitere Person hat diese Anleitung absolviert.
Team

Cal Poly, Team 12-35, Amido Spring 2013 Mitglied von Cal Poly, Team 12-35, Amido Spring 2013
CPSU-AMIDO-S13S12G35
5 Mitglieder
12 Anleitungen geschrieben