
Lenovo Thinkpad Tablet 1838 Button Replacement
Einleitung
Zu Schritt 1 der AnleitungUse this guide if either your power or volume buttons have stopped working or if you just want to clean them.
Was du brauchst
Werkzeuge


-
-
Remove the button on the front of the tablet that has the arrow pointing to the left .
-
You can do this by putting your fingernail or a Spudger underneath the button and pulling up.
-
-
-
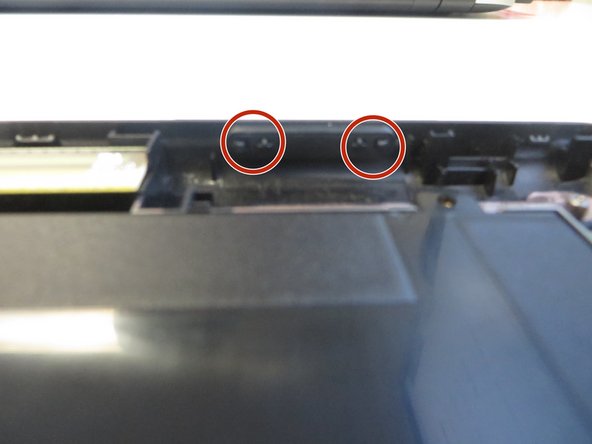
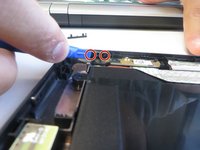
Remove the 2 screws found under the button you just removed with a size #00 Philips Head Screwdriver.
-
-
-
-
Open the tablet screen to the left. (Like opening a book) Making sure not to disconnect any of the wires connecting the screen and tablet.
-
-
-
To peel back the ribbon connector, first gently open the white gates.
-
You can do this with a plastic Spudger or your fingernail.
-
-
-
Remove the blue motherboard the screw was attached to.
-
Make sure to remove it carefully, so you do not accidentally damage the surrounding parts.
-
-
-
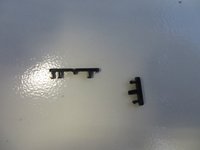
To remove the buttons, you need to push the little black tabs towards each other with either your fingernails or plastic spudger.
-
While the tabs are pushed in the buttons should pop out.
-


To reassemble your device, follow these instructions in reverse order.
To reassemble your device, follow these instructions in reverse order.
Team

University of North Texas, Team S1-G2, Riccardelli Fall 2018 Mitglied von University of North Texas, Team S1-G2, Riccardelli Fall 2018
UNT-RICCARDELLI-F18S1G2
4 Mitglieder
4 Anleitungen geschrieben