
Nextbook NX008HD8G Back Panel Replacement
Einleitung
Zu Schritt 1 der AnleitungUse this guide to replace a broken back panel. Sliding the plastic opening tool between the back panel and the front glass can be difficult.
Was du brauchst


-
-
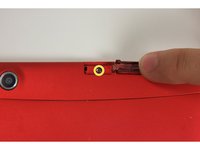
Using your finger, open the plastic tab to the right of the rear-facing camera.
-
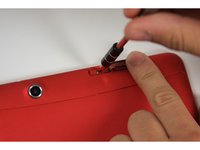
Wedge your fingernail in between the back panel and the plastic tab and pull the plastic tab towards your body.
-
-
-
Using your finger, remove the SD card by pressing down on top of it (toward the bottom of the device) until you hear a clicking sound.
-
Once the card pops out, use your finger to pull the card completely out of the SD card slot.
-
-
-
-
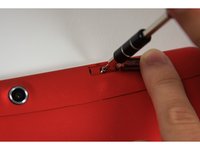
Remove the 5 mm screw using the Phillips PH00 bit in the iFixit metal Screwdriver.
-
-
-
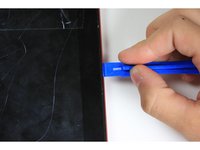
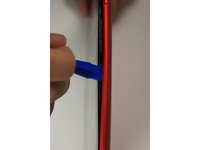
Use the plastic opening tool to separate the back panel by carefully sliding the narrow end of the tool between the front glass and back panel.
-
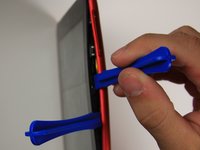
Use a second plastic opening tool to help pry the front glass from the back panel.
-
-
-
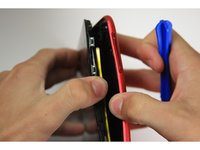
Use your hands to completely separate the rest of the front glass from the back panel.
-


To reassemble your device, follow these instructions in reverse order.
To reassemble your device, follow these instructions in reverse order.
Rückgängig: Ich habe diese Anleitung nicht absolviert.
3 weitere Personen haben diese Anleitung absolviert.
Team

Baylor, Team 10-15, Williams Fall 2015 Mitglied von Baylor, Team 10-15, Williams Fall 2015
BU-WILLIAMS-F15S10G15
3 Mitglieder
8 Anleitungen geschrieben