
Nishiki Aero II Tire Removal

Einleitung
Zu Schritt 1 der AnleitungThis guide will walk you through how to quickly and efficiently remove the tire from your Nishiki Aero II bicycle in five simple steps! This guide may be used to help you remove damaged or flat tires for replacement! Before you begin, there is no special skills needed for this removal. All you need is to familiarize yourself with the tools listed and get started!
Was du brauchst
Werkzeuge

Mehr anzeigen …
-
-
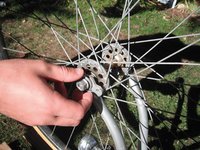
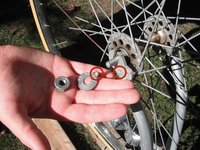
Use a wrench to loosen the nut holding the wheel's axle on one side.
-
Once it's loose enough, continue removing the nut with your hand.
-
-
-
-
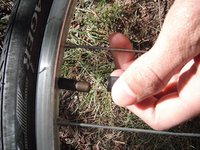
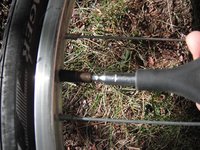
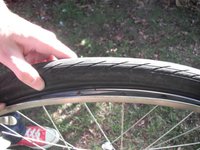
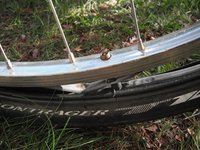
Unscrew the cap from the air valve.
-
Release the tire's air by pressing a thin object on the center pin of the valve.
-
-
-
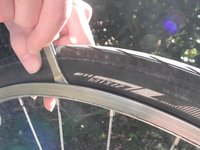
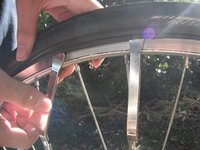
Wedge a tire lever between the tire and the rim. Grab the tire with the lever's inward scoop.
-
Grab the tire's edge with the lever and pull it back to scoop the tire from the rim.
-
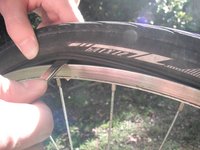
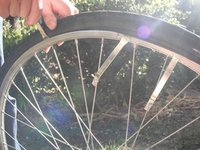
Keep the tire lever anchored on a spoke with the notch on the lever's opposite end.
-
-
-
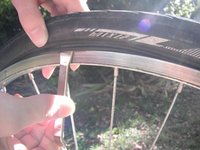
Repeat with a third tire lever farther around the tire.
-
Alternate lifting the second and third levers until the tire comes partway off.
-
-
-
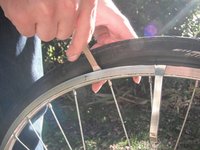
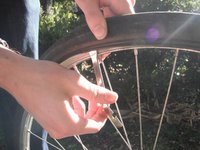
Wedge the tire off of the other rim with the tire levers.
-
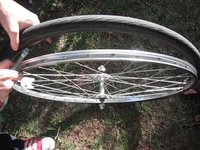
Pull the air valve from its hole in the rim to completely remove the tire.
-


To reassemble your device, follow these instructions in reverse order.
To reassemble your device, follow these instructions in reverse order.

Team

Cal Poly, Team 21-53, Johann Spring 2013 Mitglied von Cal Poly, Team 21-53, Johann Spring 2013
CPSU-JOHANN-S13S21G53
4 Mitglieder
7 Anleitungen geschrieben